

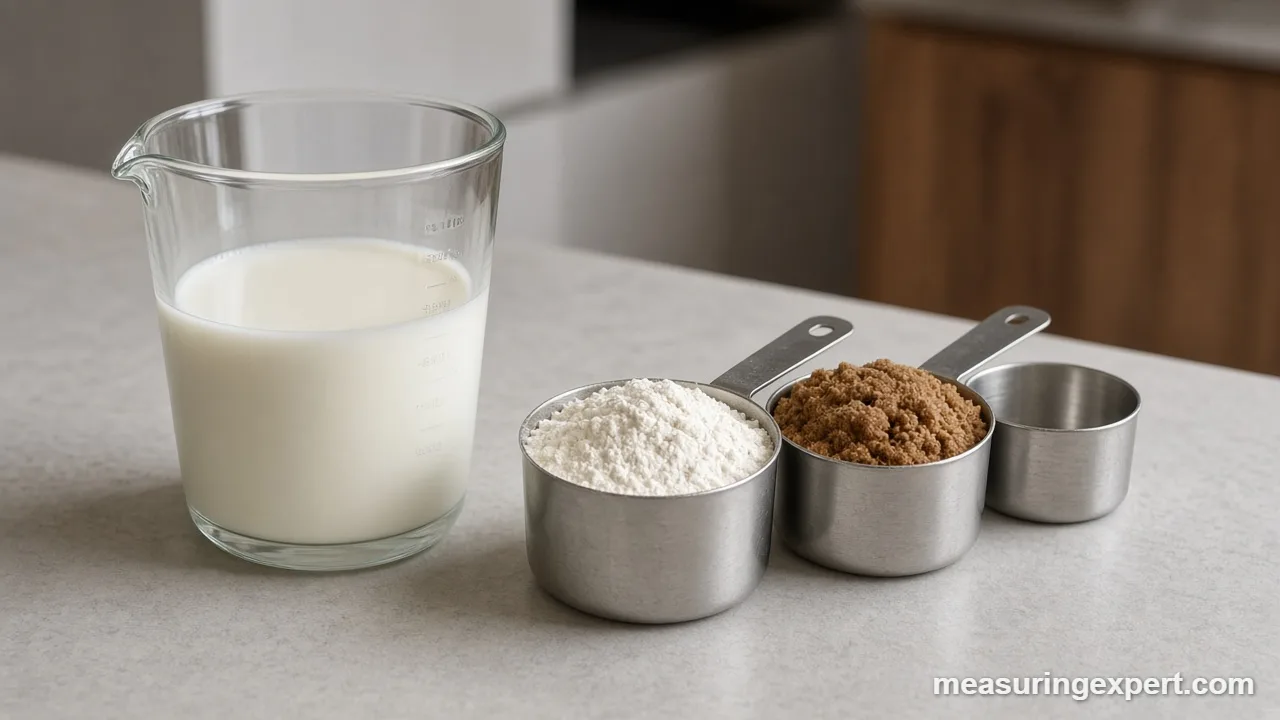
The best way to use a measuring cup depends on the ingredient. For dry goods, spoon them into a dry measuring cup and level the top. Next, pack brown sugar firmly. Finally, pour liquids into a clear liquid measuring cup on a flat counter and read it at eye level.
A measuring cup looks like the simplest tool in the kitchen, yet it causes more baking failures than any oven. The reason is technique. The same 1-cup scoop can hold very different amounts of flour depending on whether you dip it into the bag or spoon the flour in. Likewise, a liquid cup read from above gives a different number than one read at counter height.
So this guide walks through each type of ingredient one by one. First comes the right cup, then the filling method, and finally the small habits that keep results consistent from batch to batch. You will also see how big a cup really is, because a US cup and a metric cup are not the same size.
In short: match the cup to the ingredient, fill it the way that ingredient needs, and level or read it carefully. Those three steps fix most measuring problems before they start.
Extension food specialists at NC State recommend the same basics: level dry ingredients with a straight edge, and bend down to eye level when you read a liquid cup set on a level surface. In addition, the National Institute of Standards and Technology (NIST) lists 1 cup as 240 mL in its metric kitchen equivalents, which is the rounded value used on food labels.
Convert Any Measuring Cup Amount
Enter an amount and pick a unit. The converter then shows the same volume in US cups, metric cups, milliliters, fluid ounces and spoons, so you can follow a recipe from any country.
Recommended Tools for Measuring Ingredients
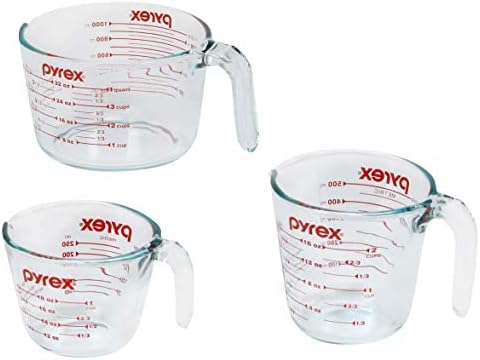
A basic kit covers almost every recipe. First, get a nested set of dry cups with flat rims so a knife can sweep across them. Next, add a clear liquid cup with a spout and printed lines in both cups and milliliters. Also, a digital kitchen scale is the most reliable tool of all, because grams do not change with how you scoop.



As an Amazon Associate, Measuring Expert earns from qualifying purchases.
Key Takeaways
- Dry cups are for flour, sugar and solids; liquid cups are for water, milk and oil.
- Spoon flour into the cup and level it; never scoop straight from the bag.
- Brown sugar is the exception: press it in until it holds the cup shape.
- Set a liquid measuring cup on a flat counter and read it at eye level.
- Grease the cup before you add honey, syrup or molasses.
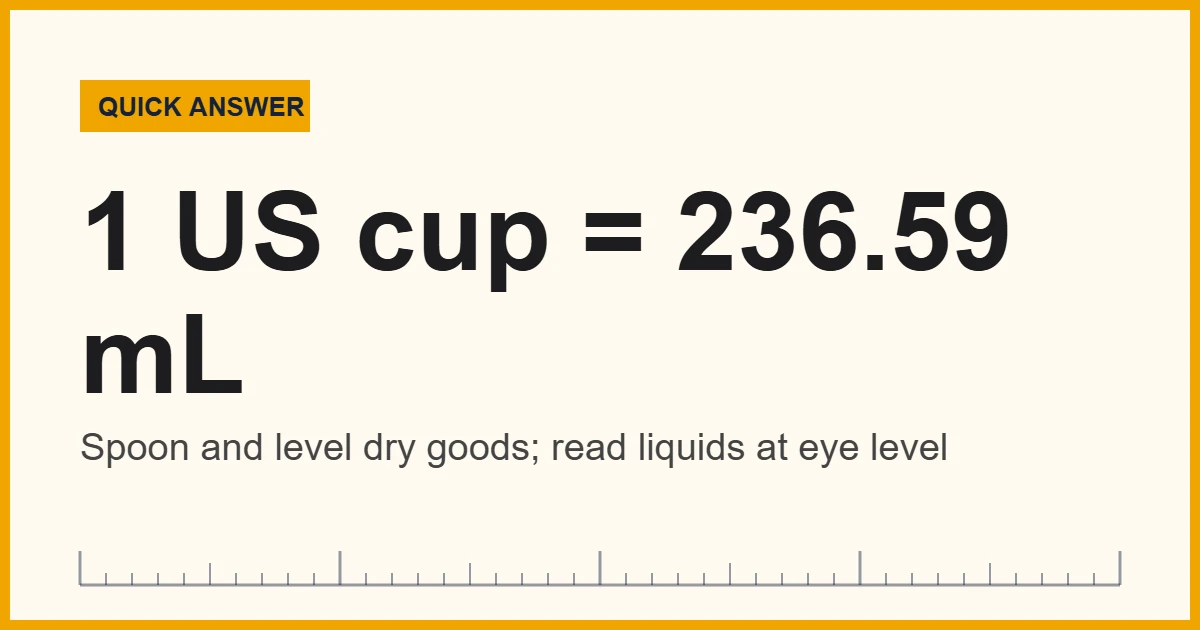
- A US cup is 236.59 mL, while a metric cup is 250 mL.
- For baking that must turn out the same every time, weigh in grams.
Dry vs Liquid Measuring Cup: Which One to Use
Both kinds hold the same volume when filled to the 1-cup mark. However, they are built for different jobs. A dry cup is filled to the very rim and leveled, so it has no spout and a flat edge. A liquid cup, by contrast, has extra space above the top line, which lets you carry it without spilling.
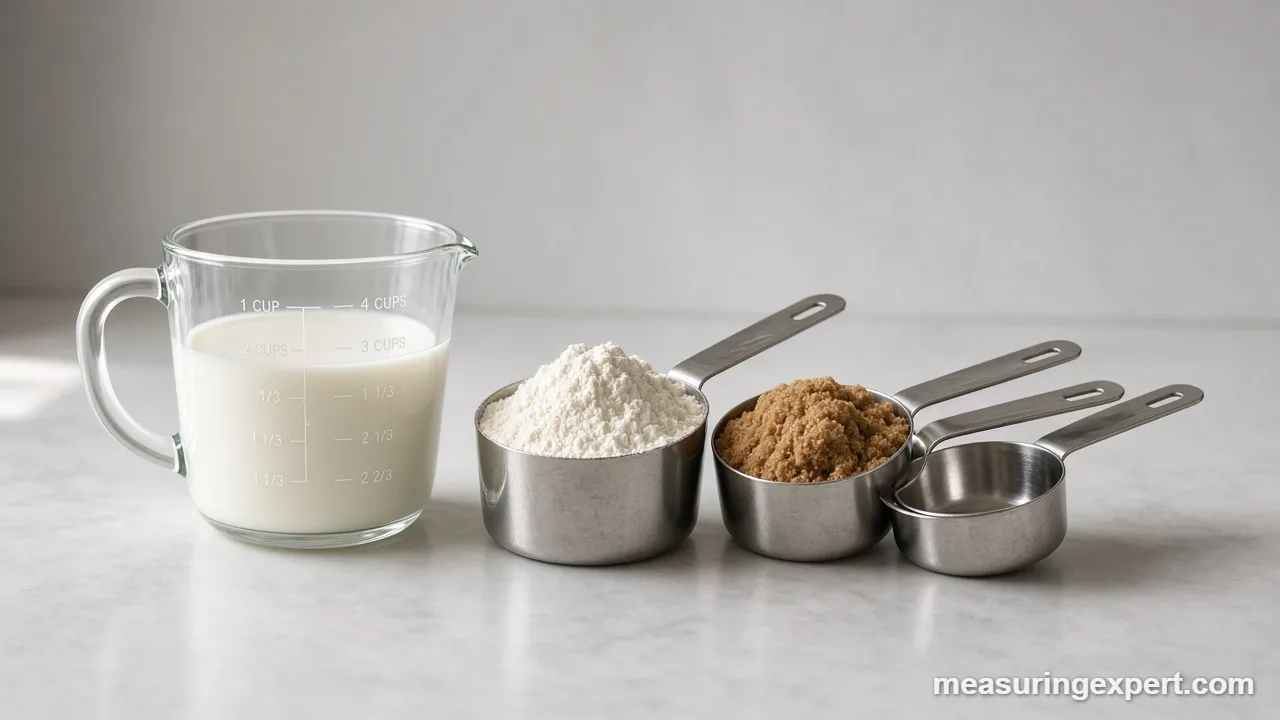
| Feature | Dry measuring cup | Liquid measuring cup |
|---|---|---|
| Shape | Nested set, one cup per size | Single jug with lines printed on the side |
| Rim | Flat, so you can level it | Spout, with headroom above the top line |
| Material | Usually stainless steel or plastic | Usually clear glass or plastic |
| How you fill it | Overfill, then level | Pour to the line, then check at eye level |
| Best for | Flour, sugar, oats, rice, cocoa, shortening | Water, milk, broth, oil, juice |
Using the wrong one causes real errors. For example, flour in a liquid cup cannot be leveled, so you end up guessing at a line. Milk in a dry cup, meanwhile, has to be filled to the brim and usually spills. For a deeper comparison, see our guide to the differences between liquid and dry measuring cups.
How to Measure Flour With a Measuring Cup
Flour settles and packs down in the bag. As a result, a cup dipped straight into it can come out noticeably heavier than the recipe writer intended. The spoon-and-level method fixes that.
First, stir or fluff the flour in its container to loosen it. Then spoon it lightly into the dry measuring cup until it mounds over the rim. Do not tap or shake the cup, because that packs the flour down again. Finally, sweep the flat back of a knife across the rim to push off the extra.
Measured this way, one cup of all-purpose flour weighs about 120 g, according to the King Arthur ingredient weight chart. The same method also works for granulated sugar, cocoa powder, cornstarch and powdered sugar. Sugar packs far less than flour, so a gentle scoop and level is fine for it.
Packing Brown Sugar Into a Measuring Cup
Brown sugar is moist and full of air pockets. That is why most recipes ask for it “packed” or “firmly packed”. To pack it, spoon the sugar into a dry measuring cup and press it down with the back of a spoon or your fingers. Then add more and press again until it is level with the rim.
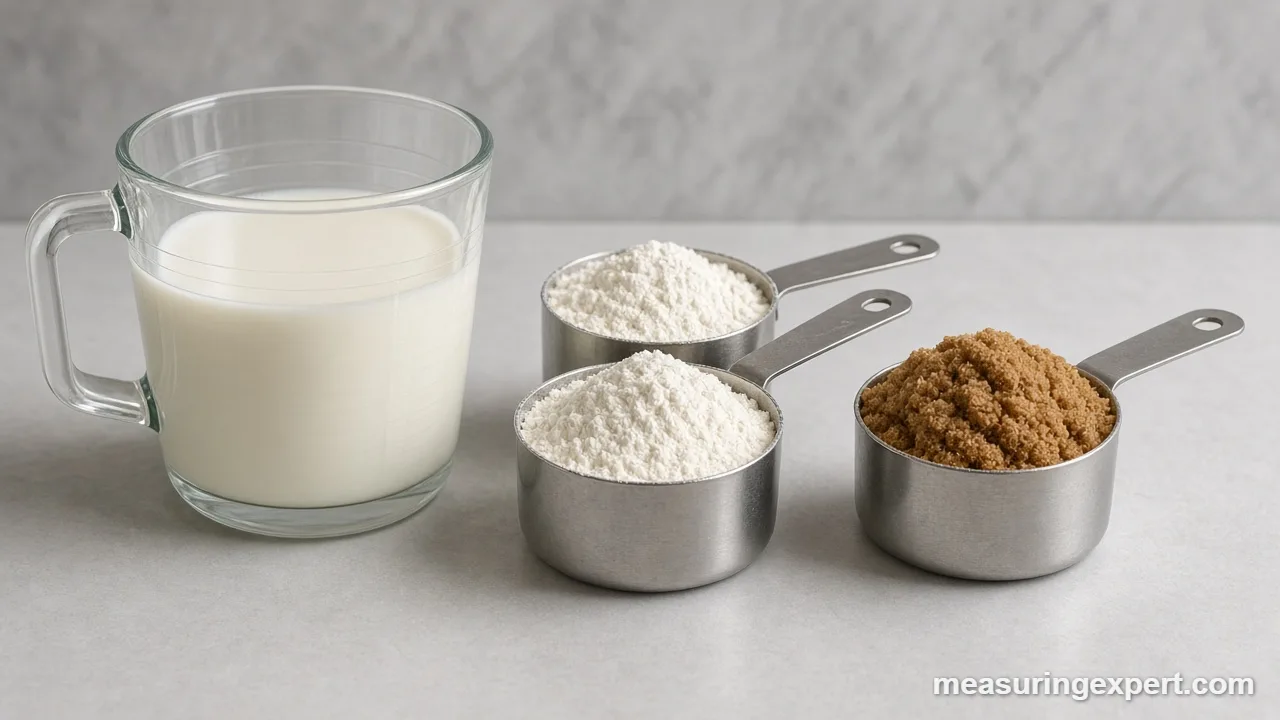
When you turn the cup over, the sugar should hold the shape of the cup, much like a sand castle. If it crumbles apart, it was not packed tightly enough. A packed cup of brown sugar weighs about 213 g on the King Arthur chart, compared with about 198 g for a cup of granulated sugar.
The same pressing technique also works for shortening and other soft solids. Press them in to remove air gaps, level the top, and then scrape the cup clean with a spatula.
Reading a Liquid Measuring Cup at Eye Level
For liquids, the most common mistake is reading the cup from above while holding it in the air. Looking down at the lines makes the liquid seem higher than it really is. Holding the cup also tilts it, so the surface is no longer level with the marks.
Instead, set the cup on a flat counter. Pour slowly until the liquid is near the line, then bend down so your eyes are level with the mark. Water curves slightly where it touches the side of the cup. This curve is called the meniscus, so read the line at the bottom of the curve, not at its edges.
If your cup has lines on both sides, check which scale you are using. Many cups print US cups and ounces on one side and milliliters on the other. Our guide on how to use a measuring jug covers reading these scales in more detail.
Sticky Ingredients and the Measuring Cup
Honey, molasses, corn syrup and peanut butter cling to the sides of a cup. As a result, part of what you measured stays behind, and the recipe comes up short.
The easiest fix is a thin coat of oil or cooking spray inside the cup before you fill it. The sticky ingredient then slides out cleanly. Alternatively, measure the oil or butter for the recipe first in the same cup, and the film it leaves does the same job. For thick spreads, a flexible spatula helps you scrape out every last bit.
An adjustable (plunger-style) measuring cup is another option. You set the amount, fill the tube, and push the plunger to empty it. Because nothing is left on the walls, it works especially well for nut butters and shortening.
How Big Is a Measuring Cup? US vs Metric Sizes
A “cup” is not one size worldwide. The US customary cup is defined as 8 US fluid ounces, or exactly 236.5882365 mL. Most Commonwealth countries, however, use a metric cup of 250 mL. Therefore a metric cup holds about 5.7% more than a US cup.
| Cup type | Volume | In US tablespoons | Where you see it |
|---|---|---|---|
| US customary cup | 236.59 mL (8 US fl oz) | 16 | US recipes and US measuring cups |
| US nutrition-label cup | 240 mL | about 16.2 | US food labels (FDA rounding) |
| Metric cup | 250 mL | about 16.9 | Australia, New Zealand, Canada, UK recipes |
| Japanese cup | 200 mL | about 13.5 | Japanese recipes and rice cookers (rice cups are smaller still) |
For most cooking, the gap between 236.59 and 250 mL does not matter much. In baking, however, it adds up when a recipe calls for several cups of flour. So when you follow an Australian or British recipe, use metric cups or switch to the gram weights the recipe gives.
| US cup fraction | Milliliters | Tablespoons | Fluid ounces |
|---|---|---|---|
| 1/4 cup | 59.15 mL | 4 tbsp | 2 fl oz |
| 1/3 cup | 78.86 mL | 5 tbsp + 1 tsp | 2 2/3 fl oz |
| 1/2 cup | 118.29 mL | 8 tbsp | 4 fl oz |
| 2/3 cup | 157.73 mL | 10 tbsp + 2 tsp | 5 1/3 fl oz |
| 3/4 cup | 177.44 mL | 12 tbsp | 6 fl oz |
| 1 cup | 236.59 mL | 16 tbsp | 8 fl oz |
How to Measure Ingredients With a Measuring Cup, Step by Step
- Read the recipe wording. Look for words such as “packed”, “sifted” or “heaping”, because each one changes the method.
- Pick the matching cup. Choose a dry cup for solids and a clear liquid cup with a spout for liquids.
- Prepare sticky jobs. Lightly oil the cup before honey, syrup or peanut butter goes in.
- Fill dry ingredients loosely. Spoon flour in until it mounds; press brown sugar and shortening in firmly.
- Level the top. Sweep a straight edge across the rim and let the extra fall back into the container.
- Check liquids on the counter. Set the cup down, crouch to eye level and read the bottom of the curve.
- Empty the cup completely. Scrape thick ingredients out with a spatula so none is left behind.
Measuring Cup vs Kitchen Scale
A cup measures volume, so it always holds the same space. What that space weighs, though, depends on the ingredient and on how you filled it. That is why professional bakers weigh almost everything.
| Ingredient (1 US cup) | Approximate weight | How to fill the cup |
|---|---|---|
| All-purpose flour | 120 g (4.2 oz) | Spoon in and level |
| Granulated sugar | 198 g (7 oz) | Scoop and level |
| Brown sugar, packed | 213 g (7.5 oz) | Press in firmly and level |
| Rolled oats | 113 g (4 oz) | Scoop and level |
| Honey | about 336 g (11.9 oz) | Oil the cup, pour to the line |
| Water | about 236 g (8.3 oz) | Pour, read at eye level |
The dry weights come from the King Arthur chart, and honey is scaled up from its 21 g tablespoon value. Water is about 1 g per mL at room temperature. If a recipe gives both cups and grams, use the grams; it is faster and cleaner, too.
Measuring Cup Do’s and Don’ts
Do
- Fluff flour before you spoon it into the cup.
- Level dry ingredients with a straight edge.
- Read liquid lines with the cup sitting on a flat counter.
- Pack brown sugar until it keeps the cup shape.
- Oil the cup for honey and syrup.
Don’t
- Scoop flour straight from the bag.
- Tap or shake a cup of flour to make room.
- Hold a liquid cup in the air while reading it.
- Measure liquids in a dry cup unless you have no choice.
- Swap US and metric cups in large baking recipes.
Honest Limits of Measuring Cups
Even with perfect technique, cups are not precision instruments. For one thing, inexpensive sets can be slightly off, and printed lines on plastic jugs sometimes sit a little high or low. Moreover, two careful cooks spooning the same flour will still get slightly different weights, because humidity and brand change how loosely flour settles.
The weights in this guide are typical values, not exact ones. In practice, a few grams either way rarely matters in soups, sauces or pancakes. For bread, macarons, candy and large batches, however, small errors multiply. In those cases a digital scale gives more repeatable results than any cup.
If you suspect a cup is off, test it. Place it on a scale, zero the scale, and fill the cup with room-temperature water to the 1-cup mark. It should read about 236 g for a US cup or 250 g for a metric cup.
When Precision Really Matters
Most home recipes are forgiving. Still, a few situations call for more care than an ordinary cup can give:
- Baking with yeast or leaveners. Too much flour makes dough dry and dense, so weigh it if a recipe gives grams.
- Candy and sugar work. Ratios of sugar to water control how syrup sets, so follow the recipe closely.
- Special diets. If you track carbohydrates or sodium, weigh portions and talk to a dietitian about targets.
Measuring Cup FAQs
What is the best way to measure flour with a measuring cup?
Fluff the flour first, spoon it into a dry measuring cup until it mounds, and then level it with a knife. Do not scoop from the bag or tap the cup.
Can I use a liquid measuring cup for dry ingredients?
You can in a pinch, but it is less accurate. A liquid cup cannot be leveled, so you have to guess at the line. A dry cup gives a more consistent result.
Why should I read a liquid measuring cup at eye level?
Looking down from above makes the liquid seem higher than it is. Instead, set the cup on a flat surface and crouch so your eyes line up with the mark.
How many mL are in a US measuring cup?
A US cup holds 236.59 mL, which is 8 US fluid ounces. Food labels round it to 240 mL, and metric countries use a 250 mL cup.
Is a metric cup bigger than a US cup?
Yes. A metric cup is 250 mL, so it holds about 5.7% more than a 236.59 mL US cup. That difference matters most in baking.
How do you pack brown sugar into a measuring cup?
Spoon brown sugar into a dry cup and press it down firmly. Add more and press again until it is level. When you turn it out, it should keep the cup shape.
How do I stop honey sticking to the measuring cup?
Coat the inside of the cup with a little oil or cooking spray first. The honey then slides out, and a spatula removes the rest.
Should I sift flour before measuring?
Only if the recipe says “1 cup sifted flour”. If it says “1 cup flour, sifted”, measure first and sift afterward.
How much does a cup of flour weigh?
About 120 g, or 4.2 oz, when you spoon it in and level it. Scooping straight from the bag packs in more, so weights vary.
Is a kitchen scale better than a measuring cup?
For baking, yes. A scale measures weight, so it does not change with how you fill the cup. For liquids and everyday cooking, a cup is fine.
The Bottom Line on Using a Measuring Cup
To sum up, good measuring comes down to matching the method to the ingredient. Spoon and level flour, pack brown sugar, read liquids at eye level on a flat counter, and oil the cup for anything sticky. Also, remember that a US cup is 236.59 mL while a metric cup is 250 mL.
Finally, if you bake often, add a kitchen scale to your drawer and use grams whenever a recipe gives them. Until then, the converter near the top of this page turns any cup amount into milliliters, ounces or spoons in a second.