

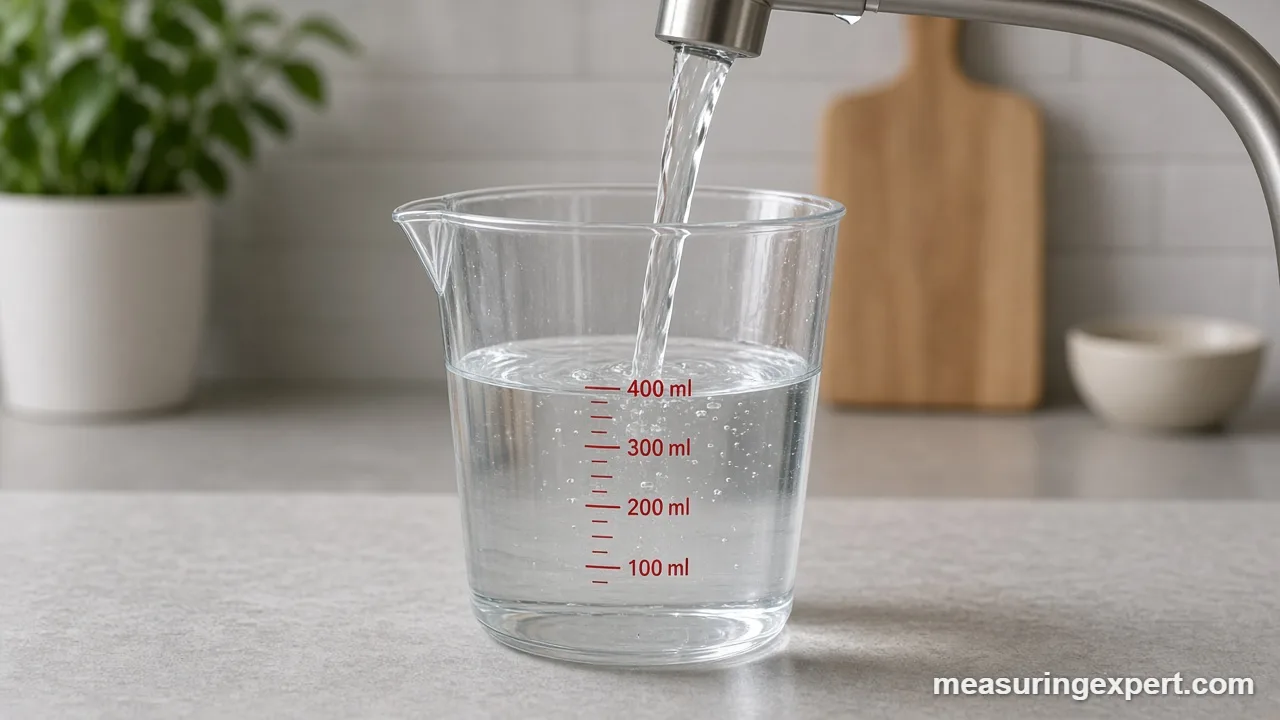
To use a measuring jug, set it on a flat counter, pour the liquid in slowly, then crouch until your eyes are level with the marking you want. Read the bottom of the curved surface, not the edge that climbs the wall. One US cup on a measuring jug is about 237 mL, or 8 US fl oz.
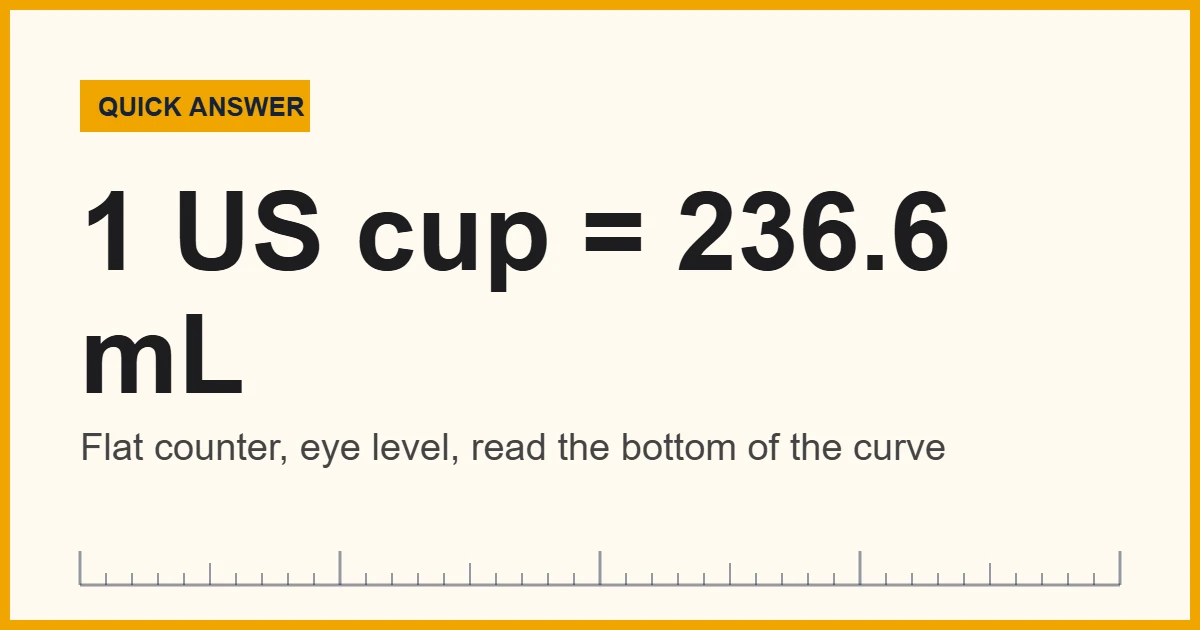
A measuring jug looks simple, yet it is one of the easiest kitchen tools to misread. Most errors come from the way people read it, not from the jug. For example, holding the jug up in the air or glancing down from above can put you off by a tablespoon or more in a single cup.
So this guide focuses on technique. First, you will learn how to read the scale and the curved surface of the liquid. Next, you will see how to pour, how to handle sticky or hot liquids, and how US, metric and UK markings differ. Finally, the converter below turns any amount on your jug into the units your recipe uses.
In short: keep the jug flat, put your eye at the line, and read the lowest point of the liquid. Also, check which scale you are reading, because many jugs print cups, milliliters and ounces side by side.
Why Technique Matters More Than the Jug
That advice matches what cooking educators teach. For instance, the Mississippi State University Extension Service tells cooks to set the cup on a flat surface and read it at eye level, because looking down from above gives a false reading. Similarly, the US National Institute of Standards and Technology (NIST) publishes metric kitchen equivalents that round a cup to 240 mL for home cooking.
If you are still deciding between a jug and a set of nesting cups, our guide to liquid vs dry measuring cups explains when each one is the right tool. Here, the focus stays on getting an accurate reading from the jug itself.
Convert the Markings on Your Measuring Jug
Enter the amount you poured and pick the scale you read. The converter then shows the same volume in US cups, milliliters, US and UK fluid ounces, and pints, using the exact US definitions.
Recommended Measuring Jugs for Liquid Ingredients
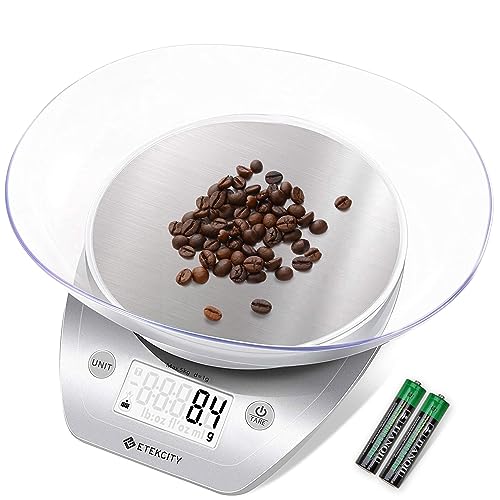
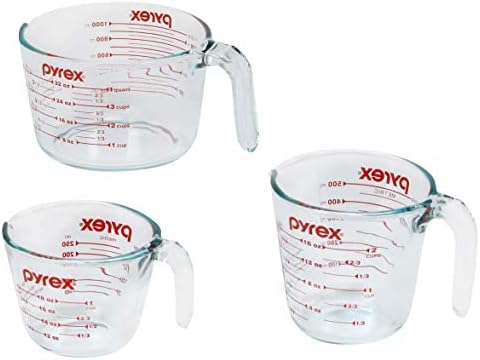
A good jug makes accurate reading easier. First, pick clear glass or plastic so you can see the liquid line from the side. Next, look for printed or molded markings in both cups and milliliters, plus a spout that pours without dripping. In addition, an angled scale you can read from above is handy for quick everyday pours. Finally, a digital kitchen scale pairs well with any jug for recipes that list grams.


As an Amazon Associate, Measuring Expert earns from qualifying purchases.
- Always set the measuring jug on a flat, level counter before you read it.
- Bend down so your eye is level with the line; never read from above.
- Read the bottom of the curved liquid surface (the meniscus) for water-like liquids.
- One US cup is about 236.59 mL; a metric cup is 250 mL; a UK pint is about 568 mL.
- Pour slowly near the line, then add the last bit a splash at a time.
- Grease the jug lightly before measuring honey, syrup or molasses.
- For tiny amounts or medicine, use spoons or an oral syringe instead.
How to Read the Scale on a Measuring Jug
Before you pour anything, take a few seconds to study the printing. Most jugs sold in the US show cups on one side and milliliters on the other. Many also add a fluid ounce scale, and some imported jugs add UK pints. As a result, the same line can sit next to several different numbers.
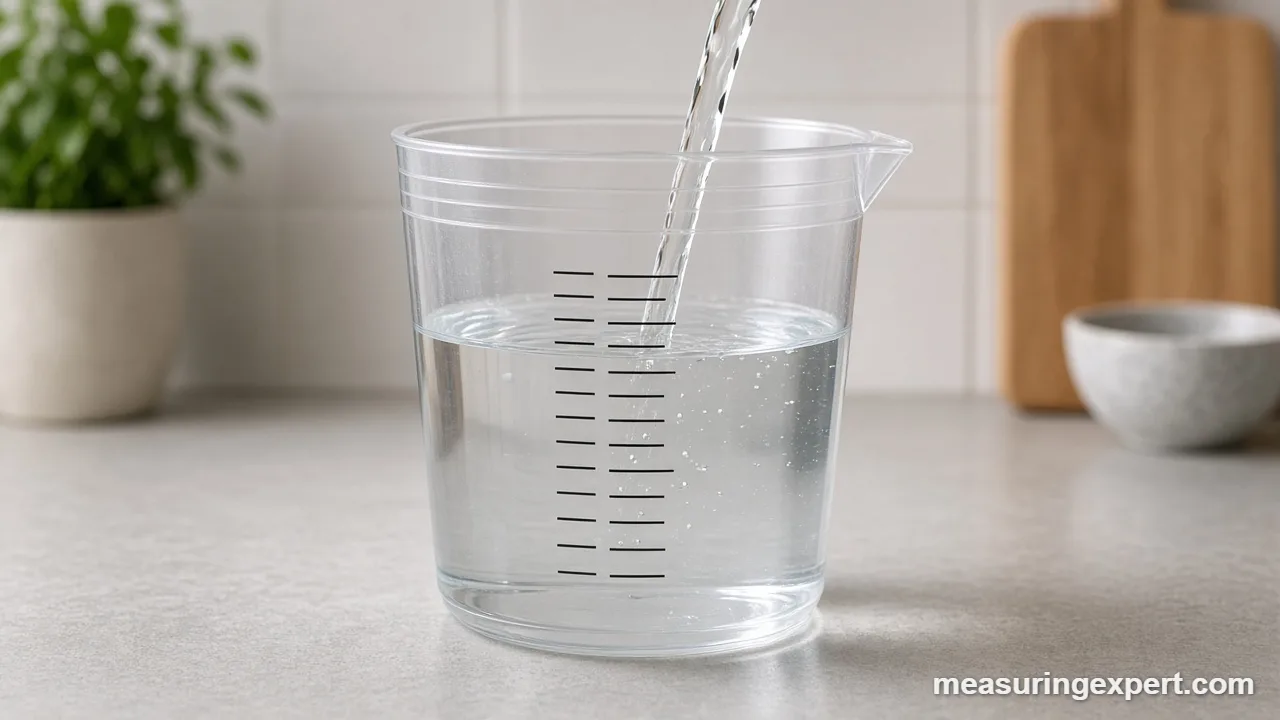
Look at the smallest gap between two lines, because that tells you the resolution. For example, a 2-cup jug often marks every 1/4 cup and every 50 mL. A large 8-cup jug, by contrast, may only mark every 1/2 cup and 100 mL, so small amounts are harder to read on it.
| Typical jug size | Holds about | Usual smallest marking | Best for |
|---|---|---|---|
| 1 cup | 237 mL / 8 fl oz | 1/8 cup or 25 mL | Small amounts of milk, oil or stock |
| 2 cups | 473 mL / 16 fl oz | 1/4 cup or 50 mL | Most everyday recipes |
| 4 cups | 946 mL / 32 fl oz | 1/4 or 1/2 cup, 100 mL | Soups, brines, batters |
| 8 cups | about 1.9 L / 64 fl oz | 1/2 cup or 100 mL | Big batches and mixing |
How to Use a Measuring Jug Step by Step
- Place the jug on a flat surface. A level counter keeps the liquid flat, so the reading is true.
- Find the right scale. Turn the jug until the units your recipe uses face you.
- Pour slowly to just below the line. Stop a little short so you do not overshoot.
- Bring your eye to the line. Crouch or bend until the marking is straight ahead of you.
- Top up a splash at a time. Add the last few drops until the bottom of the curve touches the line.
- Pour it out fully. Tip the jug well over, and scrape thick liquids out with a spatula.
Then rinse or wipe the jug if your next ingredient is different. That way, a little oil left behind will not stop water-based liquids from draining cleanly.
Read the Curved Surface, Not the Edge
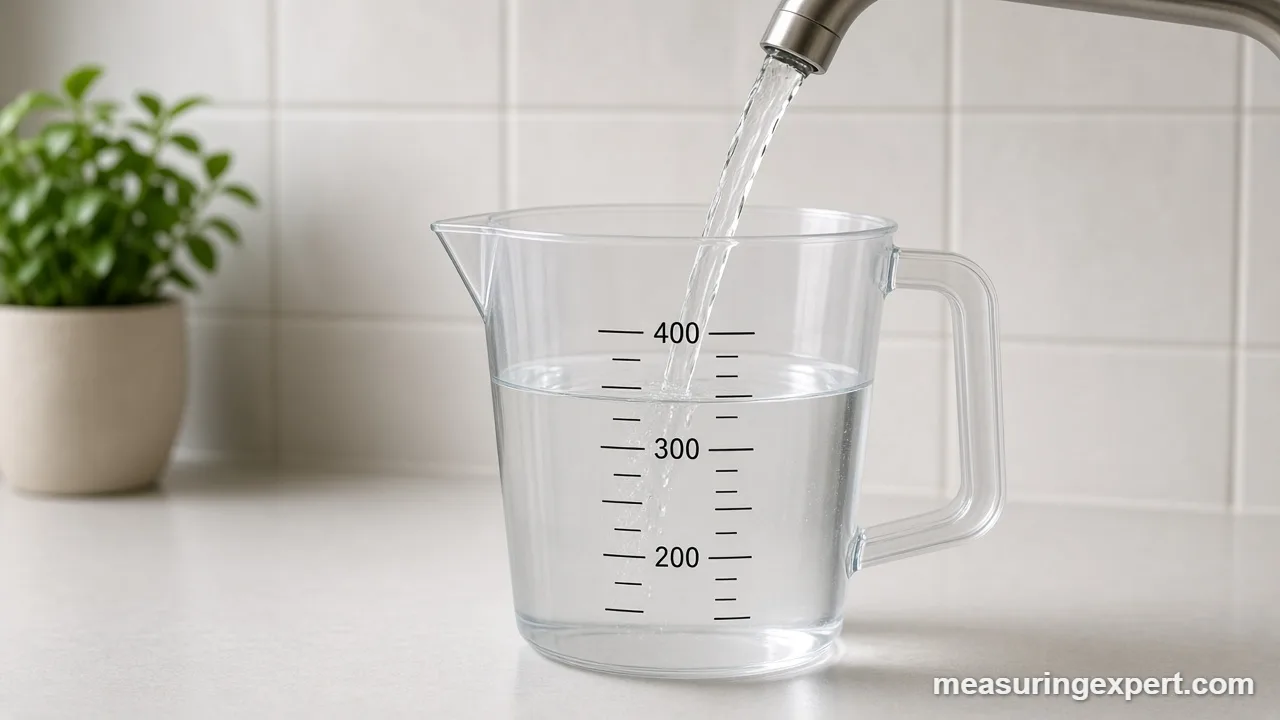
Look closely at water in a clear jug and you will see that the surface is not flat. Instead, it curves up slightly where it touches the wall. Scientists call this curve the meniscus. For water, milk, juice and stock, read the lowest flat part in the middle, not the higher edge.
This detail matters more than it seems. In a jug about 9 cm (3.5 in) wide, a reading that is 1 mm too high adds roughly 6 mL. Meanwhile, looking down from above can shift your reading by several millimeters, because the marking appears to move against the liquid. Together, those errors can add up to a tablespoon or more.
| Reading habit | What happens | Fix |
|---|---|---|
| Looking down from above | The line seems to shift against the liquid, so the reading is off | Bend down to eye level |
| Holding the jug in the air | A tilted jug lifts one side of the liquid | Set it on the counter |
| Reading the edge of the curve | You stop a little short | Read the flat middle |
| Reading the wrong scale | Milliliters read as ounces, or the reverse | Check the unit label first |
Measuring Jug Markings: US, Metric and UK
Recipes and jugs do not always speak the same language. A US cup, a metric cup and an old British pint are all different sizes, so it pays to know which one you are reading. Fortunately, the gap between a US cup and a metric cup is small for most cooking. The UK pint, however, is about 20% larger than the US pint.
| Unit | Milliliters | Where you see it |
|---|---|---|
| US cup | 236.59 mL (8 US fl oz) | US recipes and jugs |
| US nutrition-label cup | 240 mL | Food labels |
| Metric cup | 250 mL | Australia, Canada, New Zealand |
| US fluid ounce | 29.57 mL | US jugs and bottles |
| UK fluid ounce | 28.41 mL | Older British recipes |
| US pint | 473.18 mL (16 US fl oz) | US recipes |
| UK pint | 568.26 mL (20 UK fl oz) | British jugs and recipes |
So if a British recipe asks for 1 pint of milk, use about 568 mL, not the 2-cup line on a US jug. For the full comparison, see our guide to US vs UK cooking measurements.
Using a Measuring Jug for Sticky, Oily and Hot Liquids
Water-like liquids are easy. Thick or awkward ones, on the other hand, need a few small tricks:
- Honey, syrup and molasses. Wipe a thin film of oil inside the jug first, so the syrup slides out instead of clinging to the walls.
- Oil and melted butter. These leave a film behind, so measure them after any water-based liquids.
- Hot stock or water. Use heat-resistant glass and pour on the counter, never while holding the jug.
- Foamy milk or beaten eggs. Let the foam settle for a moment, then read the liquid underneath.
- Cream and buttermilk. Scrape the jug with a spatula, because a thick coating can hold back a spoonful.
In addition, thick liquids do not always form a clear curve. In that case, read the level where the surface meets the middle of the jug.
Do and Don’t With a Measuring Jug
Do
- Set the jug on a flat counter.
- Read at eye level, at the bottom of the curve.
- Check the unit printed beside the line.
- Grease the jug before sticky liquids.
- Pick a jug sized to the amount you need.
Don’t
- Hold the jug up to the light to read it.
- Read from above unless the scale is angled.
- Assume a UK pint equals a US pint.
- Pour boiling liquid into thin plastic.
- Use a jug for flour, sugar or other dry goods.
Honest Limits of a Measuring Jug
A jug is a convenient tool, not a lab instrument. To begin with, kitchen jugs are not made to a tight standard, so the printed lines can be off by a few percent. Also, the lines are often far apart, which makes small amounts hard to judge. In practice, this rarely matters for soups, sauces or stock.
Volume also tells you nothing about weight. For example, 1 cup of water weighs about 236 g, while 1 cup of honey weighs roughly 1.4 times as much. Therefore, if a baking recipe gives grams, a kitchen scale will beat any jug. Likewise, if you are measuring less than about 1/4 cup, measuring spoons are usually more accurate. Our guide to how much 30 mL is shows small amounts in spoons.
When You Need More Precision
Some jobs need more than a kitchen jug can give. In those cases, switch tools:
- Baking by weight. Use a digital scale when the recipe lists grams.
- Tiny amounts. Use measuring spoons, or a marked medicine cup for a few milliliters.
- Science and lab work. Use a graduated cylinder, which has finer, more accurate markings.
- Liquid medicine. Use the oral syringe or dosing cup that comes with the medicine, and dose in mL.
Frequently Asked Questions
How do you read a measuring jug correctly?
Set the jug on a flat surface, bend down until your eye is level with the line, and read the bottom of the curved liquid surface.
Why should a measuring jug sit on a flat surface?
A tilted jug raises the liquid on one side, so the reading changes depending on where you look. A flat counter keeps the surface level.
How many mL is 1 cup on a measuring jug?
On a US jug, 1 cup is about 236.59 mL, or 8 US fl oz. Jugs from Australia or Canada may use a 250 mL metric cup.
Can I use a measuring jug for dry ingredients?
It is not ideal. You cannot level flour or sugar at the rim, so dry cups or a scale give better results.
What is the meniscus on a measuring jug?
It is the slight curve the liquid forms where it meets the wall. For water-like liquids, read the lowest point in the middle.
How do I measure honey in a measuring jug?
Lightly oil the inside first, pour in the honey, read it at eye level, then scrape it out with a spatula.
Is a UK measuring jug pint the same as a US pint?
No. A UK pint is about 568 mL, while a US pint is about 473 mL, so the UK pint is roughly 20% larger.
How accurate is a kitchen measuring jug?
Good enough for most cooking. Still, lines can be off by a few percent, so use a scale for precise baking.
Can I pour boiling water into a measuring jug?
Only if the jug is labeled heat resistant, such as tempered or borosilicate glass. Always pour with the jug on the counter.
What size measuring jug should I buy first?
A 2-cup jug, which usually marks 500 mL too, covers most recipes. Add a 4-cup jug if you often make soups, brines or batters.
Measuring Jug Basics: The Bottom Line
To sum up, the jug is rarely the problem; the reading is. Keep it flat, bring your eye to the line, read the bottom of the curve, and check which scale you are using. With those habits, a basic jug is accurate enough for nearly every recipe.
Finally, when an amount is very small, very precise or given in grams, reach for spoons, a scale or a dosing syringe instead. And if you need to switch units, the converter near the top of this page does the math for you.