

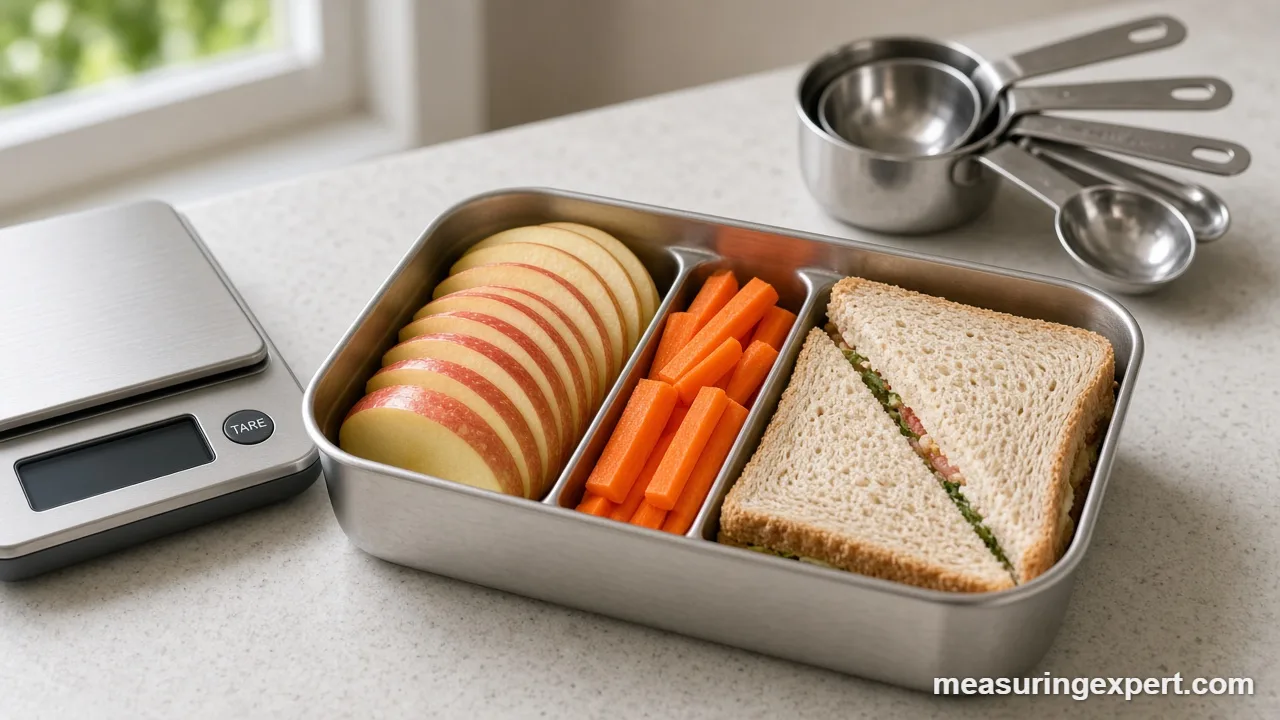
To measure school lunch ingredients, weigh solid foods in grams or ounces and measure liquids and cut fruit in cups. As a guide, USDA school meals serve grades K-8 at least 1/2 cup of fruit and 3/4 cup of vegetables a day, which is 118 mL and 177 mL. Then pack each portion in a container that fits.
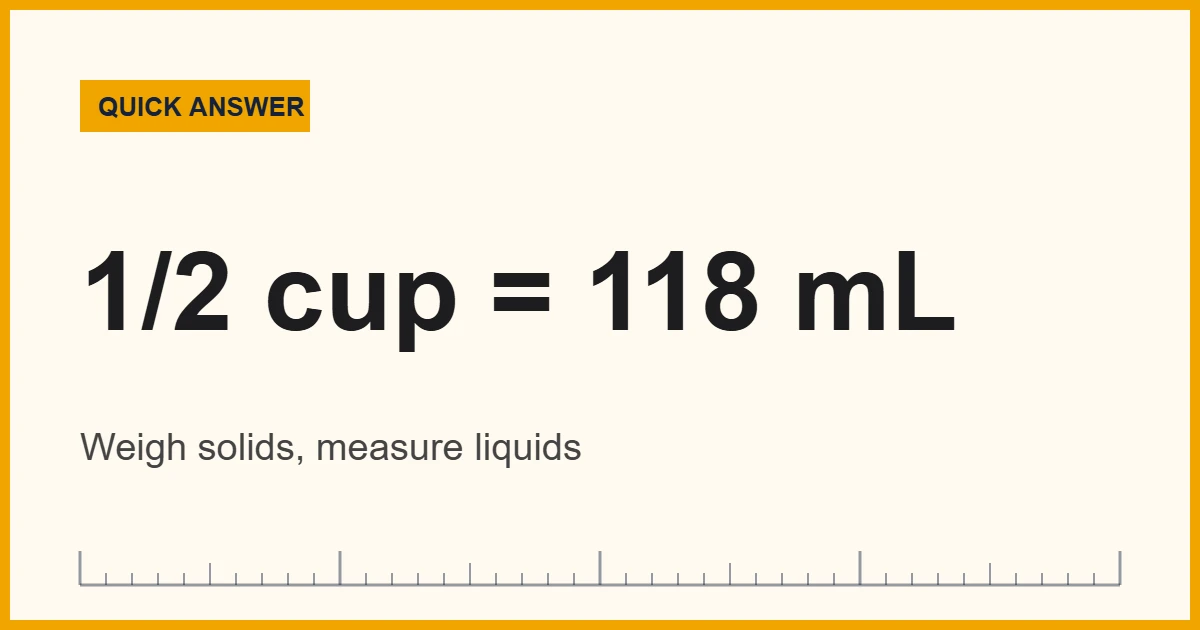
Convert Cups to mL to Measure School Lunch Ingredients
First, enter a lunch portion in cups, such as 1/2 for a fruit cup. Next, the converter shows the same amount in milliliters, fluid ounces and tablespoons, so you can match it to the markings on a lunch container.
Packing a lunch by eye is quick, but it is also unreliable. As a result, one day’s lunch can hold twice as much fruit as the next, while the sandwich changes size with the loaf. Measuring fixes that, and it takes only a few minutes once a week.
This guide shows how to measure school lunch ingredients with a scale, cups and spoons. In addition, it covers portion sizes by grade, scaling recipes for a full week, and safe temperatures for the lunch box.
School Lunch Portion Chart: Cups, mL and Ounces
First, use this chart to turn a recipe or a school-meal guideline into a container size. All values use the exact US cup of 236.588 mL, so they are slightly different from the 240 mL label cup.
| Cups | Milliliters | Tablespoons | US fluid ounces |
|---|---|---|---|
| 1/4 cup | 59.15 mL | 4 tbsp | 2 fl oz |
| 1/2 cup | 118.29 mL | 8 tbsp | 4 fl oz |
| 3/4 cup | 177.44 mL | 12 tbsp | 6 fl oz |
| 1 cup | 236.59 mL | 16 tbsp | 8 fl oz |
| 1 1/2 cups | 354.88 mL | 24 tbsp | 12 fl oz |
| 2 cups | 473.18 mL | 32 tbsp | 16 fl oz |
Also, for a bigger conversion table, see our guide to the metric system in cooking. In addition, a container’s printed capacity is usually in ounces or milliliters, so check the label before you buy.
Recommended Tools to Measure School Lunch Ingredients
In short, a few simple tools cover almost every lunch. First, a digital scale with a tare button handles meat, cheese, spreads and snacks. Next, a set of measuring spoons helps with dressings and dips. Also, a portioned container and an insulated bag with a frozen gel pack keep the finished lunch organized and cold.


As an Amazon Associate, Measuring Expert earns from qualifying purchases.
Key Takeaways
- First, weigh solids in grams and measure liquids in milliliters or cups.
- Also, 1/2 cup is 118.29 mL and 3/4 cup is 177.44 mL.
- In addition, USDA school meals list 1/2 cup of fruit and 3/4 cup of vegetables daily for grades K-8.
- Meanwhile, grades 9-12 get 1 cup of fruit and 1 cup of vegetables a day in the same pattern.
- Therefore, use the school pattern as a guide, not a rule for every child.
- Finally, keep cold food at 40 F or below with a frozen gel pack.
Why Weighing Beats Scooping When You Measure School Lunch Ingredients
A cup is a volume, so what it holds depends on how you fill it. For example, the King Arthur ingredient weight chart lists 1 cup of all-purpose flour as 120 g, but 1 cup of granulated sugar as 198 g. In other words, the same cup holds very different weights.
| Ingredient | Volume | Grams | US ounces |
|---|---|---|---|
| All-purpose flour | 1 cup | 120 g | 4 1/4 oz |
| Granulated sugar | 1 cup | 198 g | 7 oz |
| Rolled oats | 1 cup | 113 g | 4 oz |
| Peanut butter | 1/2 cup | 135 g | 4 3/4 oz |
| Honey | 1 tbsp | 21 g | 3/4 oz |
First, these are the chart’s published values. Consequently, 2 tablespoons of peanut butter, which is one quarter of the 1/2 cup listed, comes to about 34 g, or 1.19 oz. A scale gives that number directly, whereas a spoon depends on how level and how packed it is.
Scales also save washing up. Because you can place the lunch container on the scale, press tare, and add each food in turn, a single dish does the whole job. For more on the weight ounce, see how much an ounce is.
Measure School Lunch Ingredients by Grade Level
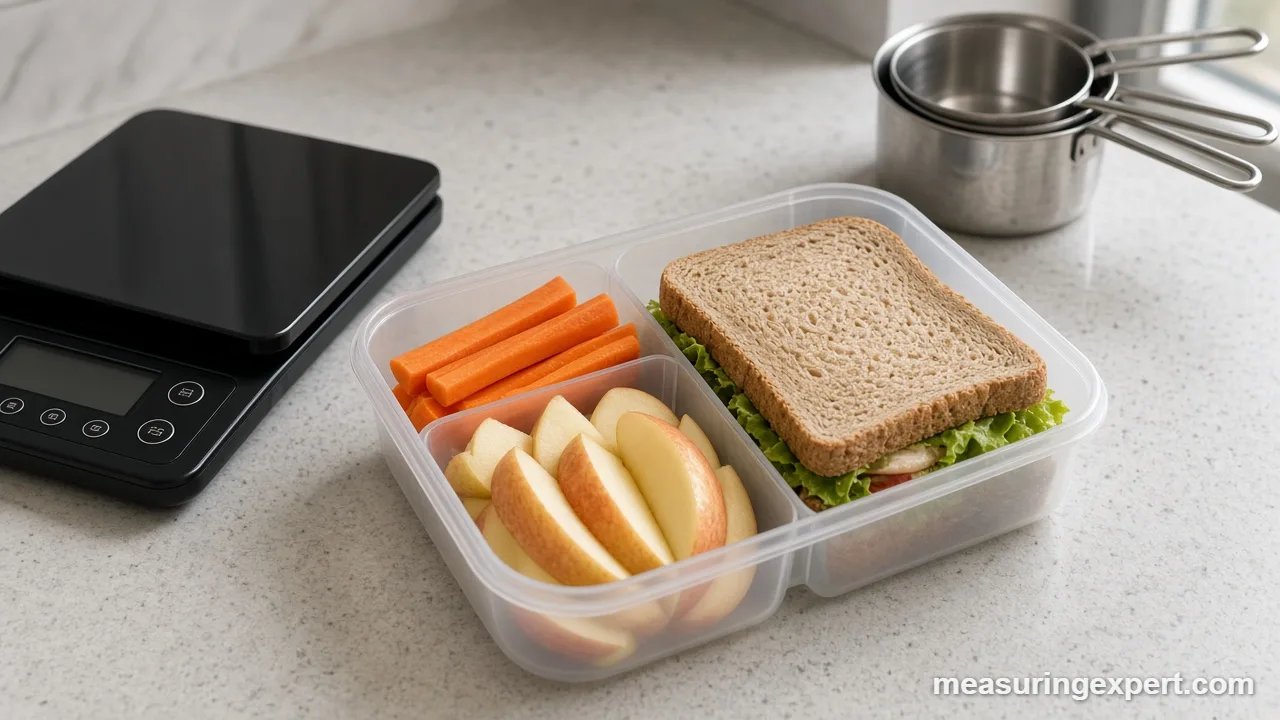
In fact, school cafeterias follow a federal pattern, and it makes a handy reference for home lunches. The USDA school lunch meal pattern lists weekly amounts, so the daily minimum is shown in brackets.
| Food group | Grades K-5 | Grades 6-8 | Grades 9-12 |
|---|---|---|---|
| Fruit (cups) | 2 1/2 a week (1/2 a day) | 2 1/2 a week (1/2 a day) | 5 a week (1 a day) |
| Vegetables (cups) | 3 3/4 a week (3/4 a day) | 3 3/4 a week (3/4 a day) | 5 a week (1 a day) |
| Grains (oz eq) | 8-9 a week (1 a day) | 8-10 a week (1 a day) | 10-12 a week (2 a day) |
| Meat or alternate (oz eq) | 8-10 a week (1 a day) | 9-10 a week (1 a day) | 10-12 a week (2 a day) |
| Milk (cups) | 5 a week (1 a day) | 5 a week (1 a day) | 5 a week (1 a day) |
In metric terms, for example, the daily fruit minimum for younger grades is 118.29 mL, and the vegetable minimum is 177.44 mL. Similarly, the milk portion of 1 cup is 236.59 mL. Over a week, a K-5 lunch box needs about 591 mL of fruit and 887 mL of vegetables, while 5 cups of milk is about 1.18 L.
How to Measure School Lunch Ingredients Step by Step
- Pick the portion targets. First, decide the cups or grams for each food group, using the grade table above as a guide.
- Weigh the container. Next, place the empty lunch box on the scale and press tare, so the display reads zero.
- Add solids by weight. Then add meat, cheese or spreads until the display shows the target in grams.
- Measure fruit and vegetables by cup. Fill a 1/2 cup or 3/4 cup measure, or instead use a container that holds that amount.
- Measure liquids at eye level. Pour dressings, yogurt or juice into a marked cup, then read the line from the side.
- Seal and chill. Finally, close the lid and keep the lunch cold until it goes into the bag.
Scale Recipes to Measure School Lunch Ingredients in Bulk
Batch cooking saves time on busy mornings, but it needs math. First, divide the number of lunches you want by the number the recipe makes. For example, a recipe for 4 servings becomes 5 lunches with a factor of 1.25.
Weights make that easy, whereas cups give awkward fractions. For instance, here is a no-bake oat bite recipe, shown for the math only.
| Ingredient | Original (4 servings) | Times 1.25 (5 servings) | By weight |
|---|---|---|---|
| Rolled oats | 1 cup | 1 1/4 cups | 141 g |
| Peanut butter | 1/2 cup | 5/8 cup | 169 g |
| Honey | 3 tbsp | 3 3/4 tbsp | 79 g |
Also, the weights use the King Arthur values above: 113 g of oats per cup, 135 g of peanut butter per half cup and 21 g of honey per tablespoon. As a result, 5/8 cup of peanut butter becomes a clean 169 g, which is easier to read on a scale.
Likewise, liquids scale the same way. For instance, a dressing of 3 tablespoons becomes 3.75 tablespoons, which is 3 tablespoons plus 2 1/4 teaspoons, or about 55 mL. If your measuring cup is stuck in the dishwasher, our guide to a measuring cup substitute can help.
Sticky and Messy Foods in the Lunch Box
Peanut butter, honey and yogurt, for instance, cling to every spoon. As a result, a lot of the food stays behind, and the portion ends up smaller than planned. Weighing avoids most of the problem, since you spoon straight into the container.
- Oil the spoon first. A light coat of oil helps honey or syrup slide off completely.
- Use a scraper. A small silicone spatula clears the cup, so the full amount lands in the lunch box.
- Measure the oil before the syrup. The oily film then helps the syrup release.
- Weigh the jar. Place it on the scale, spoon some out, and then subtract the new reading.
Check the school’s own allergen rules before you pack spreads or nuts, because many schools set limits.
Keeping Lunches Safe After You Measure
Correct portions only help if the food is still safe at noon. The USDA page school lunch prep reminders says perishable food should not sit between 40 F and 140 F for more than two hours, while on a 90 F day the limit is one hour.
| Food type | Target | How to get there |
|---|---|---|
| Cold food | 40 F (4.4 C) or below | Insulated bag with a frozen gel pack and a frozen drink |
| Hot food | 140 F (60 C) or above | Preheat an insulated container with boiling water, add the food, and keep it closed |
| Shelf-stable food | No cooling needed | Whole fruit, hard cheese and crackers |
Common Mistakes When You Measure School Lunch Ingredients
- Measuring by eye. Portions drift from day to day, so the lunch is sometimes too small.
- Packing flour or sugar by the cup. The weight varies a lot, so the chart above is a better guide.
- Ignoring the container size. A 25 oz box holds about 3 cups, so a small portion looks lost in it.
- Forgetting to tare. The container’s own weight is then counted as food.
- Using the label cup by mistake. A 240 mL label cup is about 1.4% larger than a US cup, so the two differ slightly.
Also, our guide to measuring with a measuring cup explains level and packed scoops in more detail.
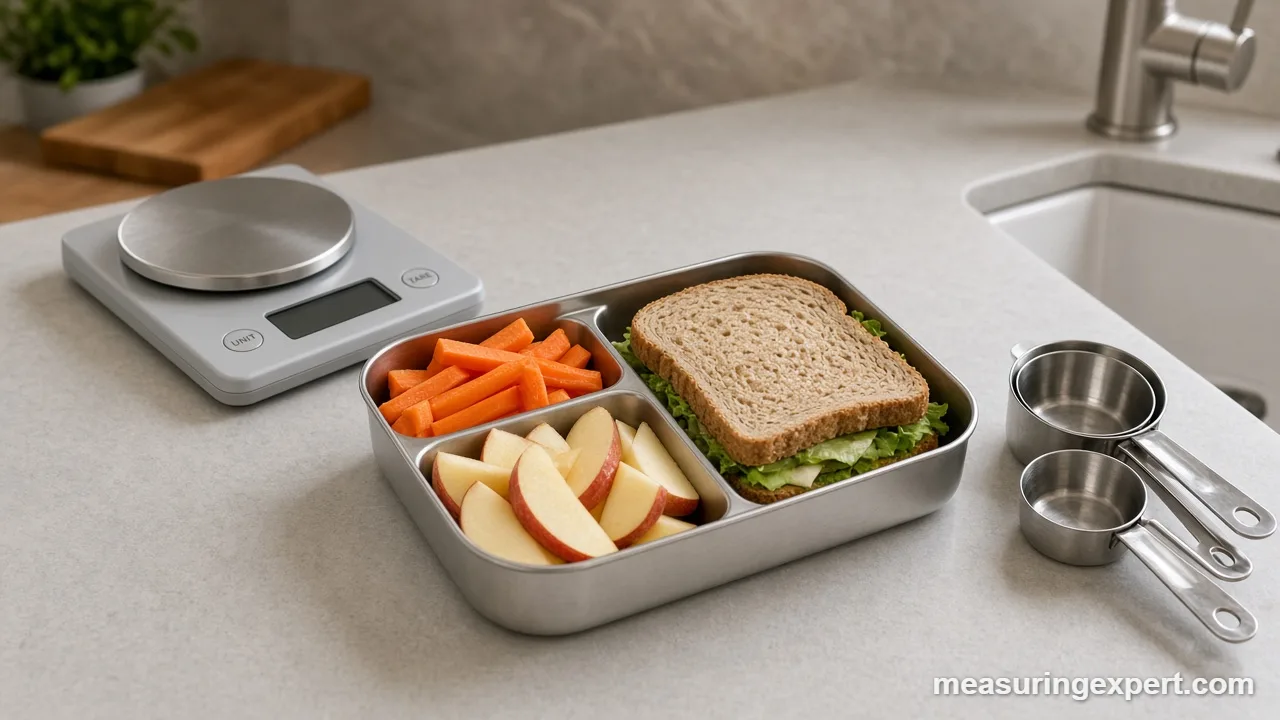
Do and Don’t When You Measure School Lunch Ingredients
Do
- Weigh solids and meats in grams.
- Also write the container weight on its lid.
- Next, measure liquids at eye level.
- Use a frozen gel pack for cold items.
- Finally, plan the week’s portions on Sunday.
Don’t
- Assume one cup of any food weighs the same.
- Skip the tare step on the scale.
- Leave perishable food out for over two hours.
- Treat school-meal minimums as a rule for every child.
- Guess when a jar or label gives grams.
Honest Limits of These Numbers
Overall, these figures are reference values, not a personal plan. For one thing, the school meal pattern describes averages for groups of children, so it cannot say how much your child needs. Moreover, the King Arthur weights depend on how the ingredient is packed, and brands of peanut butter or oats differ a little. In short, use the numbers as a starting point, and ask a pediatrician or registered dietitian about your child’s specific needs.
When Accuracy Really Matters
For example, for a fruit cup or a sandwich, a few grams either way rarely matters. Allergies, medical diets and baked goods are different, however, because small errors change the result. In those cases, therefore, weigh each ingredient and write the recipe down.
Never use kitchen spoons or cups for liquid medicine. Instead, use the dosing device that comes with the medicine, and ask a pharmacist if you are unsure.
Frequently Asked Questions
What is the best way to measure school lunch ingredients?
First, the best way is to weigh solid foods on a digital scale and measure liquids in a marked cup. As a result, every lunch has the same portions from day to day.
How much fruit should I pack in a school lunch?
For example, USDA school meals list at least 1/2 cup (118.29 mL) a day for grades K-8 and 1 cup (236.59 mL) for grades 9-12. However, your child may need more or less.
How much vegetable should I pack in a school lunch?
First, the USDA pattern lists at least 3/4 cup (177.44 mL) a day for grades K-8 and 1 cup for grades 9-12. In addition, it counts 3 3/4 cups a week for K-8.
How many grams is 2 tablespoons of peanut butter?
About 34 g, or 1.19 oz. For example, the King Arthur chart lists 135 g for 1/2 cup, and 2 tablespoons is one quarter of that.
Is it better to weigh or measure school lunch ingredients?
Weighing is usually better for solids because cups vary with packing. Meanwhile, cups work well for liquids and cut fruit.
How many tablespoons are in 1/2 cup?
First, there are 8 tablespoons in 1/2 cup. Similarly, 3/4 cup is 12 tablespoons and 1/4 cup is 4 tablespoons.
How do I measure school lunch ingredients for a whole week?
Multiply one day’s portion by five, then weigh or measure it once. For example, 1/2 cup of fruit a day becomes 2 1/2 cups, or about 591 mL, for the week.
How long can a packed lunch sit out?
First, USDA says perishable food should not stay between 40 F and 140 F for more than two hours. On a 90 F day, however, the limit is one hour.
What temperature should a cold school lunch stay at?
Cold items should stay at 40 F or below. Therefore, use an insulated bag with a frozen gel pack.
Do I need a scale to measure school lunch ingredients?
No, but a scale makes it faster and more accurate. Instead of a scale, you can use marked cups, though results then vary more.
Measure School Lunch Ingredients: The Bottom Line
To sum up, weigh solids, measure liquids, and use the school meal pattern as a rough guide. Because a cup of flour weighs 120 g and a cup of sugar weighs 198 g, a scale is the most reliable tool for solid foods.
Finally, use the converter at the top of the page to match cups to container sizes. Then keep cold food at 40 F or below, so the lunch you measured is still safe to eat at noon.
1 thought on “How to Measure School Lunch Ingredients: Portions, Weights and Safe Packing”