

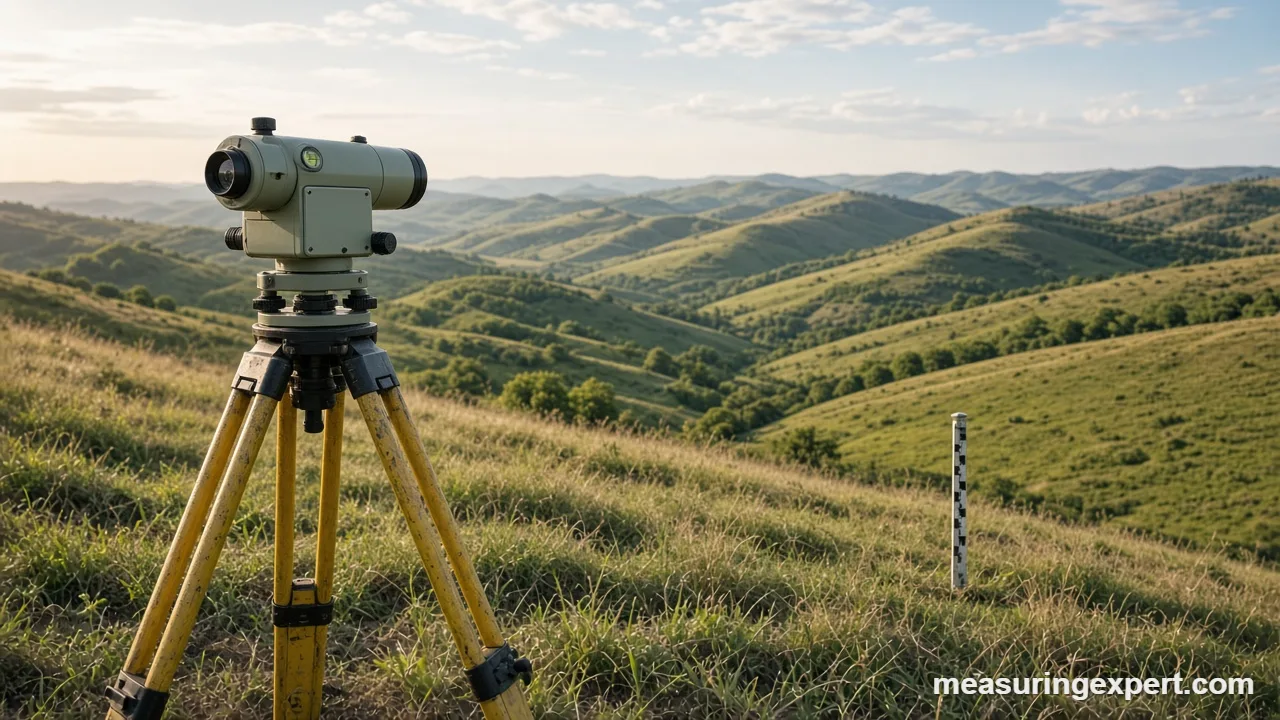
To measure an elevation change, find the height of two points against the same reference and subtract one from the other. With an auto level and rod, the elevation change equals the backsight minus the foresight. Then divide that rise by the horizontal run and multiply by 100 to get the slope in percent.
Every yard, driveway, ditch and building pad has a shape, and that shape decides where water goes. So before you regrade a lawn, set a patio or plan a drainage swale, you need to know how much the ground rises or falls between two spots. Fortunately, the math is simple. Instead, the hard part is taking readings you can trust.
There are three practical ways to find the numbers. First, you can run a line of levels with an optical auto level and a grade rod, which is the most accurate low-cost method. Second, you can also read heights from a GPS or GNSS receiver. Third, you can work from a contour map or a lidar elevation model when you only need a rough figure for a large area.
In short: pick the method that matches the accuracy you need, measure both points from one reference, subtract to get the rise, and then turn rise over run into a percent grade or an angle.
What an Elevation Change Means on Maps and GPS
The US Geological Survey describes contour lines as lines that connect points of equal elevation, usually measured above mean sea level. Likewise, NOAA’s National Geodetic Survey explains that a GPS receiver measures height above a mathematical ellipsoid, so that number has to be corrected with a geoid model before it matches a leveled elevation. Both ideas, therefore, matter later in this guide.
Next, below you will find a slope converter, the step-by-step leveling method, two worked examples, and a plain comparison of every method.
Convert an Elevation Change Into Slope, Degrees and Pitch
Once you know the rise and the run, enter the slope as a percent grade (rise / run x 100). As a result, the converter shows the same slope in degrees and as a roof-style pitch. For example, a fall of 1 ft over 50 ft is a 2% grade, which is about 1.15 degrees.
Recommended Tools for Measuring Land Elevation
For yard and site work, an automatic optical level on a sturdy tripod, plus a grade rod marked in feet and tenths, covers most jobs. Meanwhile, a rotary laser level lets one person check many points quickly, because a receiver on the rod beeps at the laser plane. The picks below come from established surveying brands and are based on manufacturer specs and buyer reports.





As an Amazon Associate, Measuring Expert earns from qualifying purchases.
Key Takeaways
- An elevation change is the difference in height between two points measured from the same reference.
- With a level and rod, the change between two points equals backsight minus foresight.
- Next, slope in percent is rise divided by run, times 100; a 100% grade is 45 degrees.
- In practice, optical or laser leveling is the most accurate method for yards and building sites.
- However, handheld GPS heights are rough, and they need a geoid correction to match map elevations.
- Similarly, contour maps and lidar models suit planning, not final grading.
- Finally, property lines, flood elevations and permits call for a licensed surveyor.
Ways to Measure an Elevation Change Compared
Each method, of course, trades cost, speed and accuracy differently. As a result, the right choice depends on the job, not on which tool is newest.
| Method | Best for | Typical accuracy | Main drawback |
|---|---|---|---|
| Auto level + grade rod | Yards, patios, footings, drainage | Hundredths of a foot over short sights | Needs two people and a clear line of sight |
| Rotary laser + receiver | Grading many points, one-person work | Fractions of an inch per 100 ft (see the spec sheet) | Higher cost; limited range in bright sun without a receiver |
| Total station | Site surveys that also need positions | Survey grade | Expensive; needs training |
| Survey-grade GNSS (RTK) | Large sites, open sky | Centimeter level with corrections | Expensive; weak under trees and near buildings |
| Phone or handheld GPS | Hiking, rough checks | Several meters vertically | Too coarse for grading |
| Contour map or lidar model | Planning, watershed and route studies | Depends on the data set | Shows the ground when the data was collected |
In comparison, a total station combines an electronic theodolite with a distance meter, so it measures angles and distances at once. If you want to see how the angle side works, our guide on how to use a theodolite walks through setup and reading.
How to Measure an Elevation Change With an Auto Level and Rod
This is called differential leveling. First, the level sets up a perfectly horizontal line of sight, and the rod tells you how far below that line each point sits.
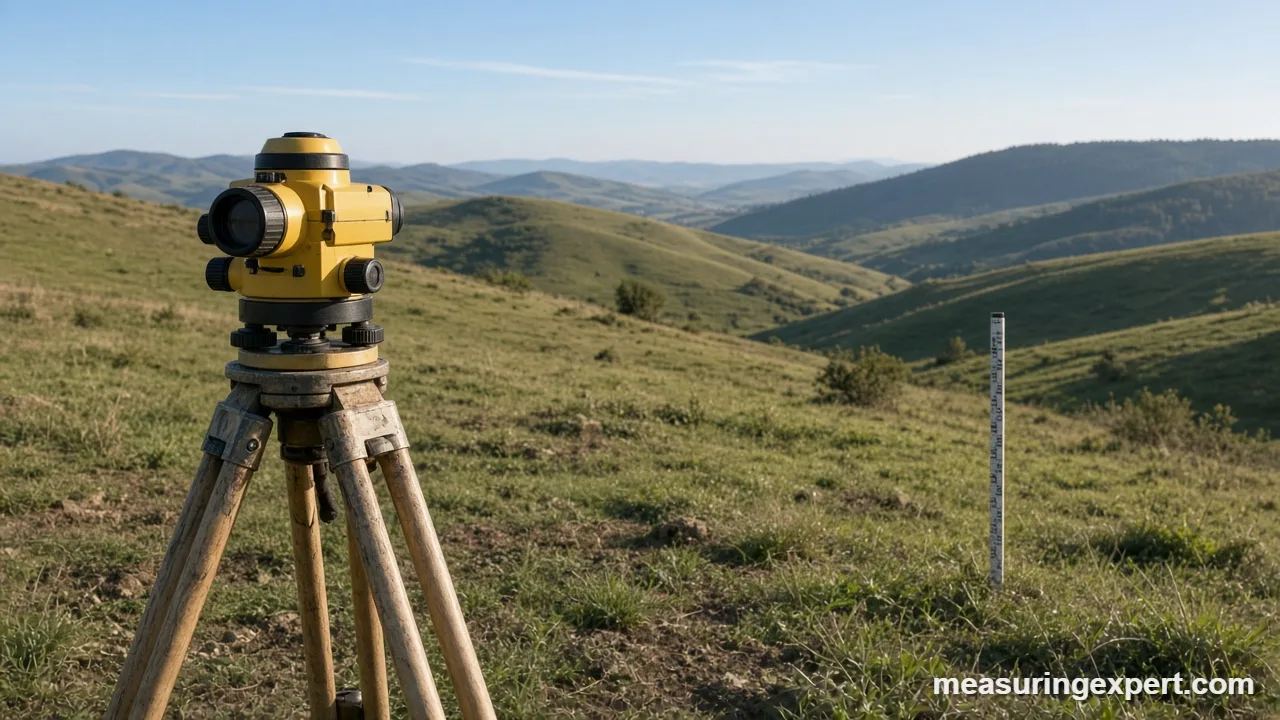
- Pick a reference point. Use a known benchmark, or instead assign a starting elevation such as 100.00 ft to a stable spot like a curb or a nail in a stake.
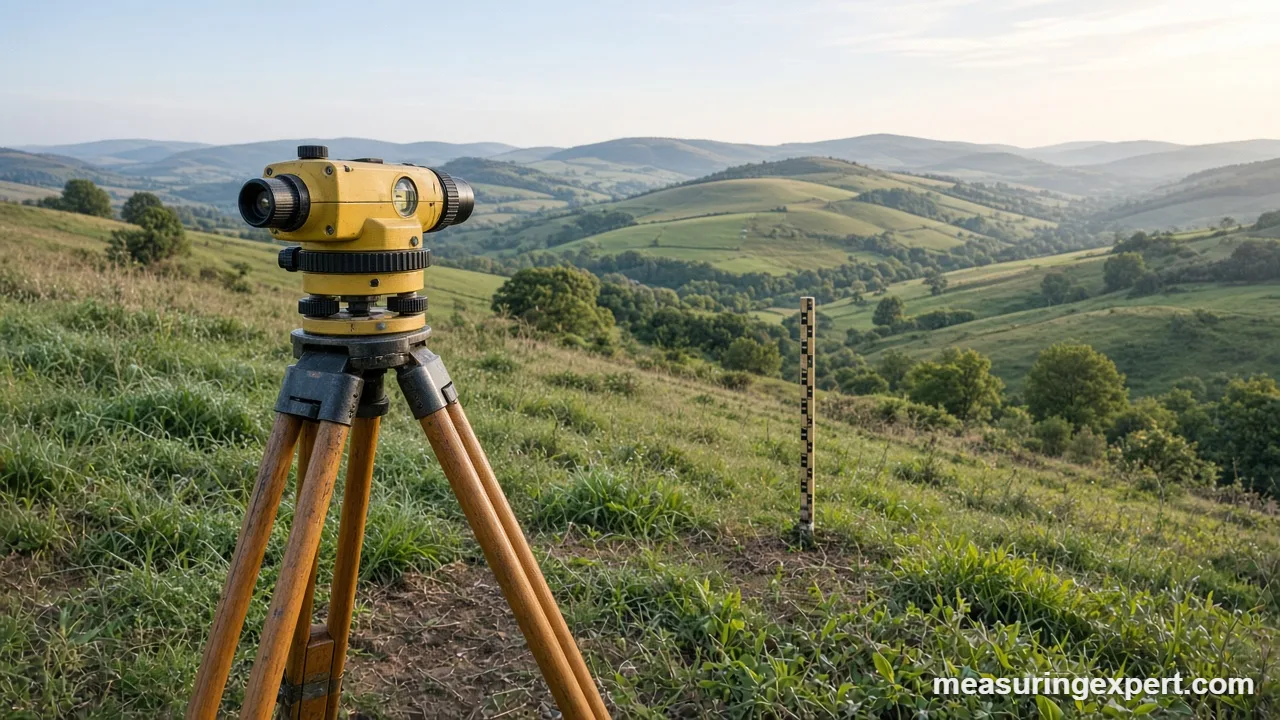
- Set up the tripod and level. Place it roughly halfway between the two points, then press the legs firmly into the soil, and center the circular bubble.
- Take the backsight. Have a helper hold the rod plumb on the reference point, then read the rod at the center crosshair. Add this reading to the reference elevation to get the height of instrument (HI).
- Take the foresight. Next, move the rod to the new point and read it again without moving the level.
- Calculate the new elevation. Subtract the foresight from the HI. In other words, the difference between the two points is backsight minus foresight.
- Add turning points if needed. When the next point is out of view, keep the rod on the last point, move the level forward, and repeat the backsight and foresight.
- Close the loop. Finally, level back to the starting point. After that, the closing elevation should match the starting one within a small error.
Elevation Change Worked Example
Suppose you want to know whether the back corner of a lot drains toward the street. So, first, you start on the curb and call it 100.00 ft.
| Point | Backsight (ft) | HI (ft) | Foresight (ft) | Elevation (ft) | Elevation (m) |
|---|---|---|---|---|---|
| Curb (reference) | 4.52 | 104.52 | – | 100.00 | 30.48 |
| Back corner | – | 104.52 | 7.18 | 97.34 | 29.67 |
The back corner sits 4.52 – 7.18 = -2.66 ft relative to the curb, or about 0.81 m lower. Because the result is negative, the corner is lower than the street, and water will pond there unless you regrade or add a drain.
Next, say the two points are 80 ft (24.38 m) apart on level measurement. Then the grade is 2.66 / 80 x 100 = 3.3%, which is about 1.9 degrees.
With more than one setup, the same rule still holds. For instance, three setups with backsights of 5.12, 4.87 and 6.01 ft and foresights of 3.40, 2.95 and 3.22 ft give a total of 16.00 – 9.57 = 6.43 ft of rise.
From Elevation Change to Percent Grade and Degrees
Slope is the elevation change divided by the horizontal distance. Engineers usually express it as a percent; meanwhile, builders often use degrees or a pitch such as 1 in 12.
slope % = rise / run x 100
angle = arctan(rise / run)
pitch = rise / run x 12
| Percent grade | Angle | Rise per 10 ft | Rise per 10 m | Where you see it |
|---|---|---|---|---|
| 1% | 0.57° | 1.2 in | 10 cm | Minimum fall for many paved surfaces |
| 2% | 1.15° | 2.4 in | 20 cm | Common lawn and patio drainage slope |
| 5% | 2.86° | 6 in | 50 cm | 6 in of fall in the first 10 ft away from a foundation |
| 8.33% | 4.76° | 10 in | 83 cm | A 1:12 ramp |
| 10% | 5.71° | 12 in | 1 m | Steep driveway |
| 100% | 45° | 10 ft | 10 m | Rise equals run |
Percent grade and angle, however, are not the same number. For example, a 10% grade is under 6 degrees, and only a 100% grade reaches 45 degrees. To learn how the angle itself is defined and read with different instruments, see our explainer on the angle of inclination and how it is measured.
Finding an Elevation Change With GPS and GNSS
A GNSS receiver (GPS plus other satellite systems) calculates height above the ellipsoid, a smooth mathematical model of Earth. Map elevations, by contrast, are orthometric heights, measured roughly from mean sea level. NOAA’s National Geodetic Survey links them with a simple formula:
h = H + N
h = ellipsoid height, H = orthometric height, N = geoid height
Across the lower 48 states, the geoid height is negative, from about -8 to -53 meters. Therefore, a raw ellipsoid height can be tens of meters off from the elevation on a map. Most phones and handheld units also apply a geoid model for you, but they still carry a vertical error of several meters.
For an elevation change, that error matters even more. For example, say your phone reads 412.6 ft at the top of a field and 398.1 ft at the bottom. The difference is 14.5 ft; however, each reading can be off by more than that. In contrast, survey-grade RTK receivers use correction data and can reach centimeter-level heights under open sky.
| Term | Measured from | Who uses it |
|---|---|---|
| Elevation (orthometric height) | The geoid, close to mean sea level | Maps, building plans, flood zones |
| Ellipsoid height | A mathematical ellipsoid | Raw GPS and GNSS output |
| Altitude | Often used for things in the air | Aviation and everyday speech |
| Relative height | A local reference you choose | Yard grading and site layout |
Reading an Elevation Change From a Contour Map
First, each contour line joins points of equal elevation, and the contour interval (printed in the map legend) is the height between neighboring lines. So to estimate the change between two points, count the lines you cross and multiply by the interval.
For example, on a map with a 10 ft interval, crossing three lines means a 30 ft rise. If the two points are 600 ft apart on the map scale, the average slope is 30 / 600 x 100 = 5%, or about 2.9 degrees. Also, remember the pattern the USGS describes: lines packed close together mean steep ground, while widely spaced lines mean gentle ground.
In addition, free lidar-based elevation models give a finer picture than printed contours. Even so, they show the ground on the day the data was flown, so new fill, cuts or buildings will not appear.
Do and Don’t for Accurate Elevation Readings
Do
- Set the tripod on firm ground and check the bubble before every reading.
- Hold the rod plumb, or rock it slowly and record the lowest reading.
- Also, write every backsight and foresight in a field book.
- In addition, balance your sight distances.
- Finally, close back on your starting point.
Don’t
- Mix feet-and-tenths rods with feet-and-inches notes.
- Bump the tripod between a backsight and a foresight.
- Also, never trust a single phone GPS height for grading.
- Similarly, avoid confusing slope distance with horizontal run.
- Read the rod through heat shimmer at long range.
Honest Limits of DIY Elevation Change Measurements
For example, a home level and rod can resolve hundredths of a foot. Still, your result is only as good as your setup. For instance, a soft tripod leg, a leaning rod or a misread tenth can easily add more error than the instrument does. In addition, an auto level that has been dropped may have a compensator out of adjustment; a two-peg test reveals this.
Moreover, over long distances, Earth curvature and atmospheric refraction add up too. Their combined effect is about 0.0206 ft at 1,000 ft (roughly 6 mm), and it grows with the square of the distance, which is why balanced sights matter. Finally, GPS and map data come with their own uncertainty, so treat them as estimates rather than measurements.
When to Call a Licensed Surveyor
For example, DIY readings work well for a garden bed, a patio or a downspout extension. However, some jobs need certified numbers:
- Flood zone questions and elevation certificates for insurance.
- Boundary lines, easements and anything that affects a neighbor.
- Foundations, retaining walls and septic systems that need permits.
- Major grading, where a mistake can send water toward a building.
Because a licensed land surveyor ties elevations to an official datum and signs the results, engineers and building departments can rely on them.
Elevation Change FAQs
How do you calculate elevation change?
Measure both points from the same reference and subtract the lower elevation from the higher one. For example, with a level and rod, the change equals the backsight reading minus the foresight reading.
How do I find the elevation change in my yard?
Use an auto level or rotary laser with a grade rod. Then read the rod at a reference point and at each spot you care about; the difference between readings is the rise or fall.
How do you turn an elevation change into a percent slope?
Divide the rise by the horizontal run and multiply by 100. For example, 2.66 ft of fall over 80 ft is about a 3.3% slope.
Is percent grade the same as degrees?
No. Percent grade is rise over run times 100, while degrees come from the arctangent of rise over run. A 100% grade equals 45 degrees, and a 10% grade is about 5.71 degrees.
Can a phone measure an elevation change accurately?
Not for grading. Phone GPS heights can be off by several meters, so the difference between two readings is often meaningless for small slopes. So use a level or a survey-grade receiver instead.
What is the difference between elevation and altitude?
Elevation is the height of the ground above a reference, usually mean sea level. Altitude, by contrast, is commonly used for objects in the air, such as aircraft.
Why does my GPS height differ from the map?
Raw GPS gives ellipsoid height, while maps show orthometric height. As a result, the geoid height links them through h = H + N, and in the lower 48 states that correction is roughly -8 to -53 meters.
How do you read an elevation change on a topographic map?
Count the contour lines between the two points and multiply by the contour interval shown in the legend. For example, three lines at a 10 ft interval mean about 30 ft of change.
How much slope do I need for yard drainage?
A 2% slope, about 2.4 in per 10 ft, is a common target for lawns. Near a house, many codes call for 6 in of fall in the first 10 ft, which is a 5% slope.
Do I need a surveyor to measure elevation?
Not for simple yard projects. However, you do need one for flood certificates, boundaries, permitted structures and any work where others rely on official elevations.
Bottom Line
In short, measuring how land rises and falls comes down to one idea: read two points from the same reference and subtract. For example, an auto level and rod do this to a fraction of an inch, GNSS covers large open areas, and contour maps or lidar give you a quick planning estimate. Then, rise over run times 100 turns that difference into a slope you can build to.
So start with a stable reference, balance your sights, write everything down, and close back on your starting point. Finally, use the converter above to switch between percent, degrees and pitch, and bring in a licensed surveyor whenever the numbers carry legal or structural weight.