

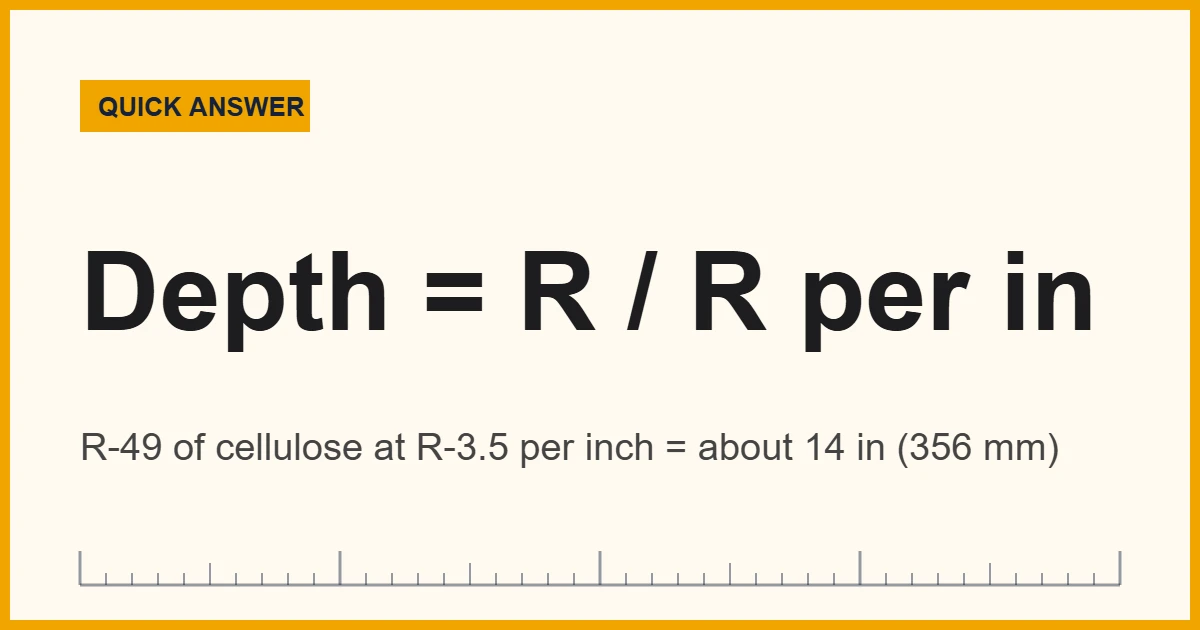
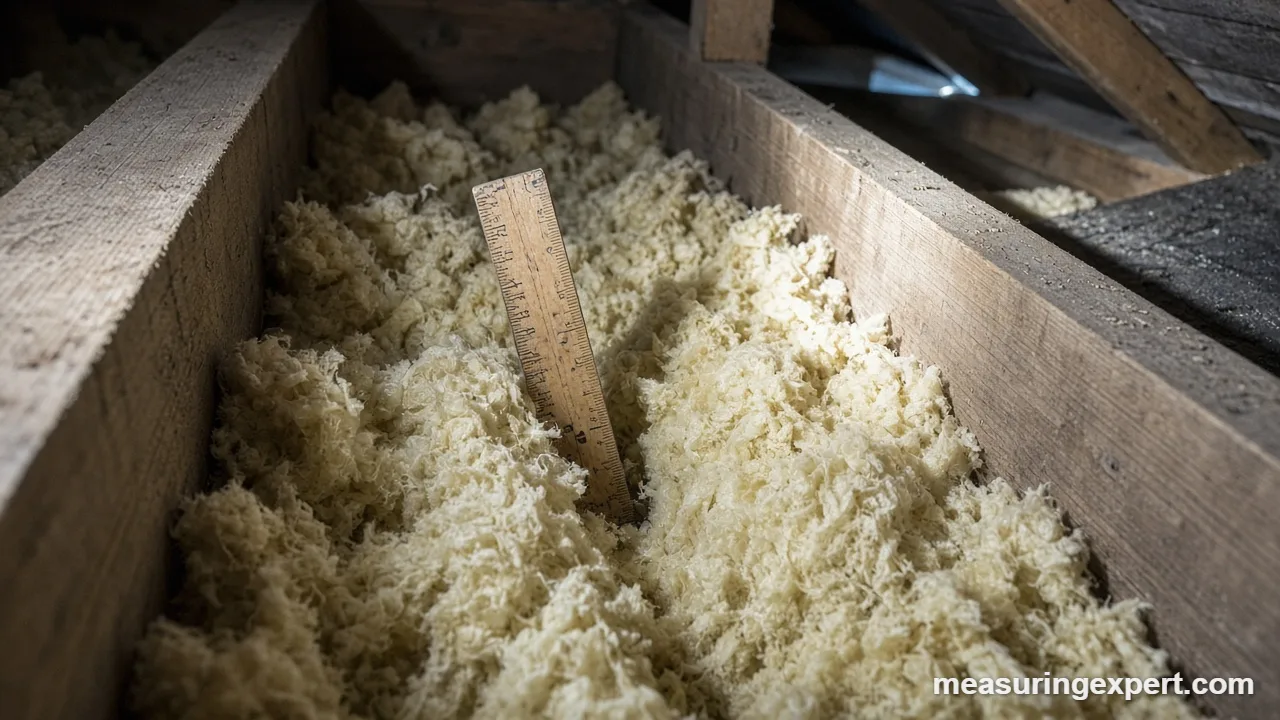
To find insulation thickness, divide the R-value you need by the R-value per inch of your material. For example, R-49 of loose-fill cellulose (about R-3.5 per inch) needs roughly 14 inches (356 mm). To measure existing insulation, push a ruler straight down to the deck and read the depth.
Insulation is sold by R-value, but you measure it with a ruler. Not surprisingly, that gap confuses a lot of homeowners. For example, a bag of blown fiberglass and a sheet of foam board can have the same R-value at very different depths. As a result, “how thick should my insulation be?” has no single answer until you know the material.
However, the good news is that the math is short. First, pick a target R-value for your climate and the part of the house you are insulating. Next, look up the R-value per inch of the product. Finally, divide one by the other. In addition, measuring what you already have tells you how much more to add, so you rarely need to start from zero.
In short: insulation thickness (inches) = target R-value / R-value per inch. Then measure the existing depth in several spots, multiply by its R-value per inch, and subtract that from your target to see what is missing.
The US Department of Energy explains on its Energy Saver insulation page that R-value depends on the type of insulation, its thickness and its density. It also notes that you add the R-values of separate layers, and that compressed insulation loses part of its rated value. Therefore, those three rules shape everything on this page.
Below you will find a thickness converter, a chart of R-value per inch, the DOE recommended R-values by climate zone, and a step-by-step method for measuring attic, wall and pipe insulation.
Convert Insulation Thickness Between Inches and Millimeters
Product labels in the US list depth in inches, while European and Canadian specs often use millimeters. So type a depth below to switch between the two. Then use the R-value chart further down to turn that depth into an R-value.
Recommended Tools for Measuring Insulation Thickness
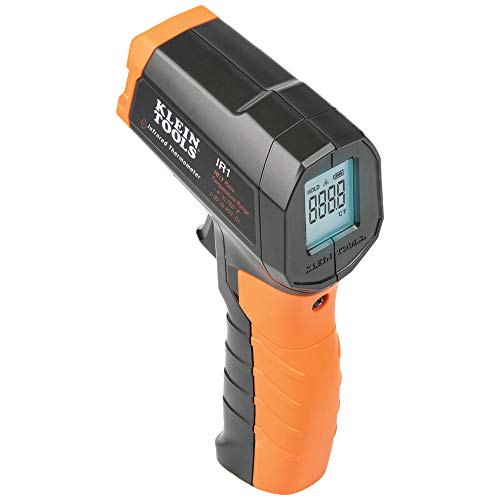
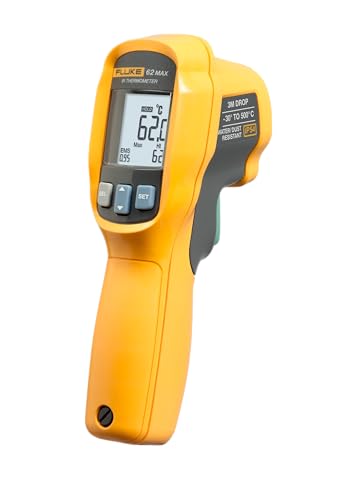
First of all, you do not need special gear for an attic check. A stiff tape measure or ruler handles depth, and a caliper reads foam board and pipe insulation more precisely. Meanwhile, an infrared thermometer or a thermal camera helps you find thin or missing spots before you measure them. For a broader look at depth and distance tools, see our guide to the tools used to measure length.




As an Amazon Associate, Measuring Expert earns from qualifying purchases.
Key Takeaways
- Thickness = target R-value divided by R-value per inch.
- Loose-fill fiberglass is about R-2.2 to R-2.9 per inch; cellulose is about R-3.2 to R-3.8.
- Rigid foam packs more R-value into less depth: XPS is about R-5 and polyiso about R-6 per inch.
- DOE suggests R-49 to R-60 in most US attics, which is roughly 14 to 24 inches of loose fill.
- Measure in at least five spots and use the average, not the deepest reading.
- Squashed insulation does not keep its label R-value.
- Finally, the package label is the final word on R-value per inch for any product.
Insulation Thickness and R-Value per Inch by Material
To begin with, R-value per inch tells you how much thermal resistance each inch of a material adds. Because it varies so much, two attics with the same insulation thickness can perform very differently. In general, the figures below are typical ranges. For rigid boards and spray foam they follow the Pacific Northwest National Laboratory’s Building America table of typical R-values; loose-fill ranges are common label values.
| Material | Typical R-value per inch | Depth for R-30 | Depth for R-49 |
|---|---|---|---|
| Loose-fill fiberglass (attic) | R-2.2 to R-2.9 | 10.3 to 13.6 in | 16.9 to 22.3 in |
| Loose-fill cellulose | R-3.2 to R-3.8 | 7.9 to 9.4 in | 12.9 to 15.3 in |
| Fiberglass batts | R-2.5 to R-4.0 (high-density up to about R-4.3) | about 8 to 10 in | about 13 to 16 in |
| Mineral wool board or batt | R-3 to R-4 | 7.5 to 10 in | 12.3 to 16.3 in |
| Open-cell spray foam | about R-3.5 to R-3.7 | 8.1 to 8.6 in | 13.2 to 14.0 in |
| Expanded polystyrene (EPS) | R-3.8 to R-4.4 | 6.8 to 7.9 in | 11.1 to 12.9 in |
| Extruded polystyrene (XPS) | about R-5 | 6 in | 9.8 in |
| Polyiso board | about R-6 | 5 in | 8.2 in |
| Closed-cell spray foam | about R-6 | 5 in | 8.2 in |
DOE Recommended R-Values by Climate Zone
Next, you need a target. The DOE table below is based on the 2021 International Energy Conservation Code (IECC). First, find your climate zone on the DOE page or your local code office, then read across. For instance, zone 1 is the far south of Florida and Hawaii; zones 7 and 8 cover northern Minnesota and Alaska.
| Zone | Uninsulated attic | Attic with 3-4 in existing | Floor |
|---|---|---|---|
| 1 | R-30 to R-49 | R-19 to R-38 | R-13 |
| 2 | R-49 to R-60 | R-38 to R-49 | R-13 |
| 3 | R-49 to R-60 | R-38 to R-49 | R-19 |
| 4 (except Marine) | R-60 | R-49 | R-19 |
| 4 Marine and 5 | R-60 | R-49 | R-30 |
| 6 | R-60 | R-49 | R-30 |
| 7 and 8 | R-60 | R-49 | R-38 |
Wall targets combine cavity insulation with continuous insulation (CI) on the outside. For example, DOE lists R-13 in zones 1 and 2, and options such as R-13 plus R-10 CI or R-20 plus R-5 CI in zones 4 to 8. Similarly, in already-insulated walls in zones 4 to 8, the suggestion is to add R-10 of continuous insulation when you re-side.
To turn these numbers into depth, divide by R-value per inch. So R-60 in a zone 5 attic means about 17 inches (432 mm) of cellulose at R-3.5, or about 24 inches (610 mm) of loose fiberglass at R-2.5. That is also why attic rulers often go up to 20 inches or more.
How to Calculate Insulation Thickness
The core formula is a simple division. However, most real jobs start with some insulation already in place, so it helps to run it in two steps.
Thickness needed (in) = Target R / R per inch
Existing R = Measured depth (in) x R per inch of old material
Added thickness (in) = (Target R - Existing R) / R per inch of new material
Example 1, empty attic in zone 3. You want R-49 with cellulose at R-3.5 per inch. Therefore, 49 / 3.5 = 14 inches, or about 356 mm.
Example 2, topping up an old attic. You measure 4 inches of old loose fiberglass at about R-2.5 per inch, so you have roughly R-10. So, to reach R-49, you need R-39 more. With cellulose at R-3.5, that is 39 / 3.5 = 11.1 inches on top. With fiberglass at R-2.5, it is 15.6 inches instead.
Example 3, a wall. A 2×4 wall has a 3.5-inch cavity. For instance, an R-15 high-density batt fills it at about R-4.3 per inch. As a result, the only way to go higher is to add continuous foam outside, such as 2 inches of XPS for about R-10.
Meanwhile, metric readers use RSI. To convert, multiply the US R-value by 0.1761. For instance, R-49 is about RSI 8.63 and R-60 is about RSI 10.57. In the same way, R per inch becomes RSI per 25.4 mm.
Where the R-value per inch comes from
Specifically, R-value is thickness divided by thermal conductivity. In US units, thermal conductivity (k) is in BTU-inch per hour, square foot and degree F. So a material with k = 0.25 has an R-value of 1 / 0.25 = 4 per inch. Engineers use this when sizing pipe insulation, because heat flow equals area times temperature difference divided by R. For a house, though, the label R-value per inch is all you need.
How to Measure Insulation Thickness in an Attic or Wall
Generally speaking, measuring is quick once you are safely in the attic. Before you start, wear a dust mask, gloves, long sleeves and eye protection, and step only on joists or a walk board.
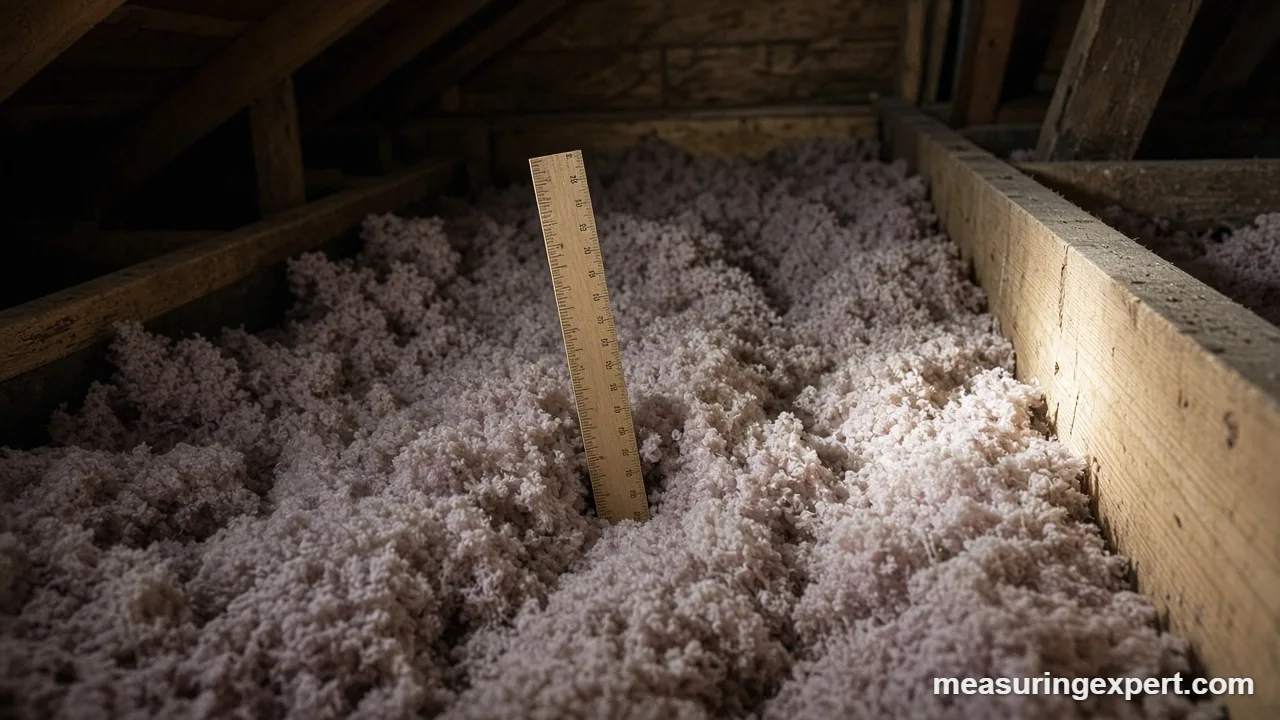
- Find your reference point. In an attic, measure from the top of the ceiling drywall (the attic floor) up. Joist tops make a handy marker: most are 3.5 or 5.5 inches tall.
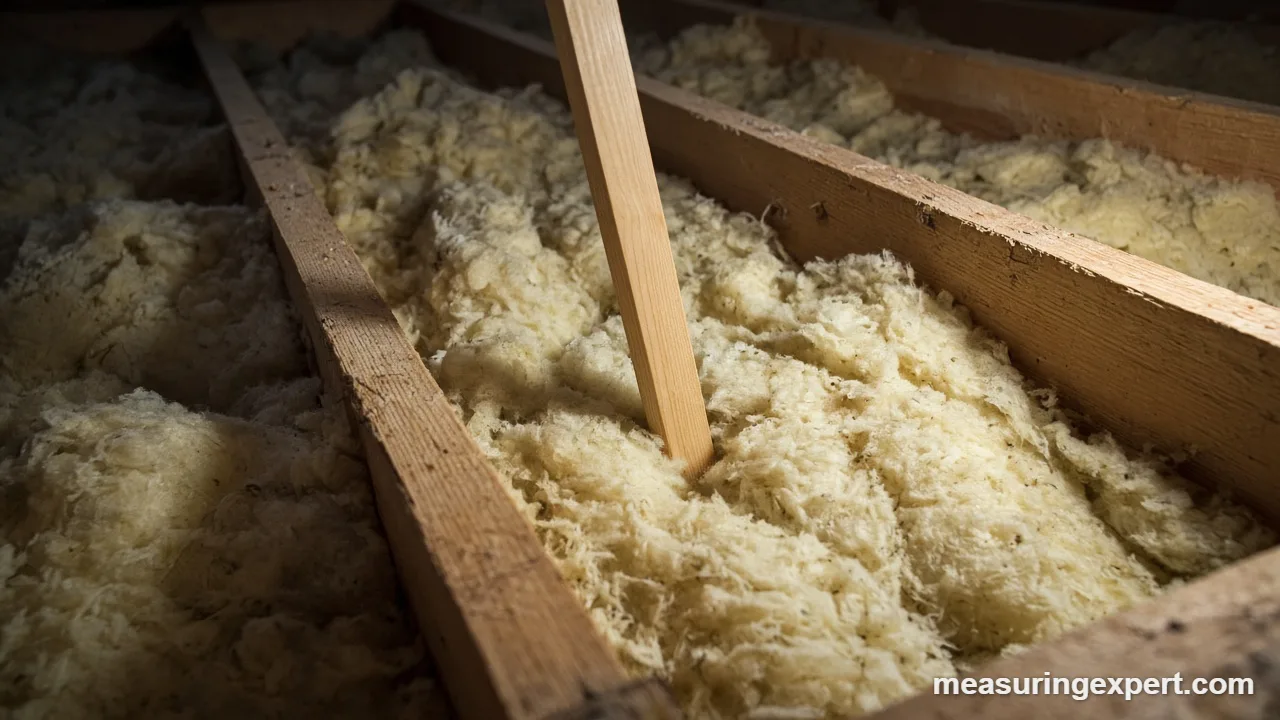
- Push a stiff ruler straight down. Slide a tape measure blade or attic ruler vertically through the insulation until it touches the drywall. Also, do not press the insulation down.
- Read the depth at the top surface. Sight across the fluffy top layer, not the highest tuft, and note the reading to the nearest half inch.
- Repeat in at least five spots. Check the middle, near the eaves, near hatches and around fixtures, because blowers tend to leave thin areas there.
- Identify the material. Gray, shredded fibers are usually cellulose; pink, yellow or white fluffy strands are usually fiberglass. In addition, look for a leftover bag or a depth marker card.
- Calculate your current R-value. Multiply the average depth by the R-value per inch from the chart, then compare it with the DOE target for your zone.
- For walls, check at an outlet. Turn off the breaker, remove the cover plate, and look beside the electrical box with a flashlight to see whether the cavity is filled.
Spray foam and foam board
Spray foam is harder to measure because you cannot push a ruler through it. Instead, push a thin probe or long nail at an edge you can repair, mark the depth, and measure the mark. For foam board, measure an exposed edge with calipers; also check the printed facing, which usually states thickness and R-value.
Measuring Insulation Thickness on Pipes and Ducts
Unlike attic fill, pipe insulation is measured as wall thickness, not total diameter. To find it, measure the outside diameter of the insulation and the outside diameter of the pipe, then halve the difference. For example, a 4.5-inch jacket on a 2.375-inch pipe is (4.5 – 2.375) / 2 = 1.06 inches thick.
For ducts, measure the wrap at an exposed edge with a ruler, or read the printed R-value on the jacket. Codes vary, so check locally. As one benchmark, the 2021 IECC calls for R-8 on supply and return ducts in attics that are 3 inches or larger in diameter.
| People often confuse | What it really means |
|---|---|
| Thickness | Physical depth in inches or mm; says nothing about performance alone |
| R-value | Total resistance to heat flow; higher is better |
| R-value per inch | How much R each inch adds; depends on the material |
| U-factor | The inverse of total R for a whole assembly; lower is better |
Insulation Thickness Do and Don’t List
Do
- Measure at several points and average them.
- Use the settled-thickness column on loose-fill bags.
- Seal air leaks before adding more depth.
- Keep vents at the eaves clear with baffles.
- Record each reading with its location.
Don’t
- Compress batts to fit a shallow cavity.
- Bury recessed lights not rated for contact (IC).
- Measure from the top of a joist instead of the drywall.
- Assume all insulation has the same R per inch.
- Handle suspected vermiculite yourself.
Honest Limits of Thickness-Based Estimates
Of course, multiplying depth by R per inch gives an estimate, not a lab result. For one thing, loose fill settles over time, so a fresh 16-inch layer may end up closer to the label’s settled depth. In addition, DOE points out that loose-fill R-value does not rise in exact proportion to thickness, because deep layers compress under their own weight. Old fiberglass may also perform below its original rating if it is dusty, wet or matted down.
Also, framing lowers the whole-wall value. That is because wood studs and joists conduct more heat than the insulation between them, so a “R-13 wall” performs below R-13 overall. Finally, air leaks can undo much of the benefit of extra depth. In short, use this math to plan, and then seal leaks and check the label.
When to Call a Professional
In fact, a homeowner can measure attic depth safely in an afternoon. Even so, some jobs call for a pro. First, hire a certified energy auditor if you want a blower-door test, which finds air leaks that a ruler cannot. Next, call a licensed electrician before burying old knob-and-tube wiring. Likewise, use an asbestos professional for suspected vermiculite. Finally, ask your building department about code minimums before a permit job.
Frequently Asked Questions About Insulation Thickness
How do you calculate the thickness of insulation?
Divide the target R-value by the material’s R-value per inch. For example, R-38 with cellulose at R-3.5 per inch needs about 10.9 inches.
What is the formula for calculating insulation thickness?
Thickness in inches equals target R divided by R per inch. To top up, subtract the existing R (depth times R per inch) from the target first.
How thick should attic insulation be?
For R-49 to R-60, plan on about 14 to 17 inches of cellulose or about 20 to 24 inches of loose fiberglass. Check the bag’s settled-thickness chart.
How do you measure the insulation thickness of an attic?
Push a stiff ruler straight down to the drywall without compressing the insulation, read the depth, and average readings from at least five spots.
How do you determine wall insulation thickness?
A filled 2×4 wall holds 3.5 inches and a 2×6 wall holds 5.5 inches. To check, turn off the power, remove an outlet cover and look beside the box.
How do you measure the thickness of insulation for a duct or pipe?
Measure the outside diameter of the insulation and of the pipe, subtract, and divide by 2. On ducts, measure the wrap at an edge or read the printed R-value.
What R-value is 6 inches of insulation?
It depends on the material: about R-13 to R-17 for loose fiberglass, R-19 to R-23 for cellulose, R-30 for XPS and R-36 for polyiso or closed-cell foam.
Does thicker insulation always mean a higher R-value?
Within one material, more uncompressed depth means more R. Across materials, no: 2 inches of polyiso can beat 4 inches of loose fiberglass.
Does compressed insulation lose R-value?
Yes. Squeezing a batt into a shallow cavity lowers its total R-value below the label rating, so choose a product sized for the cavity.
How do I convert R-value to RSI?
Multiply the US R-value by 0.1761. For example, R-30 is about RSI 5.28 and R-49 is about RSI 8.63.
The Bottom Line on Insulation Thickness
To sum up, depth only matters once you know the material. Divide your DOE target by the R-value per inch, measure what you already have, and add the difference. For most US attics that means R-49 to R-60, or roughly 14 to 24 inches depending on the fill.
So grab a stiff ruler, take five readings, and compare the average with the chart above. Then seal the air leaks, keep the eave vents open, and let the bag label have the final say.