
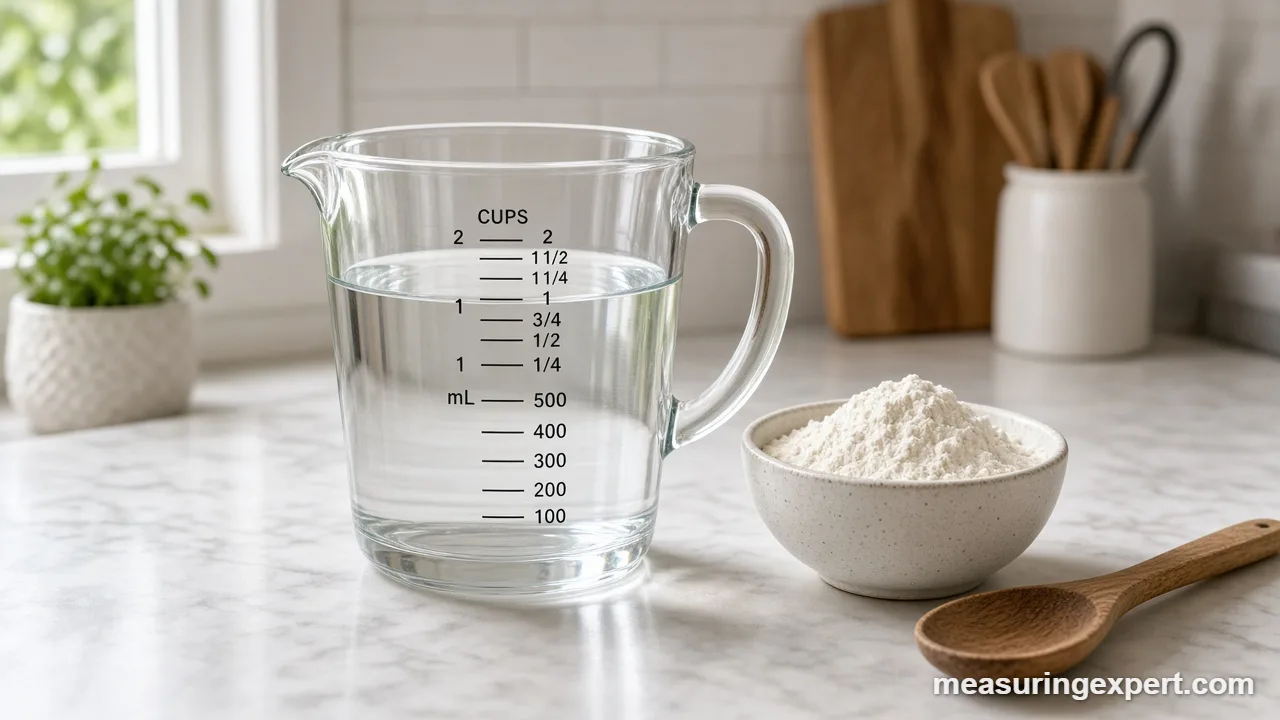
To use a measuring jug, set it on a flat counter, pour the liquid in, and bend down until your eyes are level with the mark. Read the bottom of the curved surface. A measuring jug suits liquids such as water, milk and oil. For flour and sugar, use dry cups or a scale instead.
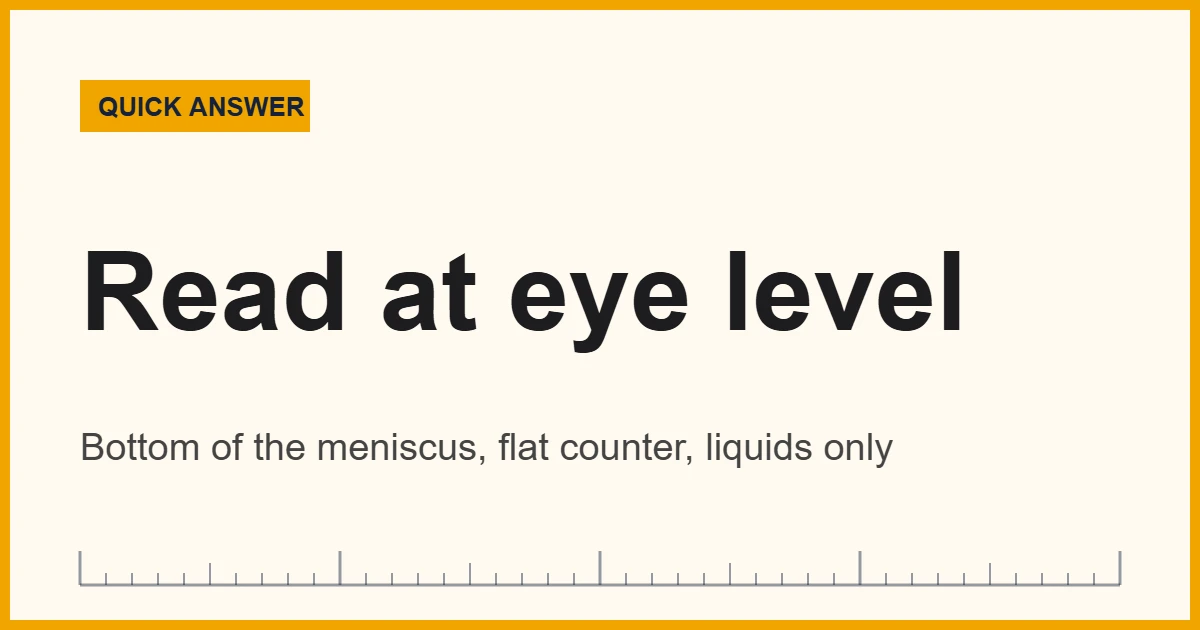
Convert Jug Marks: mL, Cups and Fluid Ounces
Many jugs show only one scale, so you may need to translate a recipe. First, type the amount you need below. The converter then lists it in cups, US fluid ounces, tablespoons, liters and UK pints.
A measuring jug looks simple, yet small habits decide whether you pour 250 mL or 280 mL. In particular, the angle of your eyes, the surface under the jug and the type of ingredient all change the reading. Because a recipe such as a sauce or a batter relies on liquid ratios, a small error can change the texture.
This guide covers how to read a measuring jug at eye level, why liquids and dry goods need different tools, and how jug sizes and graduations work in mL, ounces and cups. The conversions use the exact US definitions, and the kitchen rounding follows the NIST metric kitchen table.
- Read the bottom of the curved surface (the meniscus) with your eyes level with the mark.
- A measuring jug is built for liquids; dry cups are built for leveling.
- 250 mL is about 1.06 US cups or 8.45 US fluid ounces.
- 1 liter is about 4.23 US cups or 33.81 US fluid ounces.
- A UK pint is 568 mL, about 20 percent bigger than a US pint (473 mL).
- For flour, sugar, oats and other dry goods, a scale is more accurate than any jug.
How to Read a Measuring Jug at Eye Level
Liquids climb the walls of a container slightly, so the surface curves downward in the middle. In other words, that curve is the meniscus. According to a Food Network baking guide, liquid should be measured by the bottom of its meniscus. The marks on a liquid cup also stop short of the rim, which leaves room to see the curve and avoid spills.
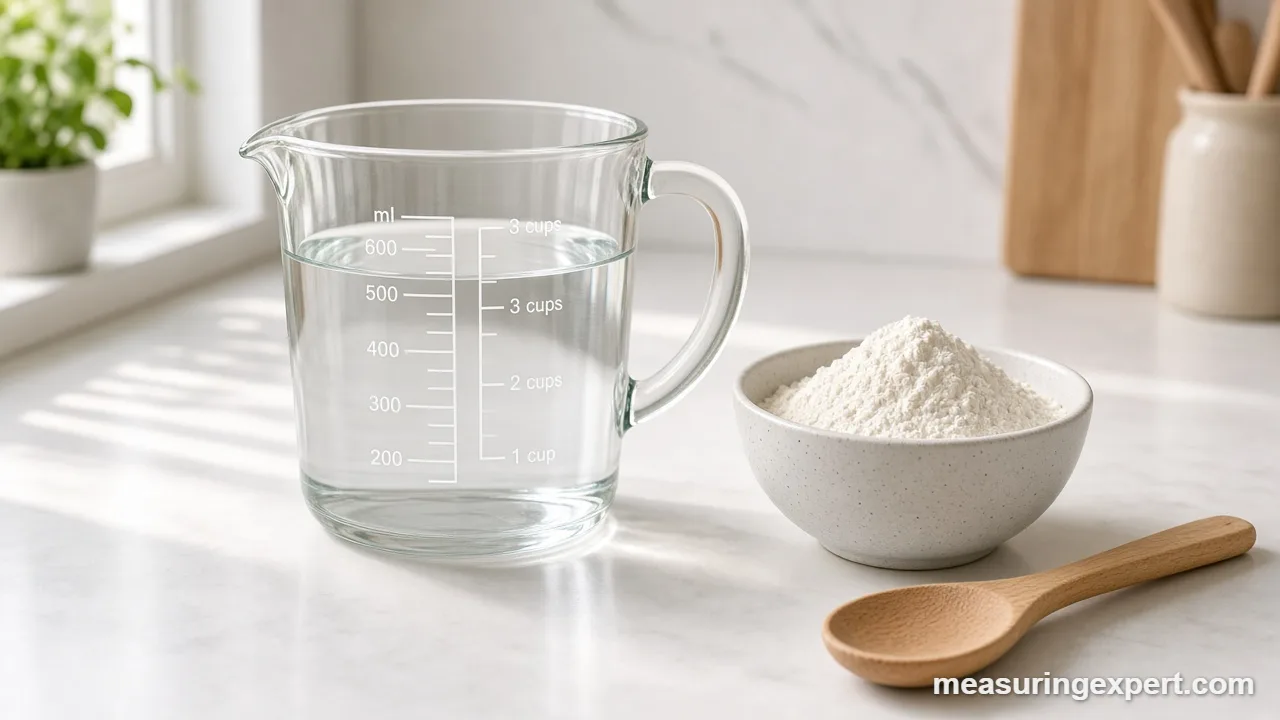
Your viewing angle matters as much as the curve. If you look down from above, the liquid seems lower than it is, so you pour too much. Likewise, if you look up from below, you pour too little. This error is called parallax, and it is the most common reason two people get different amounts from the same jug.
- Place the jug on a flat surface. Hold it in your hand and the liquid tilts; a counter keeps it level.
- Pour slowly to just below the mark. Stop early, since it is easier to add than to remove.
- Bend down until your eyes are level with the mark. The line should look flat, not like an oval.
- Find the bottom of the curve. Align that point with the graduation line.
- Top up in small amounts. A teaspoon or a splash is enough for the last few mL.
- Check again after the bubbles settle. Foam and air bubbles can hide the true level for a few seconds.
Measuring Jug for Liquids vs Dry Ingredients
Dry cups and liquid jugs look similar, yet they work differently. For example, a dry measuring cup is filled to the brim and swept level with a straight edge. A jug has empty space above the top mark, so you cannot level anything in it. As a result, a spoonful of flour poured into a jug sits in a mound, and the reading depends on how loosely you filled it.
In addition, flour and sugar settle when you tap or shake the jug. The Food Network guide notes that tapping a cup of flour amounts to packing it, which is a baking mistake. The same guide recommends a digital scale as the most accurate way to measure both wet and dry ingredients.
| Ingredient type | Best tool | Why |
|---|---|---|
| Water, milk, juice, stock | Measuring jug | Pours cleanly and reads at eye level |
| Oil, melted butter | Measuring jug | Flows to a flat surface |
| Honey, syrup, molasses | Scale or greased jug | Clings to the walls and under-delivers |
| Flour, sugar, cocoa | Scale or dry cups | Cannot be leveled in a jug |
| Rice, oats, dry beans | Scale or dry cups | Packing changes the volume |
Recommended Measuring Jugs and Tools
First, choose a jug with clear, raised or printed marks on both sides, a pour spout and a handle that stays cool. Next, match the size to the job: a 1-cup jug is easy to read for small amounts, while a 4-cup jug handles soups and batters. Finally, a kitchen scale helps with every ingredient that does not pour.


As an Amazon Associate, Measuring Expert earns from qualifying purchases.
Measuring Jug Sizes and Capacities
In general, kitchen jugs usually range from about 250 mL to 2 liters. Smaller jugs are easier to read for small amounts, because the marks sit further apart. In contrast, larger jugs are better for stock, brine and big batches. Even so, the very first mark is the hardest to read, so use a smaller jug for small amounts.
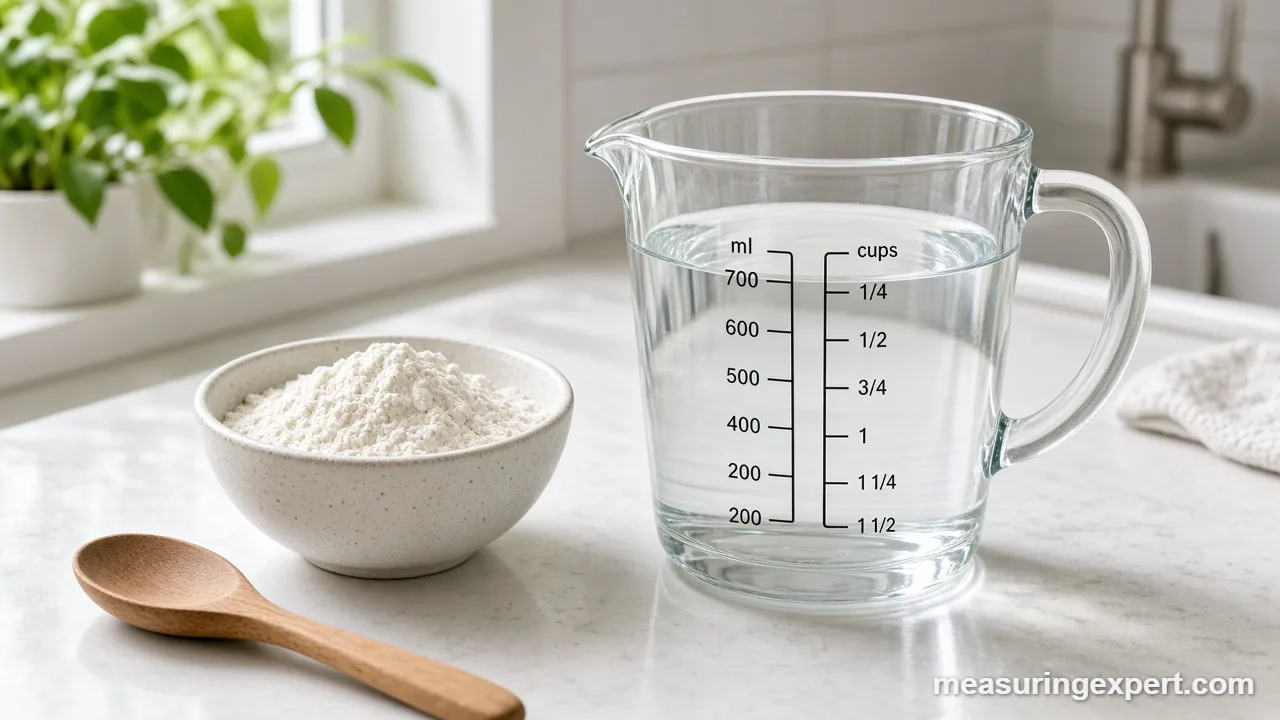
| Jug size | Metric | US cups | Best for |
|---|---|---|---|
| Small | 250 mL | 1.06 cups | Dressings, eggs, milk for coffee |
| Medium | 500 mL | 2.11 cups | Sauces, gravy, batter |
| Large | 1 L | 4.23 cups | Soup, rice water, pancake batter |
| Extra large | 2 L | 8.45 cups | Stock, brine, lemonade |
If you are missing a jug entirely, our guide to a measuring cup substitute shows what to use instead.
Reading Measuring Jug Graduations in mL, Ounces and Cups
In short, graduations are the printed lines on the side. Most kitchen jugs carry two or three scales: milliliters on one side, US fluid ounces on another and cups beside them. Look at the numbers first, because the gap between two lines can mean 10 mL, 25 mL or 1/4 cup depending on the jug.
To find the value of one gap, subtract two neighboring numbers and divide by the lines between them. For example, if 100 mL and 200 mL have four lines in between, each gap is 20 mL. In practice, you can estimate halfway between two lines, but you cannot read finer than the printing allows.
| Milliliters | US cups | US fluid ounces | Tablespoons |
|---|---|---|---|
| 50 mL | 0.21 cup | 1.69 fl oz | 3.4 tbsp |
| 125 mL | 0.53 cup | 4.23 fl oz | 8.5 tbsp |
| 250 mL | 1.06 cups | 8.45 fl oz | 16.9 tbsp |
| 500 mL | 2.11 cups | 16.91 fl oz | 33.8 tbsp |
| 750 mL | 3.17 cups | 25.36 fl oz | 50.7 tbsp |
| 1000 mL | 4.23 cups | 33.81 fl oz | 67.6 tbsp |
NIST rounds the same equivalents for home cooking: 1 cup is about 240 mL, 1/2 cup is about 120 mL and 1/4 cup is about 60 mL. The exact US cup is 236.59 mL, so the 240 mL rounding is close enough for most recipes. For the fluid-ounce side, see how much 30 mL is.
Common Measuring Jug Mistakes
In fact, most errors come from habit, not from the tool. Fortunately, each one is easy to fix.
- Reading from above. It makes the liquid look lower, so you overpour.
- Holding the jug in your hand. It tilts, and the surface tilts with it.
- Measuring dry goods in a jug. Mounds cannot be leveled, so the reading is a guess.
- Using the first mark for tiny amounts. Use spoons or a small cup for under about 30 mL.
- Ignoring the scale. A jug may show both mL and ounces, so check which line you are reading.
- Mixing metric and imperial lines. Stay on one scale from start to finish.
Sticky Liquids, Weight and Temperature
Honey, syrup and molasses cling to the walls of a measuring jug. Lightly oil the jug first, then pour, so the liquid slides out. Alternatively, weigh it. According to the King Arthur ingredient weight chart, a tablespoon of honey weighs about 21 g, which makes a cup about 336 g. Dividing 336 g by 236.59 mL gives about 1.42 g per mL, so honey is heavier than water.
That density difference explains why ounces by weight and fluid ounces are different units. Water is close to 1 g per mL, but honey is not. For more on the weight ounce, read how much an ounce is. Temperature matters too, since hot syrup flows more easily, although it also expands very slightly. For home cooking, measure at the temperature the recipe names and do not worry about the small difference.
Do and Don’t When Using a Measuring Jug
Do
- Set the jug on a flat counter.
- Read the bottom of the meniscus at eye level.
- Pour a little short, then top up.
- Check which scale you are reading.
- Weigh sticky and dry ingredients.
Don’t
- Hold the jug in your hand while reading.
- Level flour or sugar in a jug.
- Read from above or below.
- Trust the very first mark for small amounts.
- Mix US and UK pints without converting.
Honest Limits of a Measuring Jug
A measuring jug is a convenience tool, not a laboratory instrument. Printed marks have manufacturing tolerances, and wear can fade them over time. In short, a jug is good to within a few mL when you read it carefully. For ordinary cooking, therefore, that is plenty. For precision work, however, a digital scale is better, because weight does not depend on the marks. You can also test a jug yourself: pour 250 g of water on a scale, which is very close to 250 mL, and compare it with the 250 mL line.
When Accuracy Really Matters
Most recipes tolerate a small error. Three situations deserve more care. First, baking with yeast or leaveners depends on liquid-to-flour ratios. Second, canning brines and cures rely on exact salt and water ratios. Third, mixing infant formula or medicine requires the measuring device that comes with the product.
If you are comparing jugs with cups, our guide on how to measure with a measuring cup explains the dry cup method step by step.
Frequently Asked Questions
How do you use a measuring jug accurately?
Place the jug on a flat surface, pour the liquid slowly, and bend down until your eyes are level with the mark. Read the bottom of the curved surface and top up in small amounts.
What is a measuring jug used for?
A measuring jug is used for liquids such as water, milk, oil and stock. It has a spout for pouring and extra room above the top mark so liquid does not spill.
Can you measure flour in a measuring jug?
You can, but the result is rough. Flour cannot be leveled in a jug, so the reading changes with how loosely it is poured. A scale or a dry cup gives a better result.
Is a cup of dry the same as a cup of liquid?
Yes in volume, because both are 236.59 mL in the US system. In practice, though, dry and liquid cups are built differently, so use the right type.
What is the meniscus on a measuring jug?
The meniscus is the curved top of a liquid. For most liquids, you read the bottom of that curve against the printed line.
How many mL are in a cup on a measuring jug?
One US cup is 236.59 mL, which is commonly rounded to 240 mL. A metric cup is 250 mL, so check which one your recipe uses.
How many cups is 500 mL on a measuring jug?
500 mL is about 2.11 US cups, or 16.91 US fluid ounces. In rounded terms, that is just over 2 cups.
What size measuring jug should I buy?
A 1-liter (4-cup) measuring jug suits most kitchens. Add a 250 mL jug if you often measure small amounts of milk, oil or dressing.
Why does my measuring jug read differently from another jug?
Printing tolerances and viewing angles differ. To compare two jugs, weigh the same amount of water in each: 250 g of water is very close to 250 mL.
How do I measure honey in a measuring jug?
Lightly oil the jug, pour slowly and let it settle, or weigh it instead. A tablespoon of honey weighs about 21 g.
Measuring Jug Bottom Line
To sum up, a measuring jug is the right tool for liquids, and eye-level reading of the meniscus is the key skill. Check the graduations, use a flat counter and pour a little short before topping up.
Finally, keep a scale nearby for sticky and dry ingredients. With those habits, your measuring jug will give you repeatable results every time.
1 thought on “How to Use a Measuring Jug: Eye-Level Reading, Sizes and Marks”