

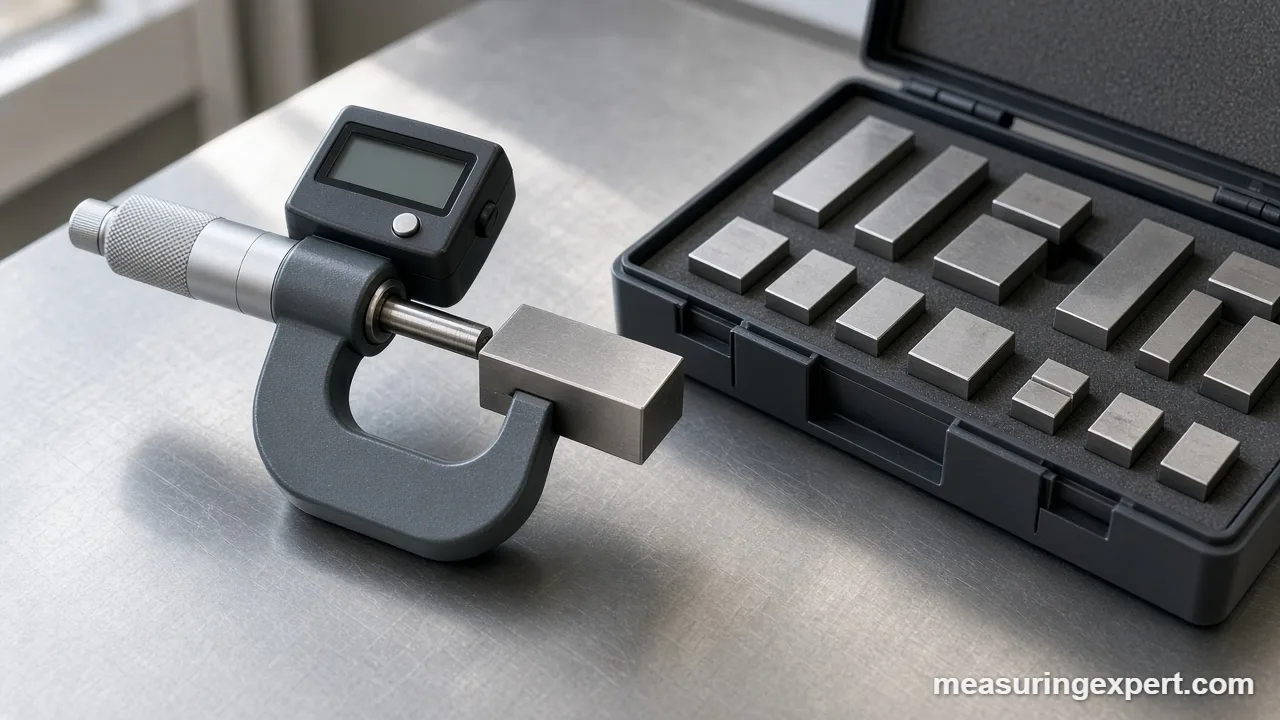
Tool calibration is the process of comparing a measuring tool with a more accurate reference and recording how far it reads off. If the error is too large, you adjust the tool or take it out of service. Regular tool calibration keeps readings trustworthy, safe and traceable to national standards.
Tool Calibration Tolerance Converter: Mils, Inches and Millimeters
Calibration reports often mix mils, inches, millimeters and micrometers. To start, enter a tolerance or an error below and read it in the other units. The converter uses the exact definition of 1 inch as 25.4 mm.
Every measuring tool drifts. For example, springs relax, anvils wear, sensors age and drops knock things out of line. As a result, a tool that was right last year can be wrong today without any visible sign. That is why engineers treat tool calibration as routine maintenance and not as a rare repair.
This guide explains what calibration really is, how traceability works, and how to check a micrometer yourself. After that, it covers how often to calibrate, what goes wrong in the field, and when to use an accredited lab.
- What tool calibration means
- Why tool calibration matters
- Recommended tools for calibration checks
- How to check a micrometer, step by step
- Accuracy vs precision vs resolution
- Traceability and national standards
- How often to calibrate
- Manual vs automated calibration
- Environment and human error
- Do and don’t
- Honest limits
- When to use an accredited lab
- FAQs
What Tool Calibration Means
Calibration compares a tool with a reference that is more accurate. The result, therefore, is a record of the difference. For example, a 1 inch gauge block is exactly 25.4 mm long. If your micrometer reads 25.012 mm on that block, the error is +0.012 mm, which is about 0.47 mil or 0.047 percent.
Error = tool reading – reference value
Percent error = error / reference value x 100
Calibration and adjustment are two different steps. Calibration only measures the error. In contrast, adjustment changes the tool to reduce it. In many shops a tool that is only slightly off is left alone, and the correction is written on its certificate instead.
Different tools need different references. For instance, micrometers and calipers use gauge blocks. Likewise, scales use certified masses. Thermometers use fixed points such as a well-stirred ice bath, which sits near 0 C (32 F). Pressure gauges use a reference gauge or a deadweight tester.
Why Tool Calibration Matters in Engineering
An uncalibrated tool gives numbers that look right and are not. Therefore, the error spreads into every part, report and decision built on those numbers.
- Safety. For example, a torque wrench that reads low can leave a bolt loose. Similarly, a pressure gauge that reads high can hide a failing vessel.
- Quality. Parts made with a drifting caliper may pass at your shop and fail at the customer’s.
- Cost. Because of this, scrap, rework and returns usually cost far more than a calibration visit.
- Trust. Customers and auditors accept measurements more readily when a certificate backs them.
In short, tool calibration turns a number into evidence. Without it, however, you can only hope the reading is right.
Recommended Tools for Tool Calibration Checks
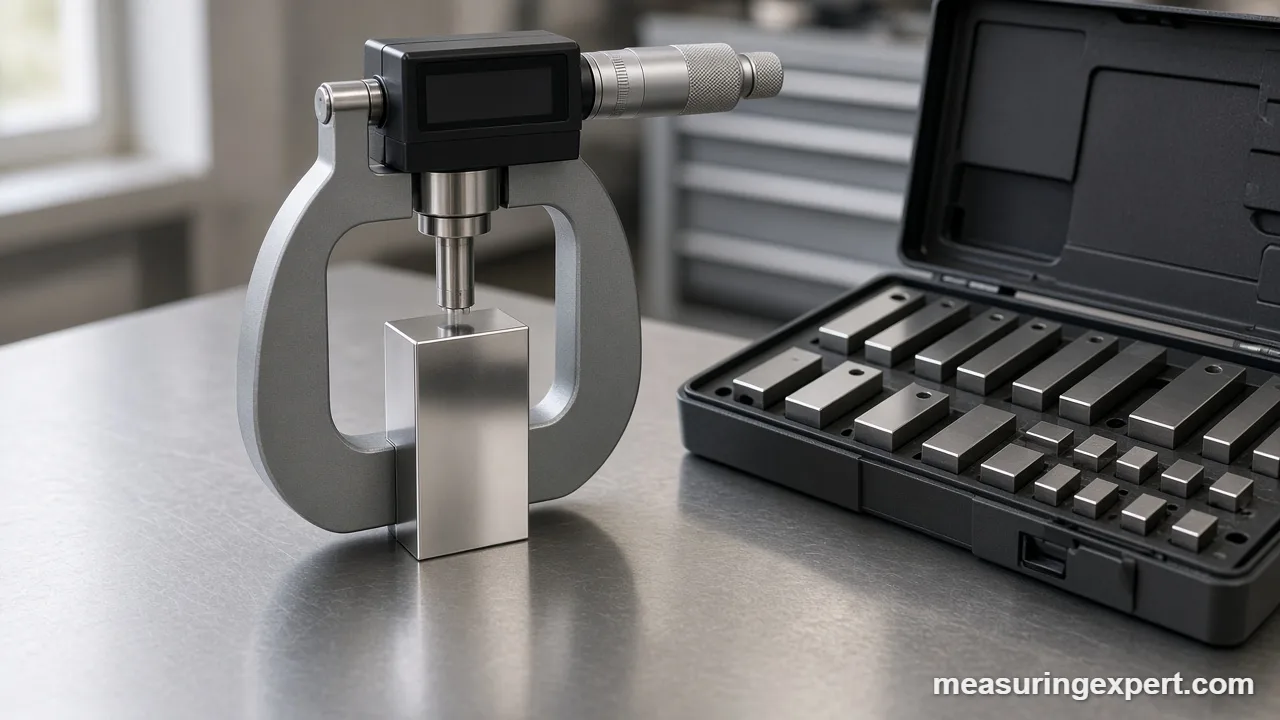
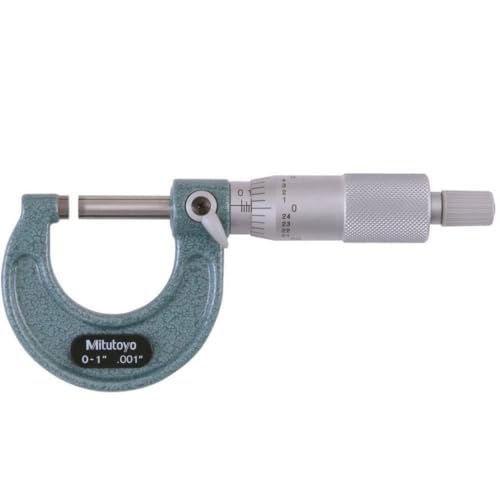
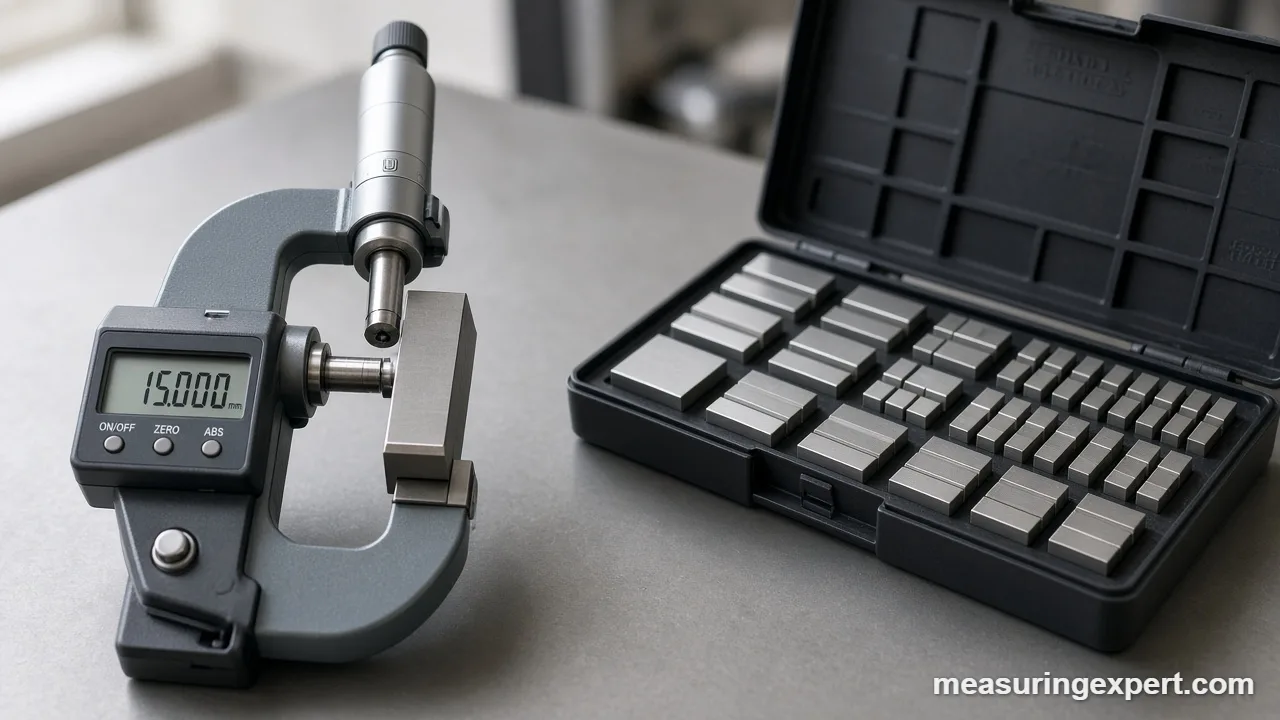
You can run basic checks in a home shop with a few reference items. First, a gauge block set gives known lengths for micrometers and calipers. Next, certified calibration weights check a scale. Also, a good micrometer is a handy transfer instrument, as long as it has its own current certificate.




As an Amazon Associate, Measuring Expert earns from qualifying purchases.
Key Takeaways
- Calibration compares a tool with a better reference and records the error.
- Adjusting a tool is a separate step from calibrating it.
- Traceability needs an unbroken, documented chain of comparisons with stated uncertainty.
- A common rule of thumb is a reference at least 4 times more accurate than the tool under test.
- Intervals depend on use, environment and past drift, not on a single fixed date.
- Temperature, handling and operator technique can cause more error than the tool itself.
- Safety-critical and legal work belongs in an accredited lab.
How to Check a Micrometer Against a Gauge Block, Step by Step
This quick check works for a 0 to 1 inch micrometer. It shows whether the tool needs a formal calibration. However, it does not replace one.
- Let everything settle. Keep the micrometer and the gauge block in the same room for at least an hour so they reach the same temperature.
- Clean both surfaces. Wipe the anvil, the spindle face and the gauge block with a lint-free cloth.
- Check the zero. Close the spindle on the anvil with the ratchet. The reading should be exactly zero.
- Measure the block. Place a 1 inch (25.4 mm) block between the faces and close the spindle with the ratchet only.
- Repeat three times. Take three readings and write them down. Next, compare their spread with the average.
- Calculate the error. Subtract the block’s certified length from your average reading.
- Compare with the tolerance. If the error is larger than the tool’s stated accuracy, send it for formal calibration or repair.
Each reading also has its own uncertainty. For this reason, an error of 0.002 mm on a tool with 0.002 mm resolution says very little. So treat tiny differences as noise.
Accuracy vs Precision vs Resolution
These three words are often mixed up, so the table separates them, and calibration mainly tests the first one.
| Term | What it means | Example |
|---|---|---|
| Accuracy | How close a reading is to the true value | A micrometer reads 25.400 mm on a 25.4 mm block |
| Precision (repeatability) | How close repeated readings are to each other | Three readings of 25.401, 25.401 and 25.402 mm |
| Resolution | The smallest step the display or scale shows | A digital caliper that shows 0.01 mm |
In fact, a tool can be precise and still wrong. For instance, a worn micrometer may repeat 25.012 mm every time on a 25.4 mm block. That is why calibration looks at both the offset and the scatter.
Tool Calibration and Traceability to National Standards
A calibration certificate is useful because of what stands behind it. The National Institute of Standards and Technology (NIST) explains that a result is traceable only through an unbroken chain of comparisons, with a stated uncertainty at each link (NIST calibration policy). In other words, merely owning an instrument that NIST once calibrated is not enough.
NIST’s traceability guidance adds two points. The chain must be documented, and every step needs its own calculated uncertainty. Also, traceability alone does not prove that the uncertainty suits your job (NIST traceability guidance).
| Link in the chain | Typical example |
|---|---|
| National standard | The national metrology institute, such as NIST |
| Accredited calibration lab | A lab that calibrates reference standards |
| Company reference | Gauge blocks or reference weights in a quality lab |
| Working tool | The micrometer or scale used on the shop floor |
In addition, many labs show their competence by accreditation to ISO/IEC 17025. When you buy calibration, ask for the lab’s accreditation scope and look for stated measurement uncertainties on the certificate.
How Often Tool Calibration Should Happen
First, there is no single interval that suits every tool. NIST’s guidance says standards must be recalibrated at appropriate intervals, and that a lab should keep a schedule and check that nothing is overdue. Therefore, the same logic works for any shop.
| Factor | Shorter interval if… | Longer interval if… |
|---|---|---|
| Use | The tool is used daily or by many people | The tool is used rarely |
| Environment | It sees dirt, shocks, heat or moisture | It stays in a clean, stable room |
| History | Past checks showed drift | Past checks stayed well inside tolerance |
| Risk | An error could hurt people or cost a lot | An error has little consequence |
As a starting point, many shops choose twelve months and then adjust based on results. Also, calibrate right away after a drop, a crash or any odd reading.
Manual vs Automated Calibration
| Method | How it works | Best for |
|---|---|---|
| Manual | A technician measures a known standard, compares, and adjusts by hand | Hand tools, small shops, low volume |
| Automated | Software drives a calibrator and logs every point | Many instruments, repeat tests, audit records |
Both methods can give good results. However, automation records more data with fewer typing mistakes, so busy labs usually favor it.
Environment and Human Error in Tool Calibration
First, temperature is the most common hidden error. The usual reference temperature for length measurement is 20 C (68 F). Steel expands about 11.5 millionths per degree C, so a 25.4 mm block that is 5 C warm grows by about 0.0015 mm. That is small, but it still matters for fine tolerances.
Handling matters too, because your hand warms a part in seconds, and a hard squeeze on a spindle changes the reading. Likewise, dust on a gauge face can add a few micrometers.
- Temperature: let tools and references soak together before you measure.
- Force: use the ratchet or friction thimble every time.
- Alignment: hold the tool square to the work.
- Reading: read dials straight on, to avoid parallax.
For more field mistakes, see our list of construction measurement mistakes.
Do and Don’t for Calibrated Tools
Do
- Keep a log with dates, errors and the next due date.
- Store tools in cases, clean and lightly oiled.
- Label each tool with its due date.
- Use a reference at least 4 times more accurate.
- Quarantine any tool that was dropped.
Don’t
- Trust a sticker without checking the date.
- Adjust a tool without recording the before-and-after error.
- Calibrate a tool against another worn tool.
- Measure while the tool is still cold from the car.
- Skip checks because the tool looks fine.
Honest Limits of a Home Calibration Check
A home check can catch large errors. However, it cannot prove traceability. Your gauge block needs its own certificate, and your room is not a temperature-controlled lab.
Moreover, a pass only tells you the tool was fine at the points you tested. It says nothing about points in between. For these reasons, treat a home check as a screening step, and use a formal certificate when someone relies on your numbers. If you shop for a precision micrometer, our micrometer screw gauge guide compares options.
When to Use an Accredited Lab for Tool Calibration
Overall, send tools out when the work has real consequences. For example, aerospace and medical parts, pressure vessels, weights and measures, and any contract that requires certificates.
- Contracts and audits. Quality systems often require traceable certificates.
- Safety-critical tools. Torque, pressure and load tools affect people.
- After damage. Drops and crashes need a full check.
- Trade use. Scales used to sell by weight follow legal rules.
Frequently Asked Questions
What is tool calibration?
It is the process of comparing a tool with a more accurate reference and recording the error. The tool may then be adjusted, repaired or left as it is with a correction noted.
Why is calibration important in engineering?
Engineering decisions depend on measurements. Calibration shows how far a tool can be trusted, which protects safety, quality and cost.
What is the difference between calibration and adjustment?
Calibration measures and records the error. Adjustment changes the tool to reduce that error. A tool can be calibrated without being adjusted.
How often should measuring tools be calibrated?
It depends on use, environment, past drift and risk. Many shops start at twelve months and then lengthen or shorten the interval based on results.
What does traceable calibration mean?
It means the result links to a national standard through an unbroken, documented chain of comparisons, with a stated uncertainty at each step.
Can I calibrate a micrometer at home?
You can run a check with gauge blocks, but that is not a traceable calibration. Use a certified lab when the results matter.
What is a 4 to 1 ratio in calibration?
It is a rule of thumb that the reference should be about four times more accurate than the tool under test. For a tool good to 0.05 mm, the reference should be good to about 0.0125 mm.
Does a digital tool need calibration?
Yes. A digital display shows resolution, not accuracy. Sensors still drift, and batteries and wear still matter.
What is a calibration certificate?
It is a document that lists the tool, the references used, the measured errors, the uncertainty and the date. Check that the lab’s accreditation covers your tool type.
What temperature is used for length calibration?
The usual reference temperature is 20 C (68 F). Measuring much warmer or colder adds a small error because metals expand and contract.
Tool Calibration Bottom Line
To sum up, tool calibration compares a tool with a better reference and records the error. If the chain of references is documented and traceable, the numbers carry real weight.
Finally, match the effort to the risk. A quick gauge block check suits a home shop. For safety, legal or contract work, use an accredited lab, and use the converter above to read tolerances in the unit your certificate uses.
1 thought on “Tool Calibration in Engineering: Why Measurement Tools Need It”