

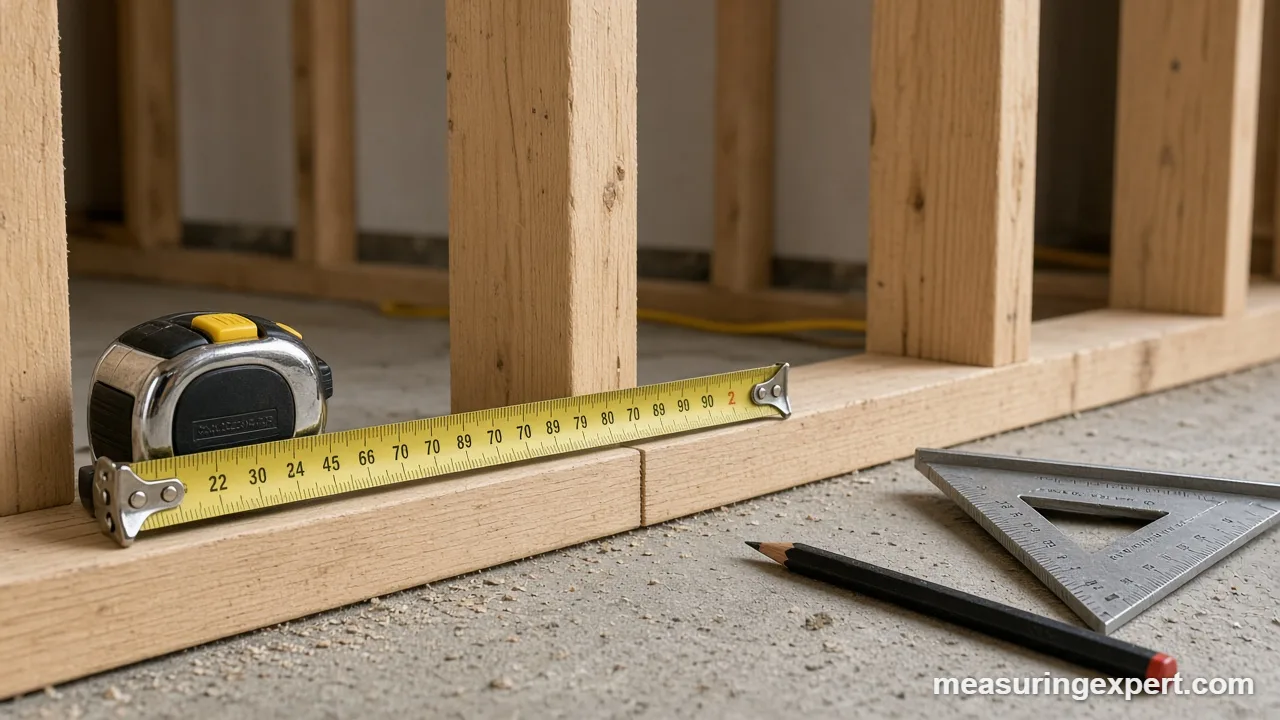
Construction measurement mistakes mostly come from five sources: mixed or mis-converted units, misread tapes, heat and cold, unclear plans and blind trust in digital tools. To avoid them, use one unit system, measure twice, write every number down, and check critical dimensions with a second tool or a second person.
Convert Units to Avoid Construction Measurement Mistakes
Many errors start with a unit swap, so run the numbers here before you cut. Enter a value in inches, feet, yards or millimeters, and the converter shows the others using the exact definition of the inch.
Measuring wrong is rarely about bad eyesight. Instead, it is about habits, tools and assumptions that fail quietly. For example, a board cut 1/4 inch short does not announce itself until the wall is half built. As a result, one small slip can cost an afternoon, a sheet of plywood or a crew’s trust.
This guide covers the construction measurement mistakes that show up most often on real job sites. For each one, you will see why it happens and what to do about it. In addition, it explains how heat, cold and moisture move your numbers, and which tools reduce the risk.
The US National Institute of Standards and Technology (NIST) notes that the inch has been defined as exactly 25.4 mm since 1959, so any conversion that uses another number is wrong from the start. NASA reports a famous unit failure too: the Mars Climate Orbiter was lost in 1999 after a failure to translate English units to metric.
Key Takeaways
- Pick one unit system per job and write it at the top of your notes.
- Use 25.4 mm per inch, never 2.5 cm.
- Measure twice, from two different starting marks.
- A nominal 2×4 is really 1.5 by 3.5 inches (about 38 by 89 mm).
- A steel tape grows about 0.24 inch over 100 feet when it warms by 30 degrees F.
- Confirm the plan revision before you cut anything.
- Check long laser readings with a tape on a few key dimensions.
The Most Common Construction Measurement Mistakes
Here is the short list. Each row is covered in more detail below.
| Mistake | Typical result | Quick fix |
|---|---|---|
| Mixing or mis-converting units | Parts that are off by a fixed percentage | Use one system and the exact 25.4 mm factor |
| Misreading the tape | Cuts off by 1/16 to 1 inch | Read at eye level and double-check the number |
| Ignoring the hook | Consistent 1/16 inch error | Test the hook against a known length |
| Nominal vs actual sizes | Gaps and misfits in framing | Use actual dimensions in your layout |
| Temperature and moisture | Tight joints in summer, gaps in winter | Measure at working temperature and allow for movement |
| Outdated plans | Work built to the wrong revision | Check the revision block before every cut |
| Over-trusting technology | Wrong surface or bad angle read | Confirm key values with a second tool |
Unit Conversion Construction Measurement Mistakes
Unit errors are the most expensive kind, because every later step inherits them. For example, a plan in millimeters read on a tape marked in inches gives a wrong number that looks reasonable.
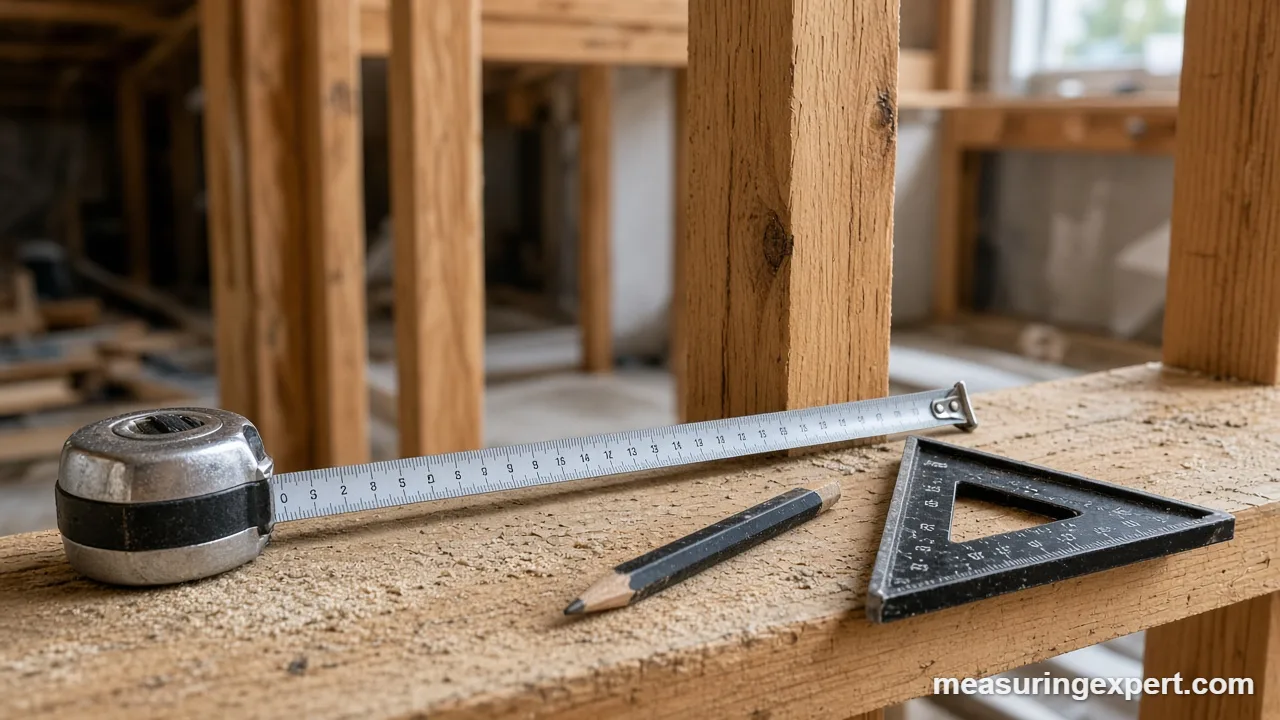
Three patterns repeat. First, people round 2.54 to 2.5. That error is about 1.6 percent, so a 100-inch run comes out 1.6 inches short. Second, people confuse decimal feet with feet-and-inches: 5.5 feet is 5 feet 6 inches, not 5 feet 5 inches. Third, crews combine metric and US sizes on one drawing and forget which is which.
| Common size | US value | Metric value |
|---|---|---|
| 1/16 in | 0.0625 in | 1.5875 mm |
| 1/8 in | 0.125 in | 3.175 mm |
| 1/4 in | 0.25 in | 6.35 mm |
| 1/2 in | 0.5 in | 12.7 mm |
| 3/4 in | 0.75 in | 19.05 mm |
| 1 ft | 12 in | 304.8 mm |
| 4 x 8 ft sheet | 48 x 96 in | 1219.2 x 2438.4 mm |
| Dressed 2×4 | 1.5 x 3.5 in | 38.1 x 88.9 mm |
Tape Reading Construction Measurement Mistakes
A tape is simple, yet it hides several traps. First, the hook on the end is loose by design. It slides about its own thickness so that outside and inside measurements both read correctly. If the hook is bent or worn, however, every reading shifts.
Next, the burn-an-inch trick fixes a damaged end. For example, start at the 1-inch mark and subtract 1 inch from the result. Similarly, an angled view of the blade (parallax) can shift a reading by a hair, so look straight down at the mark.
Finally, watch the fractions. The marks between inches are 1/2, 1/4, 1/8 and 1/16, and it is easy to count one tick too many. As a rule, say the number out loud and write it down immediately. Our guide to construction measuring tapes compares models with clear, durable markings.
Heat, Cold and Moisture: Environmental Construction Measurement Mistakes
In fact, materials move with temperature, and so does your tape. A steel tape measured in a warm truck and used in a cold slab reads slightly wrong, although the error is small for short runs. Over long runs, however, it adds up.
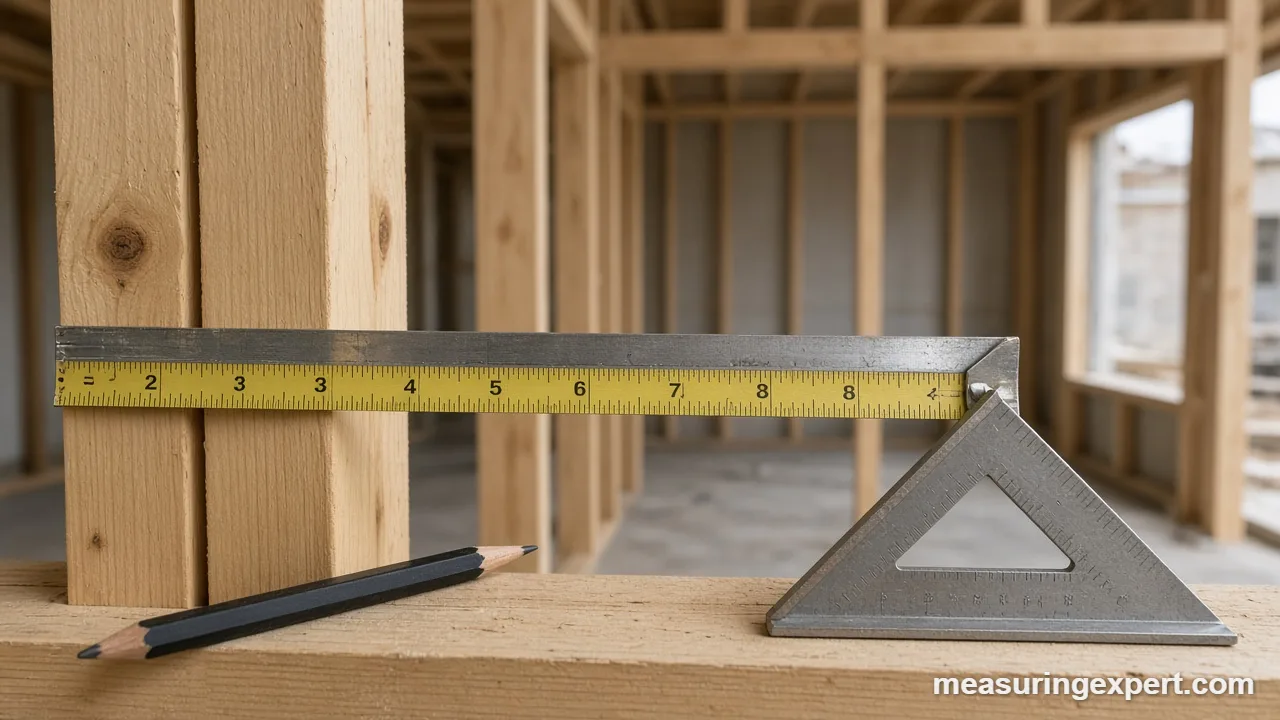
The numbers below use typical coefficients of linear expansion (steel about 12, concrete about 13.5, aluminum about 23 millionths per degree C), taken from the range listed by Engineering Toolbox. They show the change over 100 feet for a 30 degree F (about 16.7 degree C) swing.
| Material | Change over 100 ft for 30 F | In millimeters |
|---|---|---|
| Steel | about 0.24 in | about 6.1 mm |
| Concrete | about 0.27 in | about 6.9 mm |
| Aluminum | about 0.46 in | about 11.7 mm |
Moisture matters too, particularly for wood. Lumber swells as it absorbs water and shrinks as it dries, mostly across the grain. Therefore, leave expansion gaps for flooring and trim, and measure materials after they have acclimated to the room.
Weather affects the person as well. For instance, rain, wind and glare make marks harder to read. In practice, wait for calmer conditions for critical layout, or shelter the work area.
Plan and Communication Construction Measurement Mistakes
Even a perfect tape cannot fix a wrong number. Three habits cause most plan errors:
- Working from an old revision. Always confirm the revision date before cutting.
- Scaling from a printout. A reduced print is not to scale, so use the written dimensions.
- Passing numbers by voice. “Fifteen” and “fifty” sound alike on a noisy site, so repeat the figure back.
Moreover, make sure the whole team uses one system. If one crew reads millimeters and another reads inches, a clean drawing still turns into a mismatch. As a result, a short daily huddle about dimensions costs minutes and saves hours.
How to Measure Twice and Check Once
- Pick one unit system. Decide before you start whether the job runs in inches, feet-and-inches or millimeters, and write it at the top of your notes.
- Check the tool. Hold two tapes end to end at the 10-foot mark. If they disagree, find out which one is off before you trust either.
- Measure from a clean reference. Start from a true edge or a marked line, not from a worn or damaged tape end.
- Measure a second time. Use a different starting point, such as the 1-inch mark, then subtract. This catches reading errors.
- Write the number down at once. Record the value with its unit on a plan or a marked board. Memory fails faster than pencil.
- Mark the cut line clearly. Draw a crown or an X on the waste side, so the saw removes the right piece.
- Test-fit before you repeat. Dry-fit the first piece. If it fits, copy it. If not, fix the process before cutting the other twenty.
Recommended Tools for Accurate Construction Measurements
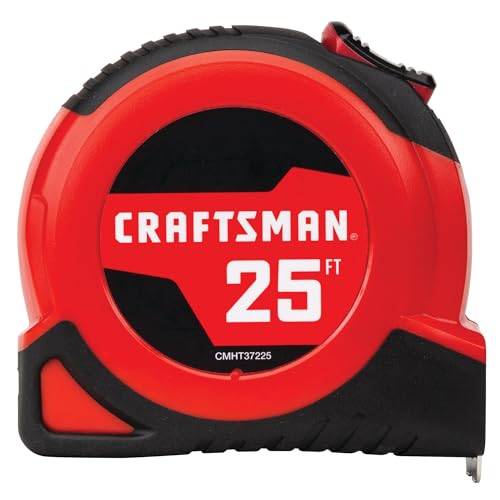
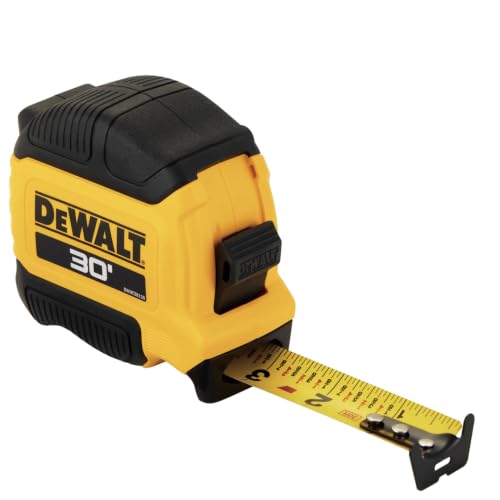
The right tool lowers the odds of an error. A solid tape with clear markings is the base. In addition, a laser distance measurer helps on long spans, and a speed square keeps layout lines true. A digital angle gauge catches slope errors that a quick glance misses. For deeper comparisons, see our guides to floor plan laser measurers and the best inclinometers.




As an Amazon Associate, Measuring Expert earns from qualifying purchases.
Relying Too Much on Technology
Digital tools are fast, but they fail in their own ways. For example, a laser can bounce off a window, a reflective pipe or the wrong wall. Similarly, a low battery can drift a reading. An angle gauge that was never zeroed will repeat the same error all day.
Therefore, treat each digital value as a claim to verify. First, check a laser reading against a tape on at least one dimension per room. Next, zero an angle gauge on a surface you know is flat. Finally, if two tools disagree, trust neither until you find out why. For sub-millimeter work, a good ruler can also help, as covered in our precision ruler guide.
Do and Don’t for Construction Measurement
Do
- Measure twice from different starting marks.
- Write each value with its unit.
- Use actual lumber dimensions.
- Check your tape against a known length.
- Confirm the plan revision.
Don’t
- Round 2.54 to 2.5.
- Trust a bent or worn tape hook.
- Measure materials straight from a hot truck.
- Scale dimensions from a printout.
- Skip a dry fit on repeated cuts.
Honest Limits of Field Measurement
No measurement is exact. In fact, every reading carries uncertainty from the tool, the surface, the temperature and the person. A standard tape is fine for framing, but it cannot do the work of a machinist’s caliper. Likewise, a laser rated for a few millimeters will not help if the wall itself is out of plumb by a half inch.
In short, match the tool to the tolerance. For example, rough framing can accept 1/8 inch. Cabinets and trim usually need closer to 1/32 inch. Because tolerances stack, a series of small errors can add up to a visible gap, so measure to the next part, not each part from a distant starting point.
When to Call a Professional
Some measurements carry legal or structural weight. For example, property lines, setbacks, grades and elevations belong to a licensed land surveyor. Likewise, load-bearing calculations and span checks belong to a structural engineer. If an inspector or permit depends on the number, hire someone qualified.
Frequently Asked Questions
What are the most common construction measurement mistakes?
The most common errors are mixing units, misreading a tape, ignoring the tape hook, using nominal instead of actual lumber sizes, measuring in the wrong conditions, and working from outdated plans.
How do construction measurement mistakes affect a project?
Small errors add up. A cut that is 1/4 inch short wastes material, a misplaced anchor delays crews, and a wrong slab dimension can force rework that costs far more than the original mistake.
Why is measuring twice important?
A second measurement catches reading, writing and tool errors before you cut. If both numbers match, you can trust the dimension. If they differ, you have found a problem while it is still cheap to fix.
How accurate does a construction tape measure need to be?
Most framing tolerates about 1/16 to 1/8 inch per cut. Finish carpentry needs 1/32 inch or better. Check the tape’s class and compare it with a known length before critical work.
Which construction measurement mistakes come from unit conversion?
Typical examples are using 2.5 instead of 2.54 for inches to centimeters, mixing feet-and-inches with decimal feet, and entering a metric plan value into a US tape reading.
Does temperature change a measurement?
Yes. Steel tapes and building materials expand when warm and shrink when cold. Over 100 feet, a 30 degree F swing changes a steel tape by about 0.24 inch.
What is the tape measure hook for?
The hook slides a little on purpose. It moves out when you hook an edge and in when you push against a surface, so the zero point stays correct for both outside and inside measurements.
Are laser distance measurers more accurate than tapes?
Often, for long spans, but only when you point them correctly. A laser can read the wrong surface, so confirm a few key dimensions with a tape.
What is the difference between nominal and actual lumber size?
A nominal 2×4 is a name, not a size. The finished board measures 1.5 by 3.5 inches, or about 38 by 89 mm.
When should I call a professional surveyor?
Call a licensed surveyor for property lines, elevations, setbacks and anything a permit or inspector will check. Do not rely on a homemade measurement for those.
Construction Measurement Mistakes: The Bottom Line
To sum up, most errors come from a short list of habits: mixed units, hurried tape reading, ignored temperature, outdated plans and untested tools. Fortunately, each has a simple fix. Choose one unit system, measure twice, write the value down and verify what matters.
Finally, use the converter at the top whenever a number changes systems. The few seconds it takes cost far less than a ruined board.