

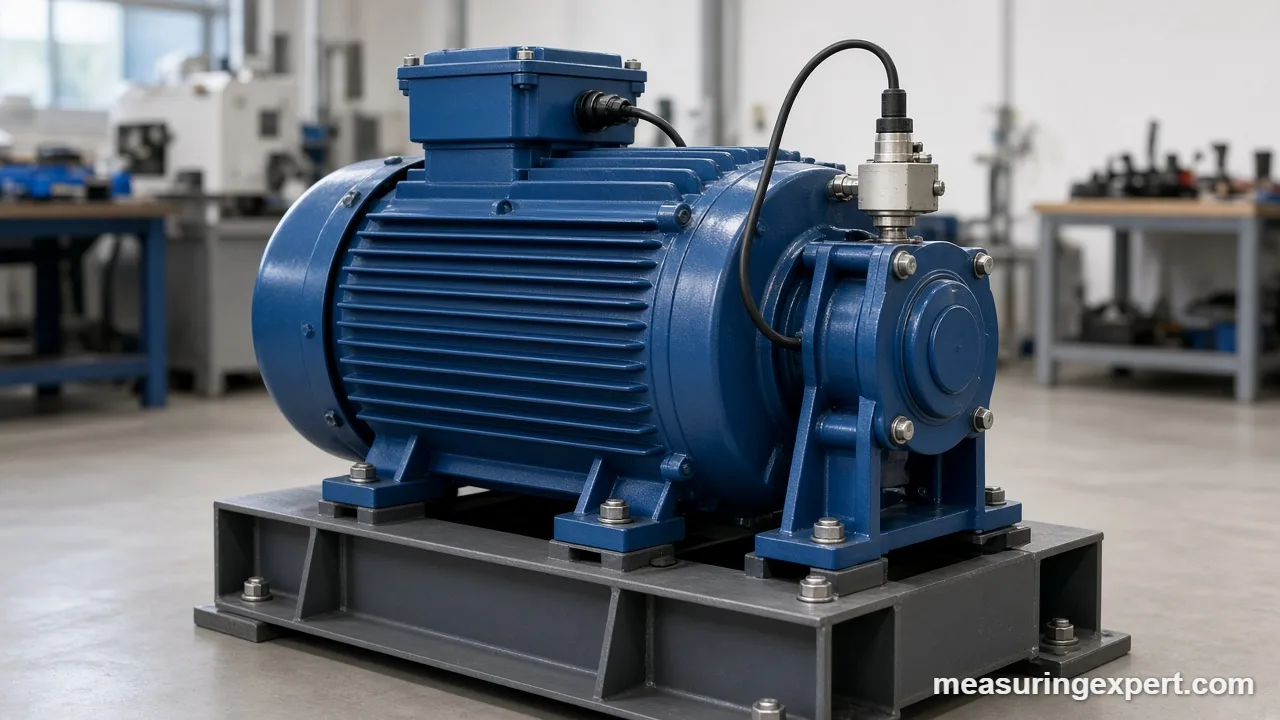
To measure vibration in a mechanical system, fasten an accelerometer or vibration meter to the bearing housing, run the machine at normal speed, and record the amplitude and frequency. Then read the result as acceleration (g), velocity (mm/s or in/s) or displacement (mils), and compare it with the machine’s baseline.
Convert Vibration Displacement Between Mils and Millimeters
Vibration displacement is often quoted in mils, which are thousandths of an inch, while many meters show millimeters. Enter your value below and the converter returns every common length unit. One mil is exactly 0.0254 mm.
Measure Vibration: The Short Version
In fact, machines talk through their vibration. A bearing that is wearing out, a shaft that is out of balance or a loose foot bolt all change the way a machine shakes, and a sensor can pick up that change long before you hear it. So the skill is not just owning a meter. It is knowing what to record, where to record it and how to read the number.
The short version, then, is that you attach a sensor, run the machine, and record three things: how large the motion is, how fast it repeats, and where it happens. That is the full job to measure vibration, whether the machine is a pump, a fan, a motor or a car engine.
In short: pick the right sensor for the frequency range, mount it firmly on a solid spot, record the same points every time, and trend the readings. A single reading tells you little, but a trend over weeks tells you a great deal.
What the Standards Say About Vibration Measurement
Standards bodies, of course, give the general rules. For example, ISO 20816-1 sets general conditions and procedures for measuring and evaluating vibration on complete machines, and it bases its criteria on both the size of the vibration and how it changes over time. Meanwhile, NIST runs a laser-based accelerometer calibration service so that labs can trace their sensors to a national standard. This guide follows the same logic in plain words.
- The short version
- What the standards say
- Recommended tools to measure vibration
- Displacement, velocity and acceleration
- Vibration units and how they relate
- Sensors compared
- How to measure vibration step by step
- Where to mount the sensor
- Sampling and analysis
- Reading the data
- Common mistakes
- Do and don’t
- Honest limits
- When to call a professional
- FAQs
Recommended Tools to Measure Vibration
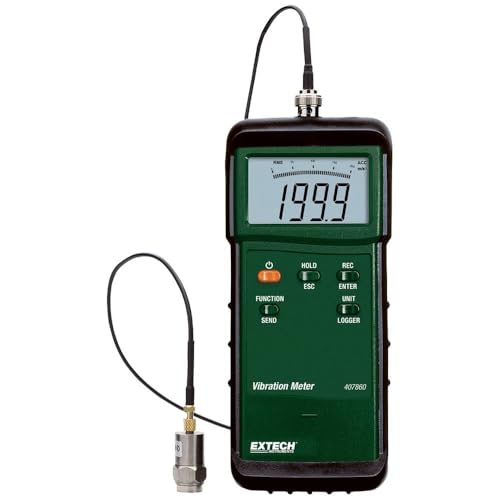
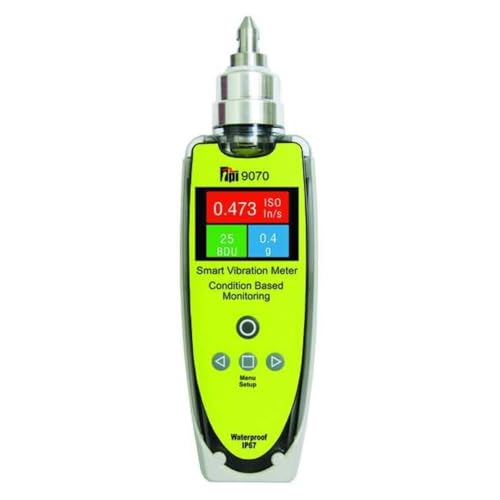
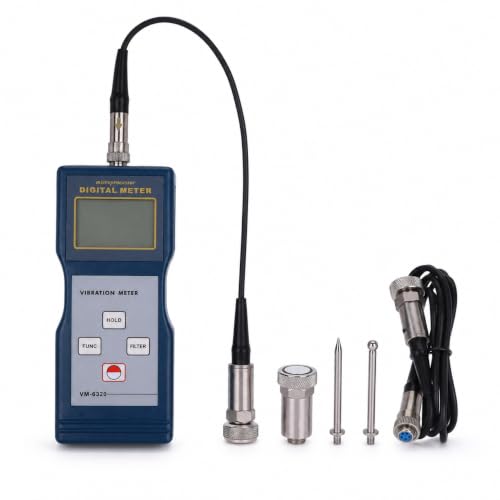
For routine checks on motors, fans and pumps, a handheld vibration meter is the simplest start. First, check the frequency band in the spec sheet, because a meter that stops at 1 kHz will miss high-frequency bearing noise. Next, confirm that it reports the quantity you need, such as velocity in mm/s. In addition, look for a remote probe with a magnet or stud so the contact stays firm.


As an Amazon Associate, Measuring Expert earns from qualifying purchases.
Key Takeaways
- Vibration has three parts you can record: size (amplitude), speed of repeat (frequency) and timing (phase).
- Pick the quantity to suit the job: displacement for slow machines, velocity for general health, acceleration for high-frequency faults.
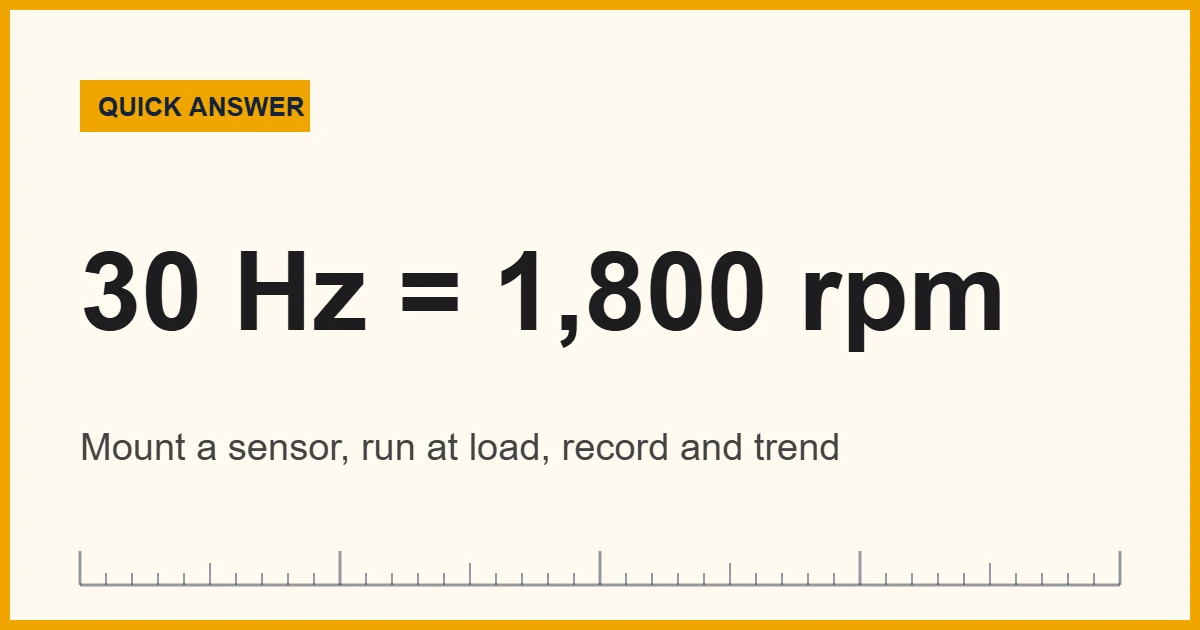
- Frequency in Hz equals rpm divided by 60, so 1,800 rpm is 30 Hz.
- A firm stud or adhesive mount reads more of the high-frequency range than a magnet or a handheld probe.
- Always state whether a value is peak, peak-to-peak or RMS.
- Trend readings from the same points over time, because one number alone is hard to judge.
- Stay clear of rotating parts, and follow your site’s lockout rules.
Displacement, Velocity and Acceleration: What You Can Record
Every vibrating part moves back and forth. You can describe that motion in three linked ways, and each one suits a different job.
- Displacement is how far the part moves from its rest position. It is quoted in mils or micrometers, usually as peak-to-peak.
- Velocity is how fast the part moves. It is quoted in mm/s or in/s, usually as RMS or peak.
- Acceleration is how quickly the velocity changes. It is quoted in g or m/s2, and it rises quickly with frequency.
Frequency, Amplitude and Phase
First, frequency counts how many cycles happen each second. It is measured in hertz (Hz), where 1 Hz is one cycle per second. A motor turning at 1,800 rpm shakes at its running speed of 30 Hz, since 1,800 divided by 60 is 30.
Next, amplitude is the size of the motion. Phase is the timing of one point compared with another, and it is measured in degrees. Phase helps tell imbalance from misalignment, because the two faults shift the timing between sensors in different ways.
Vibration Units and How They Relate
For a clean back-and-forth motion, the three quantities are tied together by frequency. As a result, you can convert one into another if you know the frequency and use peak values.
acceleration (peak) = 2 x pi x f x velocity (peak)
Here is a worked example. A motor runs at 1,800 rpm, so f is 30 Hz. The displacement is 2 mils peak-to-peak, which is 1 mil (0.001 in) peak. Then the peak velocity is 2 x pi x 30 x 0.001 = 0.1885 in/s, or 4.79 mm/s. Likewise, the peak acceleration is 2 x pi x 30 x 0.1885 = 35.5 in/s2, which is about 0.092 g.
| Quantity | Common units | Best for |
|---|---|---|
| Displacement | mils, micrometers (um) | Slow machines and shaft motion |
| Velocity | mm/s, in/s | General machine health between about 10 Hz and 1,000 Hz |
| Acceleration | g, m/s2 | High-frequency faults such as bearing and gear problems |
Also, one g is the standard gravity value of exactly 9.80665 m/s2, or about 386.09 in/s2. Note, too, that the size of the same motion looks very different in each unit. At 30 Hz the example above is a modest 0.092 g, while the displacement is easy to see on a dial gauge.
Peak, Peak-to-Peak and RMS
People often mix up three ways of stating amplitude, so keep them apart. For a clean sine wave, peak-to-peak is twice the peak, and RMS is the peak divided by the square root of 2, or about 0.707 of the peak. Real machines rarely give a pure sine, so the RMS-to-peak ratio is only approximate.
| Term | What it means | Sine-wave relation |
|---|---|---|
| Peak | Largest swing from the rest position | 1.000 x peak |
| Peak-to-peak | Total swing from one extreme to the other | 2.000 x peak |
| RMS | Average energy of the motion | 0.707 x peak |
For instance, a reading of 10 mm/s RMS at 50 Hz equals about 14.1 mm/s peak. That works out to a displacement of about 45 um peak (90 um or 3.5 mils peak-to-peak) and a peak acceleration of about 0.45 g.
Sensors That Capture Vibration
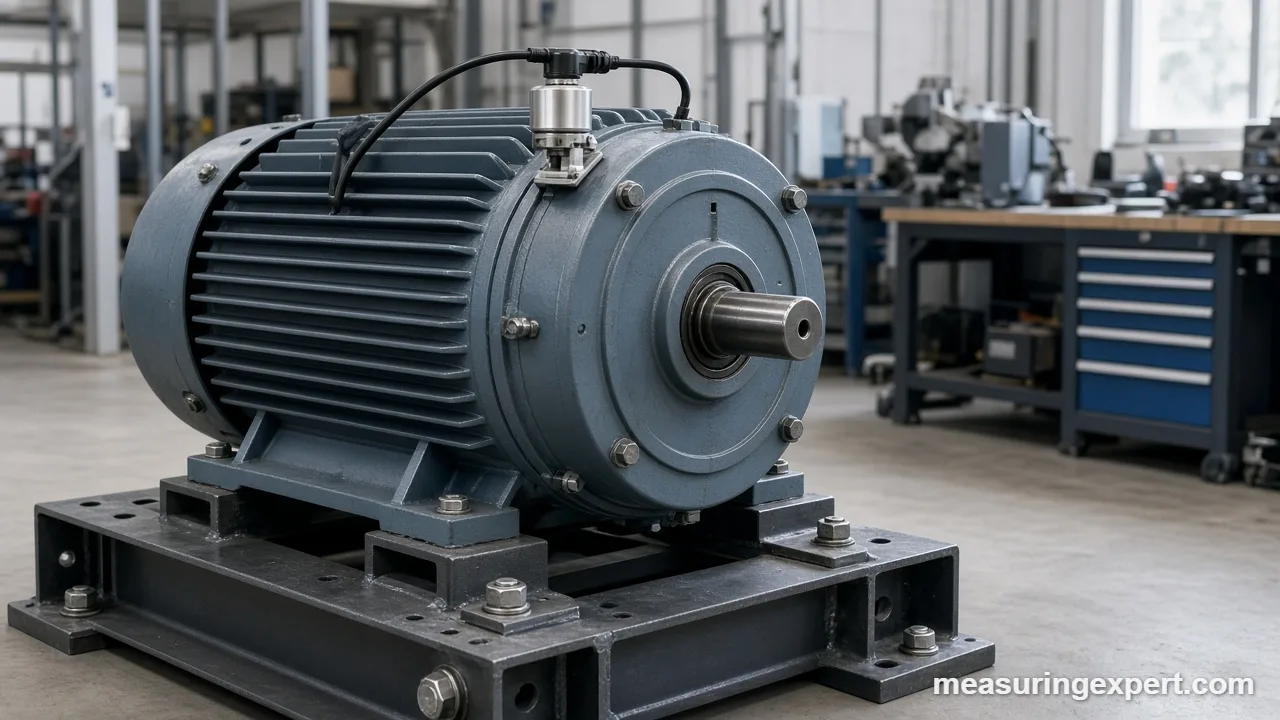
No single sensor does everything, so match the sensor to the machine. The table below compares the types you are most likely to meet.
| Sensor | What it senses | Strengths | Watch out for |
|---|---|---|---|
| Piezoelectric accelerometer | Acceleration | Wide frequency range, small, rugged | Needs a power supply; weak at very low frequency |
| MEMS accelerometer | Acceleration, down to steady (DC) motion | Low cost, good at low frequency | Narrower upper range than piezo types |
| Proximity (eddy-current) probe | Shaft motion relative to the housing | Direct shaft displacement | Needs a mounting bracket and a clean shaft surface |
| Laser vibrometer | Surface velocity, without contact | No mass added, reaches hot or moving parts | Costly; needs a clear line of sight |
| Handheld vibration meter | Usually velocity, acceleration and displacement | Quick, simple routine checks | Probe pressure and angle change the reading |
Accelerometers
Accelerometers are the workhorse for most jobs, so they make a good first choice. A piezoelectric type squeezes a crystal as the case moves, and the crystal makes a small voltage in return. Many industrial versions use a constant-current supply, often called IEPE, which lets one cable carry both power and signal.
Laser Vibrometers
A laser vibrometer shines a beam on the surface, then reads the motion from the reflected light. Because nothing touches the part, the method suits small, hot or delicate targets. In contrast, it is hard to use on a dusty plant floor. If you want to see how laser-based tools compare with older methods, read our piece on laser scanning vs traditional methods.
Choosing a Sensor to Measure Vibration
First, start with the highest frequency you care about. Slow fans and large pumps live below a few hundred hertz, so a velocity meter is enough. Gearboxes and rolling bearings produce much higher frequencies, therefore an accelerometer with a wide band is the better pick. Also check the amplitude range, because a sensor that overloads on a hard shock will clip the data.
How to Measure Vibration Step by Step
- Make the area safe. Follow your site’s lockout rules, keep clear of shafts and couplings, and secure loose clothing and cables.
- Write down the machine’s speed. Note the running rpm so you can convert it to hertz and spot the running-speed peak.
- Choose the measuring points. Pick each bearing housing, in the horizontal, vertical and axial directions.
- Clean and prepare each spot. Remove paint flakes, grease and rust so the sensor sits flat on bare, solid metal.
- Mount the sensor. Use a stud, adhesive pad or magnet, and keep the cable strain-relieved.
- Run the machine at normal load. Wait until it reaches steady speed and temperature before you record.
- Record and label the data. Save the amplitude, the frequency spectrum and the time, so you can compare the next visit.
Where to Mount a Sensor to Measure Vibration
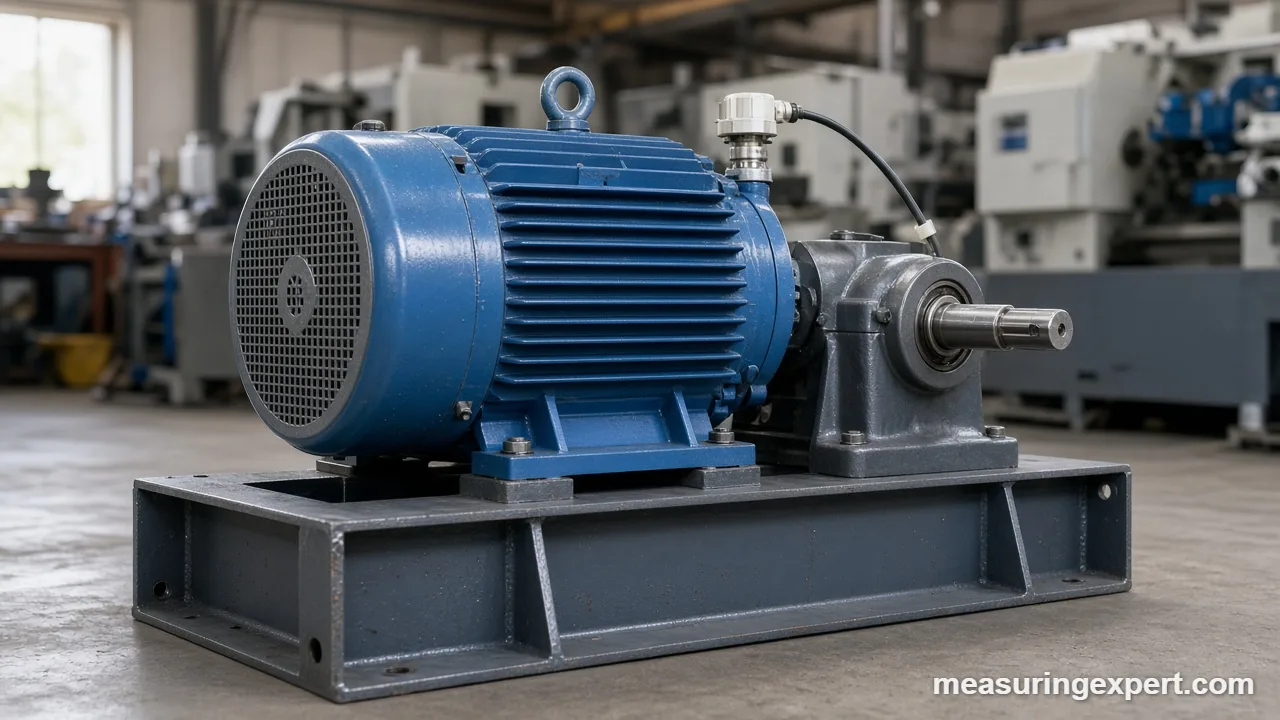
Above all, the mount matters as much as the sensor. A loose or springy contact acts like a filter, and it hides the very high-frequency signals that show early bearing damage. A stud mount gives the widest usable range. Adhesive pads come next, and magnets and handheld probes limit the upper range further.
Where to Measure Vibration on Common Machines
Place the sensor as close as possible to the bearing, because the bearing is where the shaft force enters the frame. For a motor, for example, that means both end shields. For a pump, use the bearing housing and not the thin casing. Besides that, mark each spot with paint or a punch mark, so you return to the same place next time.
Cable Care
Similarly, cables can add noise of their own. Fix the cable to the machine a short distance from the sensor, since a swinging cable generates false signals. In addition, route it away from power cables, and test continuity with a multimeter if a reading looks strange. Our guide to choosing a digital multimeter explains which features matter for that check.
Sampling and Analysis: From Raw Signal to Spectrum
A meter shows one overall number, but an analyzer or data logger records the full waveform, and software then turns it into a spectrum with an FFT. That spectrum shows how much vibration sits at each frequency.
Sampling Rate to Measure Vibration
The sampling rate must be more than twice the highest frequency you want to see, because slower sampling creates false low-frequency signals. Many analyzers use about 2.56 times to leave room for the anti-alias filter. To capture content up to 5 kHz, for example, you need roughly 12,800 samples per second.
Frequency Resolution
Next, the length of the record sets the detail. Frequency resolution equals 1 divided by the record time, so a 1-second record resolves 1 Hz and a 10-second record resolves 0.1 Hz. Longer records therefore separate close peaks, such as running speed and a nearby electrical line frequency.
Reading the Data: Patterns That Point to Faults
Once you can measure vibration, the next question is what the numbers mean. Therefore, the frequency of a peak points to its source.
| Where the peak appears | Common cause |
|---|---|
| 1 x running speed (30 Hz at 1,800 rpm) | Imbalance, a bent shaft |
| 2 x running speed, often with strong axial motion | Misalignment |
| Several multiples of running speed | Looseness |
| Non-integer multiples at higher frequency | Rolling-bearing defects |
These patterns are guides, but not proof. As a result, confirm a suspected fault with a second test, such as a phase check or a visual inspection.
Judging Severity
Standards such as ISO 20816-1 give evaluation criteria based on the size of the vibration and its change over time. Manufacturers also publish limits for their own machines. In practice, a steady rise of 25 percent or more in the same position on the same machine deserves a closer look, even if the absolute value is still under the limit. That rule of thumb is a common maintenance habit and not a standard.
Common Mistakes When You Measure Vibration
- Mixing up units. A value in mm/s RMS is not the same as one in in/s peak.
- Using a weak mount. A handheld probe pressed by hand cuts off high frequencies.
- Measuring on the wrong spot. Thin covers and guards ring like a drum and hide the real signal.
- Ignoring operating conditions. Speed, load and temperature all shift the readings.
- Skipping calibration. A sensor that has never been checked can drift. See our article on measurement tool calibration for the basics.
Do and Don’t When You Take Readings
Do
- Record the same points in the same directions each visit.
- Note rpm, load and temperature with every reading.
- State the unit and whether the value is peak or RMS.
- Check the sensor and cable before you blame the machine.
- Keep a baseline from when the machine ran well.
Don’t
- Compare values from different units without converting.
- Mount on loose paint, thin covers or guards.
- Press a handheld probe harder some days than others.
- Trust one reading as proof of a fault.
- Touch rotating parts to steady a sensor.
Honest Limits of Vibration Measurement
Vibration data is easy to collect but hard to interpret. First, every sensor has a usable frequency band, and outside it the reading is wrong. Second, the sine-wave formulas on this page are only exact for a clean single frequency. Real machines show many frequencies at once, so the conversions give estimates. Finally, the same machine can read differently on a different day because of load, temperature and the mounting. For these reasons, trends and comparisons are more reliable than any one value.
When to Call a Professional
A handheld meter is fine for routine screening. However, call a vibration analyst or the machine maker when readings climb quickly, when a critical machine such as a turbine or a large compressor is involved, or when a fault could injure people. Likewise, use an accredited calibration lab if a sensor supports a safety or contract decision.
Frequently Asked Questions
How do you measure vibration in a machine?
Mount an accelerometer or vibration meter on the bearing housing, run the machine at normal load, and record the amplitude and frequency. Repeat at the same points each visit to track changes.
What unit is used to measure vibration?
It depends on the quantity. Displacement uses mils or micrometers, velocity uses mm/s or in/s, acceleration uses g or m/s2, and frequency uses hertz (Hz).
What instrument can measure vibration?
Common instruments include accelerometers, handheld vibration meters, proximity probes, laser vibrometers and data analyzers. The best choice depends on the frequency range and whether you can touch the part.
Which is better to measure vibration, velocity or acceleration?
Velocity suits general machine health because it reflects vibration energy over a broad range. Acceleration is better for high-frequency faults such as bearing and gear defects.
How many mm is one mil?
One mil is one thousandth of an inch, which is exactly 0.0254 mm. So 2 mils equals 0.0508 mm.
How do I convert rpm to hertz?
Divide the rpm by 60. For example, 1,800 rpm is 30 Hz and 3,600 rpm is 60 Hz.
What does RMS mean in vibration?
RMS is the root mean square, a kind of average that tracks the energy of the vibration. For a pure sine wave, RMS equals about 0.707 times the peak value.
Can I measure vibration with a phone?
You can get a rough idea with a phone app, but phone sensors have a limited frequency range and unknown calibration. Use a proper sensor for any maintenance decision.
How often should I measure vibration on a motor?
Intervals depend on how critical the machine is. Many plants check important machines monthly and others quarterly, and then adjust once a trend appears.
What sampling rate do I need?
Sample at more than twice the highest frequency of interest. Many analyzers use about 2.56 times, so 5 kHz of content needs about 12,800 samples per second.
Measure Vibration With Confidence: The Bottom Line
To measure vibration well, choose a sensor that covers the frequencies you care about, mount it firmly on a solid spot, and record the same points each time. State the unit and whether it is peak, peak-to-peak or RMS, and convert with the formulas above when you need to compare.
Above all, remember that the trend matters more than any single value. Keep a baseline, follow your safety rules, and bring in an expert for critical machines. The converter at the top of the page handles the mils to millimeters step in seconds.
1 thought on “How to Measure Vibration in Mechanical Systems: Tools, Units and Steps”