

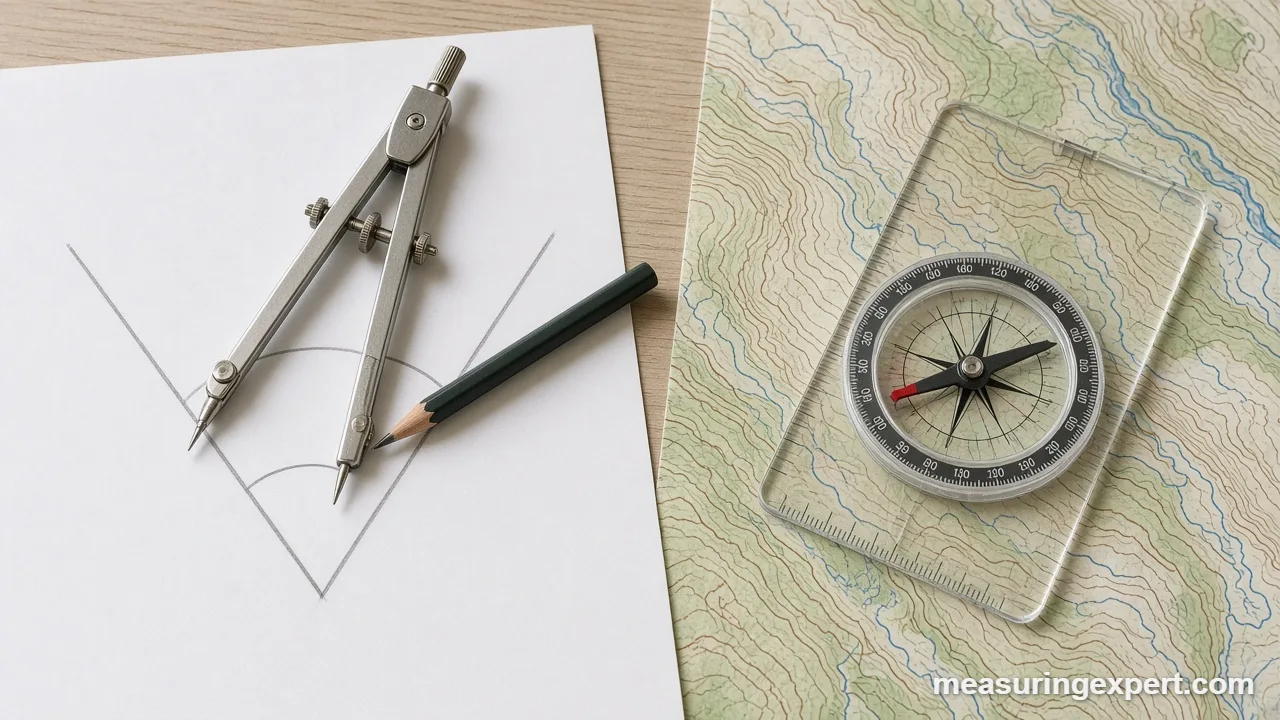
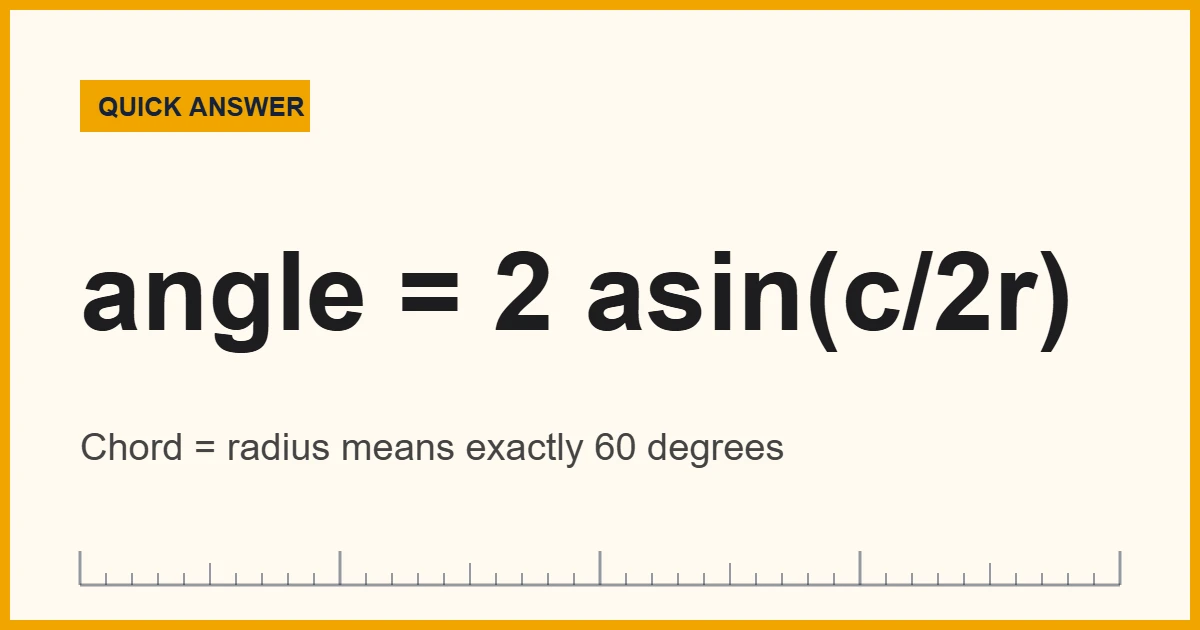
To measure angles with a compass, draw an arc from the vertex, measure the straight chord between the two points where it crosses the sides, and use angle = 2 x arcsin(chord / (2 x radius)). A drawing compass also bisects and copies angles. A navigation compass, by contrast, measures bearings from north.
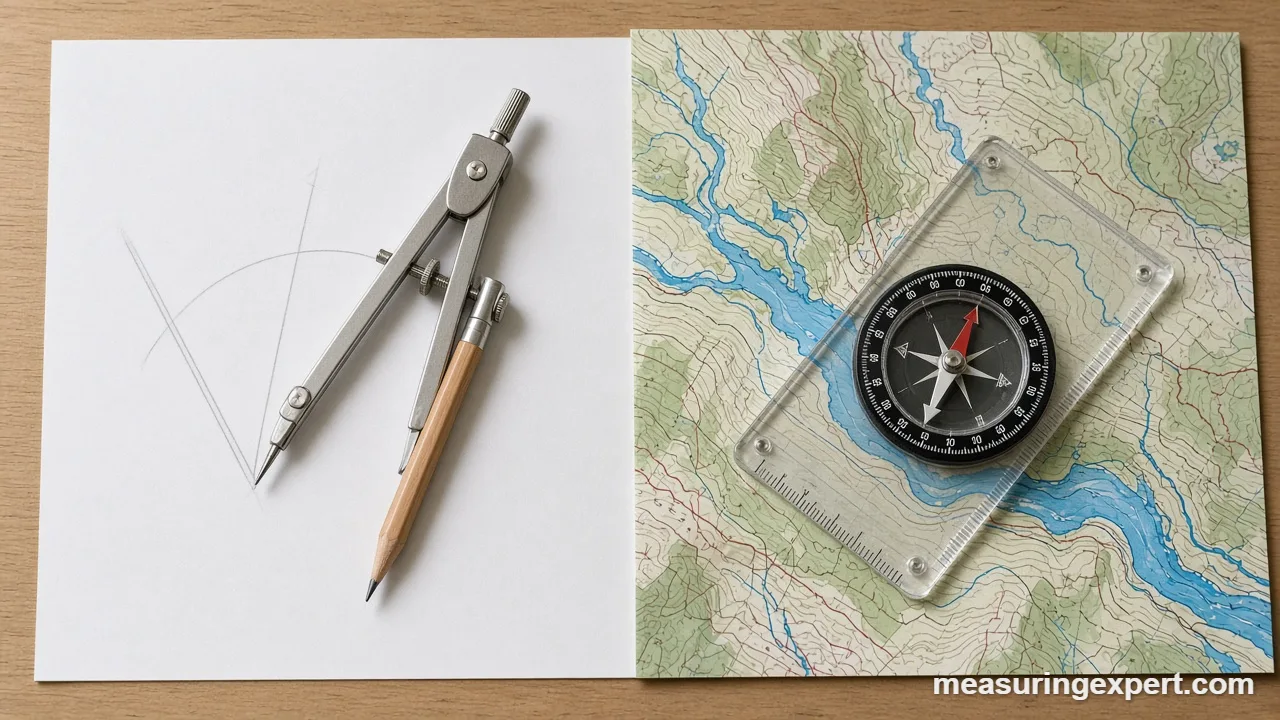
The word “compass” covers two very different tools. One is the hinged drawing instrument with a needle point and a pencil, the kind found in every geometry set. The other, meanwhile, is the magnetic compass that hikers, surveyors and sailors use to find direction. Both work with angles; however, they answer different questions. So it helps to know which one you are holding before you start.
Two Kinds of Compass, Two Kinds of Angle
A drawing compass does not have a degree scale. Instead, it gives you perfect circles and equal distances, and those two things are enough to measure, copy and split any angle on paper. For example, if you draw an arc of known radius from the corner of an angle, the straight-line distance between the two crossing points (the chord) tells you the angle exactly. By contrast, a navigation compass works the other way around: its rotating bezel is marked from 0 to 360 degrees, so it reads the angle between north and any direction you point it at.
In short: use a drawing compass and a ruler for angles on paper, and use a magnetic compass for angles between directions in the real world.
For bearings, one correction matters more than any other. The National Oceanic and Atmospheric Administration (NOAA) explains that magnetic declination is the angle between magnetic north and true north, and that it changes with place and time. As a result, a compass reading is a magnetic bearing until you correct it.
This guide first covers the drawing compass: the chord method, bisecting, copying and constructing standard angles. After that, it moves on to bearings, declination and the limits of both tools.
Convert Angles With a Compass Into Slope and Pitch
Once you know an angle in degrees, you may also need it as a percent grade or a roof pitch. Enter the angle below, and the converter shows both. For instance, the 60 degree angle you get from a compass chord equal to its radius is a 173.21% grade, or a pitch of about 20.78 in 12.
Recommended Tools for Measuring Angles With a Compass
For paper work, choose a drawing compass that locks its width, because a leg that creeps open between arcs ruins the construction. For example, a center wheel or a locking screw solves that. Also, keep a sharp pencil lead and a clear ruler with millimeter marks for the chord method. For bearings, on the other hand, a baseplate compass with a rotating bezel and a declination adjustment is the most practical choice, while a sighting mirror helps you aim more precisely.


As an Amazon Associate, Measuring Expert earns from qualifying purchases.
- A drawing compass measures an angle through its chord: angle = 2 x arcsin(c / 2r).
- When the chord equals the radius, the angle is exactly 60 degrees.
- Bisecting and copying angles needs only a compass and a straightedge.
- Repeated bisecting gives 30, 15, 45 and 22.5 degree angles with no protractor.
- A magnetic compass reads bearings clockwise from north, from 0 to 360 degrees.
- The angle between two bearings is their difference, taken the short way around.
- True bearing = magnetic bearing + declination (east positive, west negative).
Drawing Compass vs Navigation Compass
People search for one phrase and mean two tools, so here is the difference side by side.
| Feature | Drawing compass | Navigation (magnetic) compass |
|---|---|---|
| What it measures | Angles between lines on paper | Angles between directions (bearings) |
| Degree scale | None; you calculate or construct | Bezel marked 0 to 360° |
| Reference line | One side of the angle | Magnetic north |
| Typical use | Geometry, drafting, woodworking layout | Hiking, orienteering, rough site layout |
| Main error source | Leg slipping, thick pencil lines | Declination, nearby metal, reading error |
| Extra tool needed | Straightedge, ruler for the chord | Map, for map bearings |
If you need a degree number on paper and do not want to use math, a protractor is the faster tool. Our guide on how to measure angles using a protractor walks through it. Otherwise, the compass methods below are more precise than they look.
Measure Angles With a Compass and a Ruler (Chord Method)
Above all, this is the one method that turns a drawing compass into a true measuring tool. It works because every angle at the center of a circle cuts off a chord of a fixed length. Therefore, if you know the radius and measure the chord, you know the angle.
- Set a round radius. Open the compass to an easy number, such as 10 cm (or 4 in).
- Swing the arc. Put the needle on the vertex and draw an arc that crosses both sides of the angle.
- Measure the chord. With a ruler, measure the straight distance between the two crossing points.
- Do the math. Divide the chord by twice the radius, take the arcsine, and double the result.
Chord lengths for common angles
For example, with a 10 cm radius and a 7.65 cm chord, 7.65 / 20 = 0.3825. Next, arcsin(0.3825) is 22.5 degrees, so the angle is 45 degrees. In addition, the table below saves you the arithmetic for common angles.
| Angle | Chord at 10 cm radius | Chord at 5 cm radius | Chord at 4 in radius |
|---|---|---|---|
| 15° | 2.61 cm | 1.31 cm | 1.04 in |
| 30° | 5.18 cm | 2.59 cm | 2.07 in |
| 45° | 7.65 cm | 3.83 cm | 3.06 in |
| 60° | 10.00 cm | 5.00 cm | 4.00 in |
| 90° | 14.14 cm | 7.07 cm | 5.66 in |
| 120° | 17.32 cm | 8.66 cm | 6.93 in |
| 150° | 19.32 cm | 9.66 cm | 7.73 in |
| 180° | 20.00 cm | 10.00 cm | 8.00 in |
The same idea also works without a compass at all, using a pencil on a string. Our guide to measuring angles without a protractor covers that and several other length-based methods.
How to Bisect and Copy Angles With a Compass
Classic straightedge-and-compass constructions do not give you a number. However, they split and transfer angles exactly, which is often what a drawing or a woodworking layout really needs. The construction for bisecting is shown step by step at Math Open Reference, together with a proof that it works.
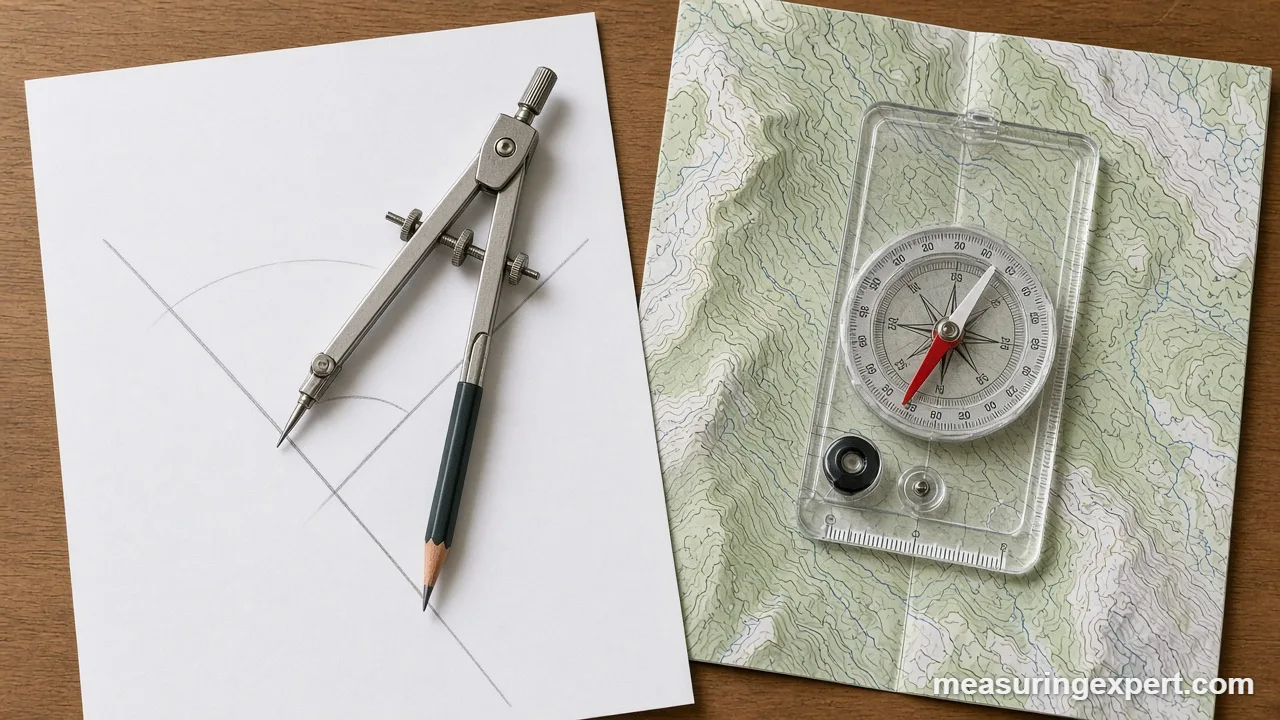
Bisect an angle
- Draw the first arc. Place the needle on the vertex and swing an arc that crosses both sides of the angle.
- Mark the crossings. Label the two crossing points A and B.
- Swing from A. Keep the compass width fixed (or open it a little wider) and draw an arc inside the angle from point A.
- Swing from B. With the same width, draw a second arc from point B so that it crosses the first one.
- Draw the bisector. Rule a line from the vertex through the point where the two arcs meet. That line splits the angle into two equal halves.
Copy an angle
- Start a new ray. Draw a line and mark its endpoint as the new vertex.
- Swing matching arcs. Draw an arc on the original angle, then draw an arc of the same radius from the new vertex.
- Take the chord. Set the compass to the distance between the crossing points on the original angle.
- Transfer it. From the crossing point on the new ray, mark that distance on the new arc.
- Finish the copy. Rule a line from the new vertex through that mark.
Construct 60, 30, 90 and 45 Degree Angles
A compass can also build exact reference angles from nothing. First, draw a line and an arc from a point on it. Then, without changing the width, step from where the arc meets the line and mark the arc again. As a result, a line through that mark makes 60 degrees, because the three points form an equilateral triangle. Stepping once more gives 120 degrees.
From there, bisecting does the rest. Next, halve 60 degrees for 30, and then halve 30 for 15. Similarly, to get 90 degrees, construct a perpendicular: swing equal arcs from two points on a line on either side of your point, and join your point to where those arcs cross. After that, halve 90 for 45, and halve 45 for 22.5. In practice, this is how drafters laid out angles long before digital tools existed.
Measuring Bearing Angles With a Compass
With a magnetic compass, an angle is a bearing: the clockwise angle from north to the direction you face, from 0 to 360 degrees. So east is 90, south is 180 and west is 270. Many baseplate compasses mark the bezel in 2 degree steps, so careful readers usually estimate to the nearest degree or two.
Take a bearing
First, hold the compass flat at chest height with the direction-of-travel arrow pointing at your target. Next, turn the bezel until the orienting arrow sits under the red end of the needle. Finally, read the number at the index line. That number, in short, is your magnetic bearing.
Find the angle between two directions
To measure angles with a compass in the field, take a bearing to each object and subtract the smaller from the larger. If the difference is more than 180 degrees, subtract it from 360 to get the shorter angle. For example, bearings of 40 and 310 degrees differ by 270, so the angle between them is 90 degrees. Likewise, a back bearing (the direction you came from) is your bearing plus or minus 180 degrees.
| Bearing A | Bearing B | Difference | Angle between |
|---|---|---|---|
| 30° | 75° | 45° | 45° |
| 120° | 210° | 90° | 90° |
| 40° | 310° | 270° | 90° |
| 350° | 20° | 330° | 30° |
Also, some compasses use other scales. A 32-point compass rose divides the circle into points of 11.25 degrees each, and military compasses often use 6,400 NATO mils, so 1 degree is about 17.78 mils.
Magnetic Declination and True Bearings
To begin with, a compass needle lines up with the local magnetic field, not with the geographic North Pole. According to NOAA, you get a true bearing by adding the declination to the magnetic bearing, with east declination counted as positive and west as negative. So a magnetic bearing of 100 degrees with 10 degrees west declination is a true bearing of 90 degrees.
The angle between two bearings is not affected, because the same correction applies to both. However, declination does matter when you compare a compass bearing with a map. Because it drifts every year, look up the current value for your location with NOAA’s calculator rather than trusting an old map margin.
Do and Don’t
Do
- Lock the compass width before you draw matching arcs.
- Draw the largest arc that fits the page.
- Keep pencil lines thin and the lead sharp.
- Hold a magnetic compass level and still.
- Check declination before using a map.
Don’t
- Let the needle point wander off the vertex.
- Measure chords with a worn or thick ruler edge.
- Take bearings next to a car or a steel railing.
- Forget to take the short way around between bearings.
- Trust an old map’s declination value.
Honest Limits of Compass Angles
Paper constructions are exact in theory. In practice, though, a pencil line has width and a compass leg can flex, so small errors stack up with every extra step. The chord method is typically good to well under a degree on a large arc, yet a short arc can easily be off by a degree or more.
Magnetic compasses, likewise, have their own limits. For instance, reading error, a tilted capsule, local iron and an outdated declination all add up. As a result, a handheld compass is fine for hiking and rough layout but not for property lines or structural work. For more precise options, see our roundup of tools for measuring angles, from digital angle gauges to theodolites.
When to Call a Professional
First, call a licensed land surveyor for boundary lines, easements or anything that ends up in a deed, because surveyors use calibrated instruments and legal reference marks. Similarly, use a structural engineer or a qualified builder when angles affect loads, such as rafters, stairs or retaining walls. Finally, for tools that must meet a specification, a calibration lab can certify them.
Frequently Asked Questions
Can you measure angles with a compass instead of a protractor?
Yes. Draw an arc from the vertex, measure the chord between the crossing points, and use angle = 2 x arcsin(chord / (2 x radius)).
What angle does a chord equal to the radius make?
Exactly 60 degrees, because the vertex and the two crossing points form an equilateral triangle.
How do you bisect angles with a compass?
Swing an arc from the vertex across both sides, swing equal arcs from the two crossing points, and draw a line from the vertex through where they meet.
How do you copy angles with a compass?
Draw matching arcs on the original angle and on a new ray, transfer the chord distance with the compass, and join the new vertex to the mark.
How do I make a 90 degree angle with a compass?
Construct a perpendicular: swing equal arcs from two points on a line on either side of your point, then join your point to where the arcs cross.
How do you read angles with a compass for navigation?
Point the direction-of-travel arrow at the target, turn the bezel until the orienting arrow sits under the red needle, and read the bearing at the index line.
How do I find the angle between two bearings?
Subtract the smaller bearing from the larger. If the result is over 180 degrees, subtract it from 360 to get the shorter angle.
Does magnetic declination change the angle between two bearings?
No. The same correction applies to both bearings, so their difference stays the same. Declination only matters when you compare with a map or true north.
How accurate are angles with a compass?
On paper, a large arc and a careful chord measurement usually give well under a degree of error. A handheld magnetic compass is usually good to a degree or two.
What is a back bearing?
It is the opposite direction: add 180 degrees to your bearing, or subtract 180 if the bearing is more than 180.
Angles With a Compass: The Bottom Line
A drawing compass measures angles through lengths. So draw a big arc, measure the chord, and let 2 x arcsin(c / 2r) give you the degrees, or bisect and copy angles exactly with no numbers at all. Meanwhile, a magnetic compass measures bearings from north, and the angle between two directions is simply their difference.
Finally, remember the two corrections that matter most: take the short way around when you subtract bearings, and add declination before you compare with a map. If you need slope or pitch instead of degrees, the converter near the top of this page handles that in one step.