

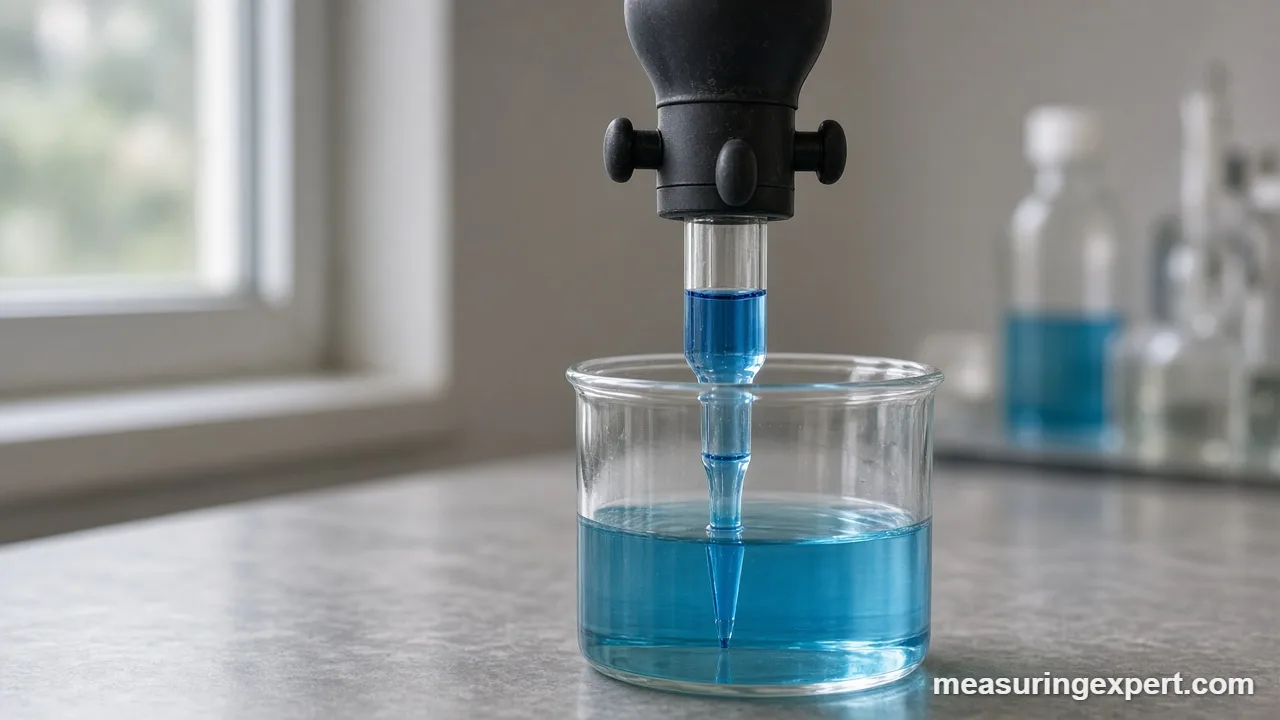
To use a pipette, attach a filler bulb (never your mouth), draw liquid above the mark, then lower it until the bottom of the meniscus sits on the line at eye level. Next, let a TD pipette drain into the receiver and touch off the tip. Finally, blow out the last drop only if the glass is marked for blow-out.
A pipette is the lab tool you reach for when a graduated cylinder is not accurate enough. For example, a good 10 mL volumetric pipette delivers its volume to within a few hundredths of a milliliter, while a cylinder of similar size is several times less exact. However, the glass or the plunger only gets you halfway. The rest depends on how you use a pipette: how you fill it, read it and empty it.
That is why this guide focuses on technique. There are three common families: volumetric (one fixed volume), graduated (Mohr and serological, which measure a range), and micropipettes (adjustable, for microliters). Each one fills and empties a little differently, so you will see each method separately below.
In short: use a pipette with a bulb or pump, read the meniscus at eye level, follow the TD or TC marking, and only blow out the final drop when the markings tell you to. Also, choose the smallest pipette that still covers your volume, because accuracy is best near full capacity.
Where These Pipette Numbers Come From
The tolerances quoted here come from published standards. For instance, glassware maker DWK lists its 10 mL Class A volumetric pipette at plus or minus 0.02 mL under ASTM E969, the US standard for volumetric pipettes. Similarly, the micropipette tips below follow the good pipetting practice guide from Mettler Toledo Rainin.
First, try the converter below if you need your volume in other units. After that, pick your type and follow the steps.
Convert a Pipette Volume to Other Units
Enter a volume in milliliters and the converter shows it in liters, cubic centimeters, teaspoons and US fluid ounces. For microliters, divide by 1,000 first, so 250 microliters (uL) is 0.25 mL.
A milliliter is exactly one cubic centimeter, so 1 mL and 1 cc are the same volume. In addition, one US fluid ounce is 29.5735 mL, which means even 25 mL is less than an ounce.
Recommended Tools to Use a Pipette Safely
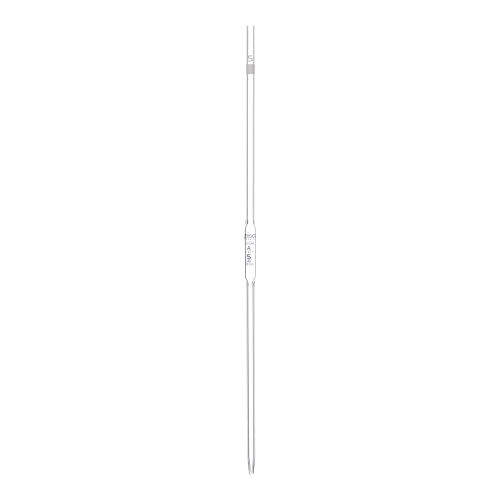
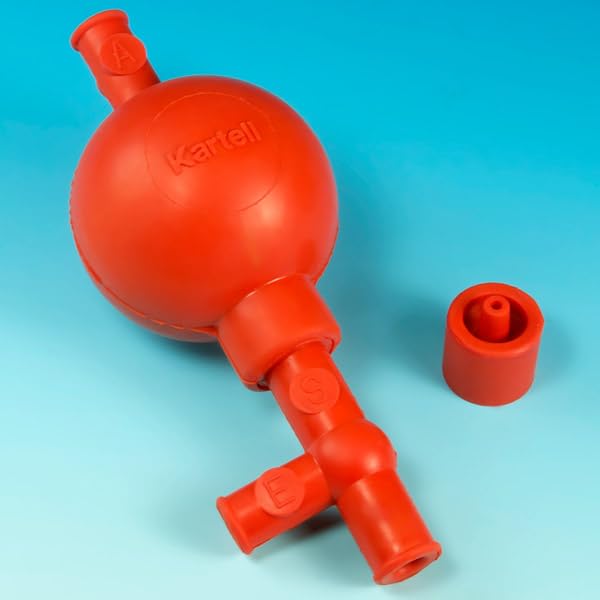
Most mistakes happen because the right accessory is missing. So, a safety bulb or valved filler is essential for glass pipettes, and an adjustable micropipette covers small volumes that glass cannot handle. Also, Class A volumetric glass is the best choice when one fixed volume must be exact. The picks below are based on manufacturer specs and buyer reports.



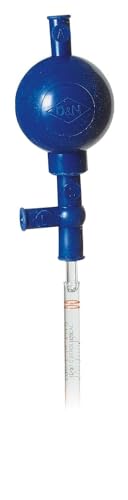
As an Amazon Associate, Measuring Expert earns from qualifying purchases.
Key Takeaways
- Never mouth pipette; always fill with a bulb, pump or the plunger.
- Read the bottom of a clear liquid’s meniscus with the mark at eye level.
- TD (to deliver) pipettes drain into the receiver; TC (to contain) pipettes must be rinsed out.
- Blow out the last drop only on pipettes marked for blow-out, such as a frosted band near the top.
- Volumetric pipettes are the most accurate; graduated ones trade some accuracy for flexibility.
- Micropipettes use forward pipetting for water-like liquids and reverse pipetting for viscous or volatile ones.
- Pick the smallest size that covers your volume for the best accuracy.
Which Pipette Type Fits Your Job
Before you use a pipette, match its type to the volume. A volumetric pipette delivers one fixed volume very accurately. A graduated pipette, by contrast, can deliver any volume between its marks. Meanwhile, a micropipette handles tiny volumes, usually from about 0.1 uL up to 10 mL depending on the model.
| Type | What it measures | How it is filled | Best for |
|---|---|---|---|
| Volumetric (bulb) pipette | One fixed volume, single ring mark | Bulb or pipette pump | Standards, titrations, exact dilutions |
| Mohr graduated pipette | Any volume between marks; marks stop above the tip | Bulb or pump | Variable volumes, delivered between two lines |
| Serological pipette | Graduated down to the tip; often blow-out | Pipette controller or bulb | Cell culture, biology, quick transfers |
| Micropipette (air displacement) | Adjustable microliter volumes | Built-in plunger and disposable tip | Molecular biology, small reagent volumes |
| Transfer (Pasteur) pipette | Rough drops; not a measuring tool | Squeeze bulb | Moving liquid when volume does not matter |
As a rule, the more a tool can do, the less accurate it is. Therefore, choose the volumetric type when one volume must be exact. If you need to compare glassware accuracy in more depth, see our ranking of the most accurate volume measurement tools.
Class A Volumetric Tolerances
| Class A volumetric pipette | Typical tolerance (ASTM E969) | Error as % of volume |
|---|---|---|
| 1 mL | +/- 0.006 mL | 0.6% |
| 5 mL | +/- 0.01 mL | 0.2% |
| 10 mL | +/- 0.02 mL | 0.2% |
| 25 mL | +/- 0.03 mL | 0.12% |
| 50 mL | +/- 0.05 mL | 0.1% |
Notice that the percentage error shrinks as the volume gets bigger. That pattern is why small volumes are the hardest to measure well, a topic our guide to minimum pipette volume covers for each type.
How to Use a Pipette Step by Step
These steps cover glass volumetric and graduated pipettes. For adjustable micropipettes, jump to the forward and reverse pipetting section.
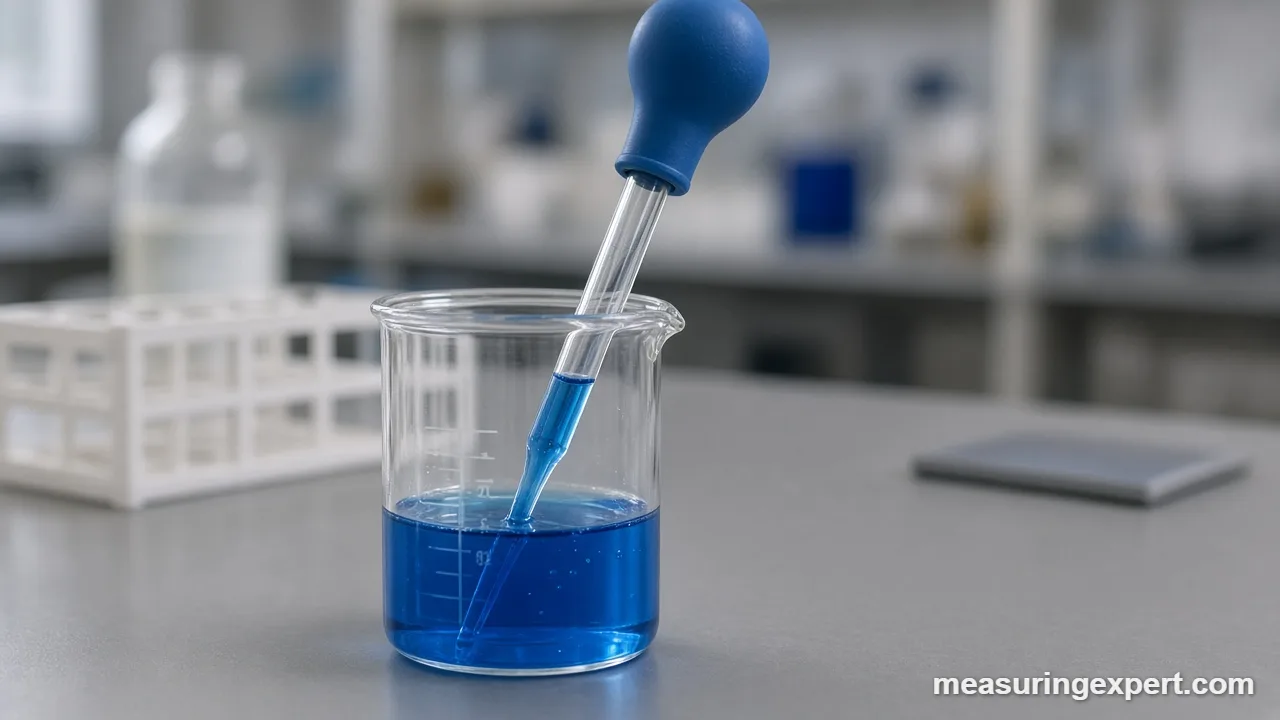
- Check the markings. Look for the volume, TD or TC, the class and any blow-out band so you know how it is meant to empty.
- Rinse with the sample. Draw a small amount of your liquid, tilt and turn the tube to coat the inside, and discard it to waste.
- Attach a filler bulb or pump. Squeeze the air out of the bulb first, then fit it gently onto the top so you do not snap the glass.
- Draw the liquid above the mark. Keep the tip well below the surface and pull liquid a little past the graduation line.
- Wipe the outside of the tip. A lint-free tissue removes drops clinging to the glass that would add to your volume.
- Lower the level to the line. Hold the mark at eye level and release liquid slowly until the bottom of the meniscus touches the line.
- Remove any hanging drop. Touch the tip to the inside of the waste beaker so no extra drop rides along.
- Deliver into the receiving vessel. Hold it upright, let a TD pipette drain freely, and then touch the tip to the vessel wall.
- Finish the right way. Leave the small residue in a standard TD pipette, but blow it out if the glass is marked for blow-out.
How to Use a Pipette Between Two Marks
With a graduated pipette, you can also deliver between two marks. For example, to measure 3.5 mL with a 10 mL Mohr pipette, set the level to 0.0 mL and then stop at 3.5 mL. As a result, you avoid relying on the tip region, which carries no graduations on a Mohr design.
Reading the Meniscus and Markings
Water and most solutions curve upward where they touch glass, so the surface forms a dip called a meniscus. For clear liquids, you read the bottom of that curve. However, for dark or opaque liquids such as potassium permanganate, you read the top edge instead, because the bottom is hard to see.
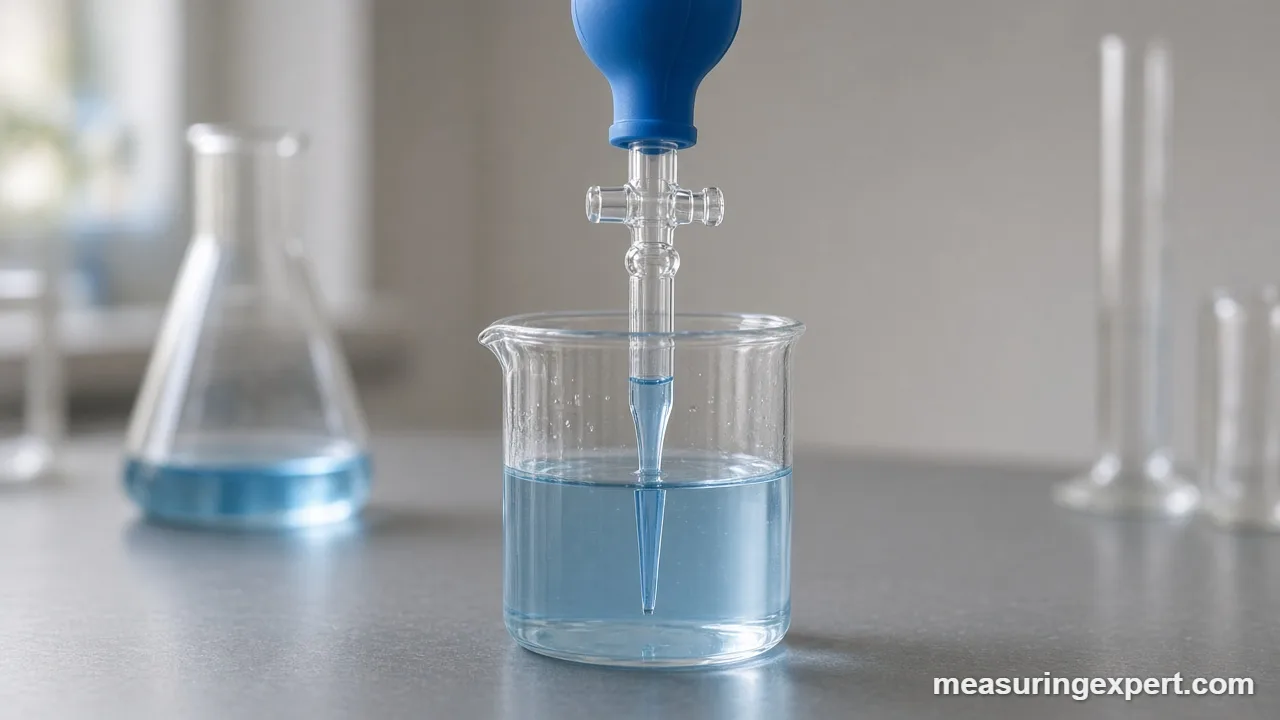
Parallax is the main reading error when you use a pipette. If your eye sits above the mark, the level looks lower than it is, and you overfill. Conversely, if your eye sits below it, you underfill. So, bring the mark to eye level, or crouch, rather than tilting the glass toward you. A white card with a black stripe held behind the glass also makes the curve easier to see.
TD, TC and Blow-Out: What the Labels Mean
Read the small print before you use a pipette, because it tells you how the glass was calibrated. Consequently, ignoring it is one of the fastest ways to get the wrong volume, even with perfect reading technique.
| Marking | Meaning | What you do |
|---|---|---|
| TD (or “Ex”) | To deliver: calibrated for the volume that flows out | Let it drain, touch off, and leave the small residue in the tip |
| TC (or “In”) | To contain: calibrated for the volume held inside | Rinse it out with solvent to transfer every drop |
| Frosted band or two rings near the top | Blow-out pipette | Expel the last drop with the bulb after it drains |
| Waiting time, such as “Ex + 5 s” | Drain time is part of the calibration | Wait that long after free flow stops before removing it |
| 20 C | Calibration temperature | Work close to room temperature for the stated accuracy |
| Class A or Class B | Tolerance grade | Class A is tighter, so choose it for quantitative work |
Forward vs Reverse: How to Use a Pipette That Is Adjustable
An air-displacement micropipette has a plunger with two stops. The first stop measures the set volume, and the second stop pushes out a little extra air to empty the tip. Because of that design, there are two ways to work.
Forward pipetting suits water and most buffers. First, press the plunger to the first stop, put the tip 2 to 10 mm into the liquid and release slowly. Then, dispense by pressing to the first stop, pause, and continue to the second stop to empty the tip.
Reverse pipetting suits viscous, foaming or volatile liquids such as glycerol, detergents or ethanol. In this case, press all the way to the second stop before you dip the tip, then release to draw up slightly more than the set volume. Next, dispense only to the first stop and discard what stays in the tip.
| Step | Forward pipetting | Reverse pipetting |
|---|---|---|
| Before aspirating | Press to first stop | Press to second stop |
| Dispensing | Press through to second stop | Press to first stop only |
| Leftover in tip | None | Small excess, discarded |
| Best for | Aqueous solutions | Viscous, volatile or foaming liquids |
Also, pre-wet a fresh tip by drawing and expelling the liquid two or three times, and keep the barrel within about 20 degrees of vertical while you aspirate. Mettler Toledo notes that pre-wetting alone can improve accuracy by up to 0.2%.
Mistakes People Make When They Use a Pipette
Most pipetting errors are small on their own. Together, however, they easily add up to more than the stated tolerance. Watch for these:
- Air bubbles in the column, which take up space that should hold liquid.
- Releasing a micropipette plunger too fast, which splashes liquid into the shaft.
- Dipping the tip too deep, so liquid clings to the outside and adds volume.
- Using a 10 mL size for 0.5 mL, where the relative error becomes large.
- Laying a filled tube flat, which lets liquid run into the bulb or pump.
Do and Don’t for Accurate Pipetting
Do
- Fill with a bulb, pump or plunger.
- Rinse glass pipettes with the sample first.
- Read the meniscus at eye level.
- Follow the TD, TC and blow-out markings.
- Change micropipette tips between samples.
Don’t
- Mouth pipette under any circumstances.
- Blow out a standard TD pipette.
- Grip the bulb with a warm hand.
- Set a micropipette beyond its stated range.
- Store a micropipette lying down with liquid in the tip.
Honest Limits of Pipette Accuracy
A tolerance is the maximum allowed error for new, clean glassware handled correctly at its calibration temperature. In practice, dirty glass, chipped tips, temperature changes and rushed draining all push real results beyond that figure. Moreover, micropipettes drift as seals and pistons wear, so one that was accurate last year may not be accurate now. Finally, liquids that are much denser, more viscous or more volatile than water behave differently in an air-displacement model. In short, the published number describes the best case, not every measurement.
When to Call a Professional
If you use a pipette for classroom or hobby work, careful technique is enough. However, regulated labs, clinical testing and quality-control work need documented accuracy. In those cases, send micropipettes to an accredited calibration lab on a regular schedule, and buy serialized Class A glassware with a calibration certificate. Also, ask your lab supervisor or safety officer before you pipette anything toxic, corrosive or infectious. If you need a dedicated lab model, our guide to the best lab pipettes compares models.
Frequently Asked Questions
How do you use a pipette to measure an exact volume?
Draw the liquid above the mark with a bulb, lower it until the bottom of the meniscus touches the line at eye level, and then let it drain into the receiving vessel.
Why should you never mouth pipette?
Liquid can reach your mouth in an instant, exposing you to chemicals or germs. Always use a bulb, pump or controller instead.
What does TD mean on a pipette?
TD means to deliver. The pipette is calibrated for the volume that flows out, so you leave the small residue in the tip unless it is marked for blow-out.
What does TC mean on a pipette?
TC means to contain. The pipette holds the stated volume, so you must rinse it out to transfer the full amount.
Should you blow out the last drop when you use a pipette?
Only if the pipette is marked for blow-out, usually with a frosted band or two rings near the top. Otherwise, leave the last drop in the tip.
What is the difference between a Mohr and a serological pipette?
A Mohr pipette has graduations that stop above the tip, so you deliver between two marks. A serological pipette is graduated to the tip and is often a blow-out type.
When should you use a pipette in reverse mode?
Use reverse pipetting for viscous, foaming or volatile liquids, such as glycerol, detergent solutions or ethanol.
How do you read a meniscus in a pipette?
For clear liquids, read the bottom of the curved surface with the mark at eye level. For dark liquids, read the top edge.
Which pipette is the most accurate?
A Class A volumetric pipette is the most accurate for a single volume. For example, a 10 mL Class A pipette is accurate to about plus or minus 0.02 mL.
Can you use a pipette for very small volumes like 10 microliters?
Yes, but use an adjustable micropipette sized for that range, such as a 2 to 20 uL model, rather than a glass pipette.
Bottom Line on How to Use a Pipette
To sum up, good pipetting comes down to a few habits: fill with a bulb, read the meniscus at eye level, respect the TD, TC and blow-out markings, and pick a size that fits your volume. Volumetric pipettes give the best accuracy, graduated pipettes add flexibility, and micropipettes cover microliter work.
So, before your next measurement, check the markings on the glass and choose forward or reverse mode for a micropipette. If you need to convert the result, the converter near the top of this page turns milliliters into liters, cubic centimeters, teaspoons and fluid ounces.
1 thought on “How to Use a Pipette to Measure Volume: Volumetric, Graduated and Micropipettes”