

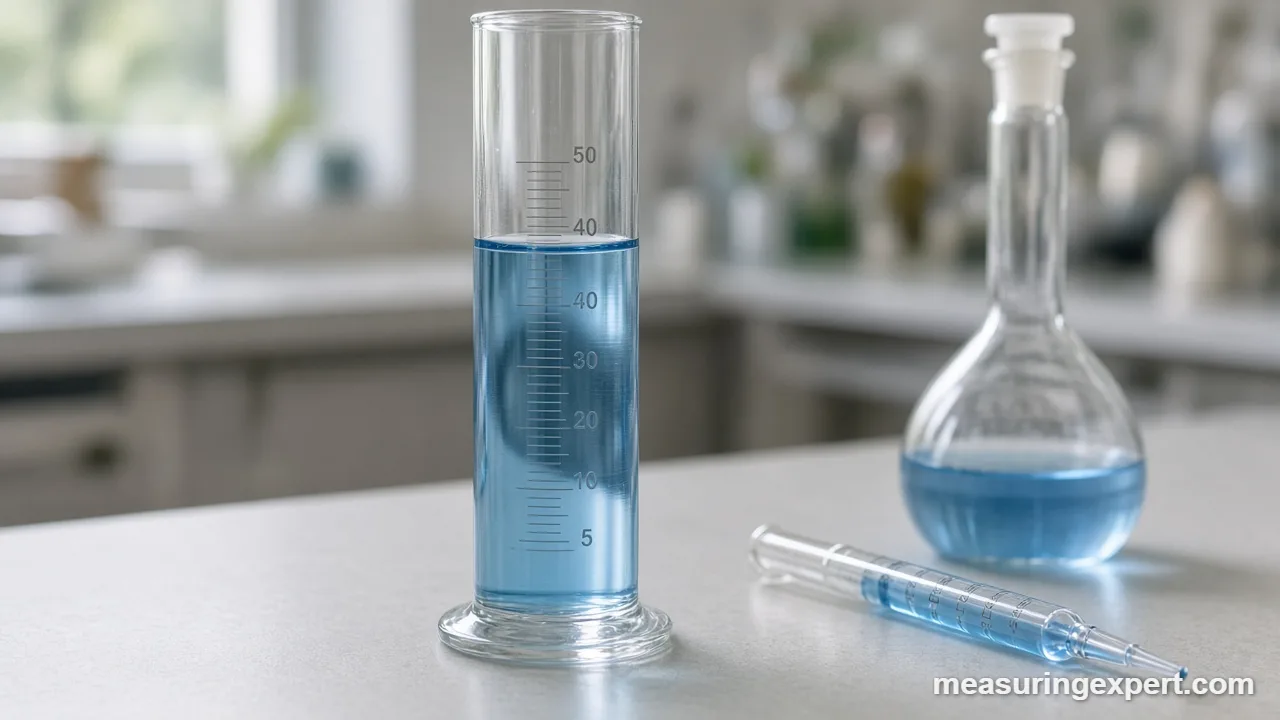
To measure the volume of a liquid, pour it into a graduated vessel that suits the accuracy you need, set it on a level surface, and read the bottom of the curved surface (the meniscus) at eye level. For the best accuracy, use Class A lab glassware, or weigh the liquid and divide by its density.
Every recipe, science lab and garage project eventually asks you for a liquid amount. Liquids take the shape of their container, so you cannot measure them with a ruler. Instead, you compare them against a container with known markings, or you weigh them and convert. Both methods work well, as long as you know where the small errors come from.
Three Keys to the Volume of a Liquid
Measuring the volume of a liquid well comes down to three things. First, choose a vessel whose markings match the precision you need: a measuring cup for soup, a graduated cylinder for a science project, and a pipette or burette for chemistry. Next, read the liquid level correctly, which means at eye level and at the bottom of the meniscus for water-like liquids. Finally, remember that temperature changes volume slightly, so precise work happens near 20 C (68 F), the temperature most lab glassware is calibrated for. In addition, when markings are not good enough, a scale gives you a better answer: weigh the liquid and divide by its density.
In short: the right container, a correct reading and a stable temperature give you a trustworthy number.
The US National Institute of Standards and Technology (NIST) explains the reading step in its good measurement practice guide on reading a meniscus. For water and other liquids that wet glass, you read the lowest point at the center of the curve. For mercury, which curves the other way, you read the highest point.
Below, you can convert any amount between milliliters and US units, compare tools by accuracy, follow a step-by-step method, and learn when to switch from markings to a scale.
Convert a Liquid Volume Between mL, Ounces and Cups
Once you have a reading, enter it below. The converter uses the exact US definitions (1 US fl oz = 29.5735 mL, 1 US cup = 236.588 mL) and, for comparison, also shows the UK fluid ounce.
Recommended Tools for Measuring Liquid Volume
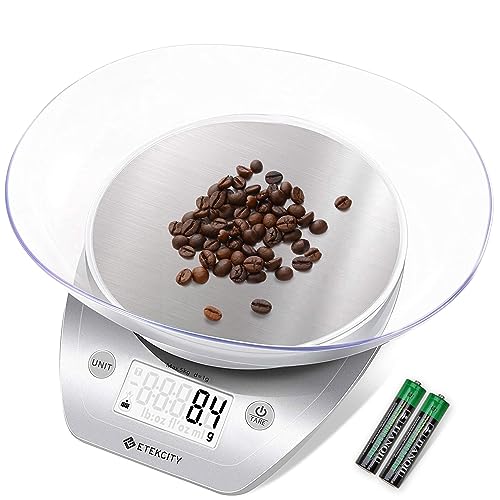
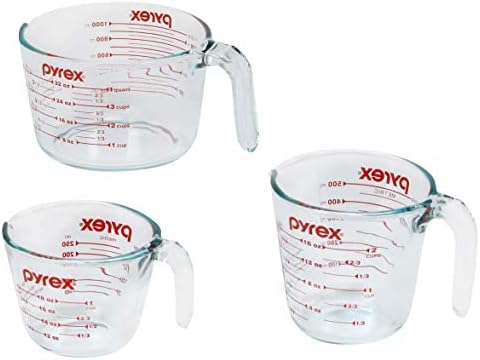
For home use, a clear measuring cup with both mL and ounce markings covers most jobs. For school or hobby lab work, however, a graduated cylinder is the better first purchase, because its narrow shape spreads the markings out and makes them easier to read. Also, a 0.1 g kitchen scale lets you use the weighing method described below.

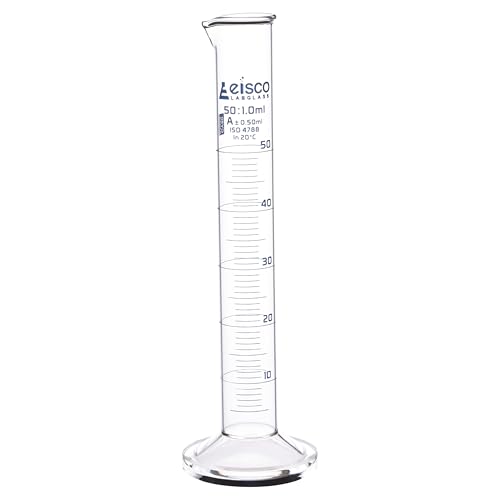

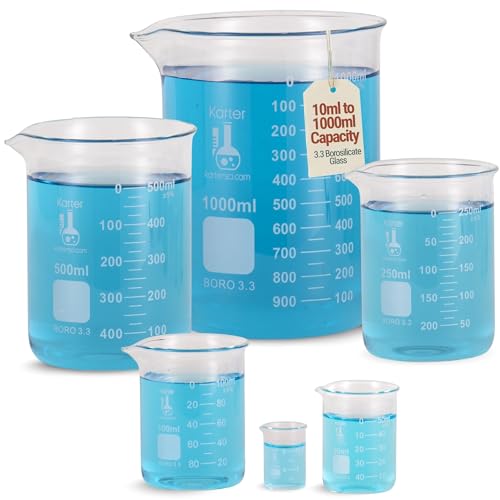
As an Amazon Associate, Measuring Expert earns from qualifying purchases.
Key Takeaways
- Match the vessel to the job: cups for cooking, cylinders for general lab work, pipettes and burettes for precise chemistry.
- Read water-like liquids at the bottom of the meniscus, with your eye level with the surface.
- Mercury and other non-wetting liquids curve upward, so you read the top of the curve.
- Looking from above or below (parallax) shifts your reading by a full marking or more.
- Most lab glassware is calibrated at 20 C; warm water takes up slightly more space.
- Weighing beats reading: volume = mass / density, and water is 0.9982 g/mL at 20 C.
- Beakers and flasks with printed marks give rough estimates, not exact measurements.
Choose a Vessel for the Volume of a Liquid by Accuracy
The vessel sets the ceiling on your accuracy, so pick it before you pour anything. As a rule, a narrow container with fine markings beats a wide one, because the same volume change moves the surface further. For example, 1 mL in a 10 mL cylinder raises the level by a visible step, while 1 mL in a wide 1 L beaker barely moves it.
Next, think about whether you need to hold a liquid or deliver it. A volumetric flask is marked “TC” (to contain): it holds exactly its stated volume. A pipette or burette is marked “TD” (to deliver): it releases its stated volume, while a thin film stays behind on the glass. Using a TC vessel to pour out a dose therefore gives you slightly less than the label says.
Also, choose a size close to your amount. Measuring 8 mL in a 100 mL cylinder wastes most of the scale. Instead, a 10 mL cylinder reads the same amount with ten times finer divisions.
Tools for the Volume of a Liquid: Tolerance Table
Lab glassware comes in tolerance classes. Class A is the tighter grade, while Class B allows roughly twice the error. The figures below are typical Class A tolerances for glass at 20 C. Kitchen tools, by contrast, are not sold to a formal tolerance class.
| Tool | Typical size | Typical tolerance | Best use |
|---|---|---|---|
| Volumetric pipette (Class A) | 10 mL | ±0.02 mL (0.2%) | Delivering one exact volume |
| Volumetric flask (Class A) | 100 mL | ±0.08 mL (0.08%) | Making solutions to an exact volume |
| Burette (Class A) | 50 mL | ±0.05 mL (0.1%) | Titrations and variable amounts |
| Graduated cylinder (Class A) | 10 mL / 100 mL | about ±0.1 mL / ±0.5 mL | General lab and hobby measuring |
| Oral or lab syringe | 1-60 mL | Good for small amounts | Medicine, resins, small doses |
| Beaker or Erlenmeyer flask | 50-1,000 mL | Marks are approximate, often around 5% | Mixing and rough estimates |
| Liquid measuring cup | 1-4 cups (250 mL-1 L) | No formal class; fine for cooking | Kitchen liquids |
So the answer to “which tool is most accurate?” is not the graduated cylinder, as many guides claim. Instead, volumetric pipettes, flasks and burettes are several times more accurate. The cylinder wins on flexibility, because it measures any amount up to its capacity. To compare more options, see our overview of tools that measure volume.
How to Measure the Volume of a Liquid, Step by Step
- Pick a clean vessel close to your amount. A clean, dry vessel avoids leftover drops that add volume.
- Set it on a flat, level surface. A tilted cylinder raises the level on one side and changes the reading.
- Pour slowly toward the target mark. Then add the last few drops with a dropper or pipette so you do not overshoot.
- Wait for the surface to settle. Bubbles and foam rise for a few seconds; tap the side gently if needed.
- Bring your eye level with the surface. Crouch down rather than lifting the vessel, which tends to tilt it.
- Read the meniscus. For water-like liquids, read the bottom of the curve; for mercury or opaque liquids, read the top.
- Record the value with one extra estimated digit. For example, on a cylinder with 1 mL marks, write 23.4 mL, not just 23 mL.
Reading the Meniscus and Avoiding Parallax
Water clings to glass, so its surface curves down in the middle and up at the walls. That curve is the meniscus. Because the center is the true level of the bulk liquid, you read the bottom of the curve. Mercury behaves the opposite way: it does not wet glass, so its surface bulges up, and you read the top.
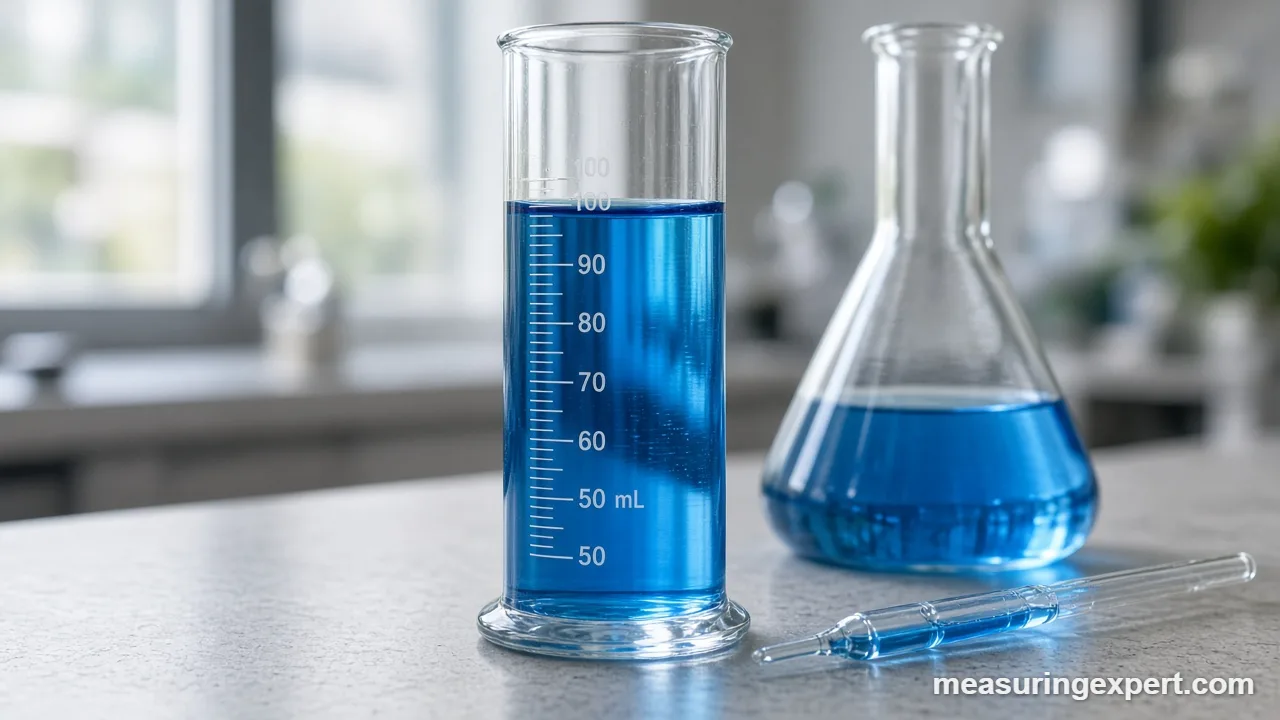
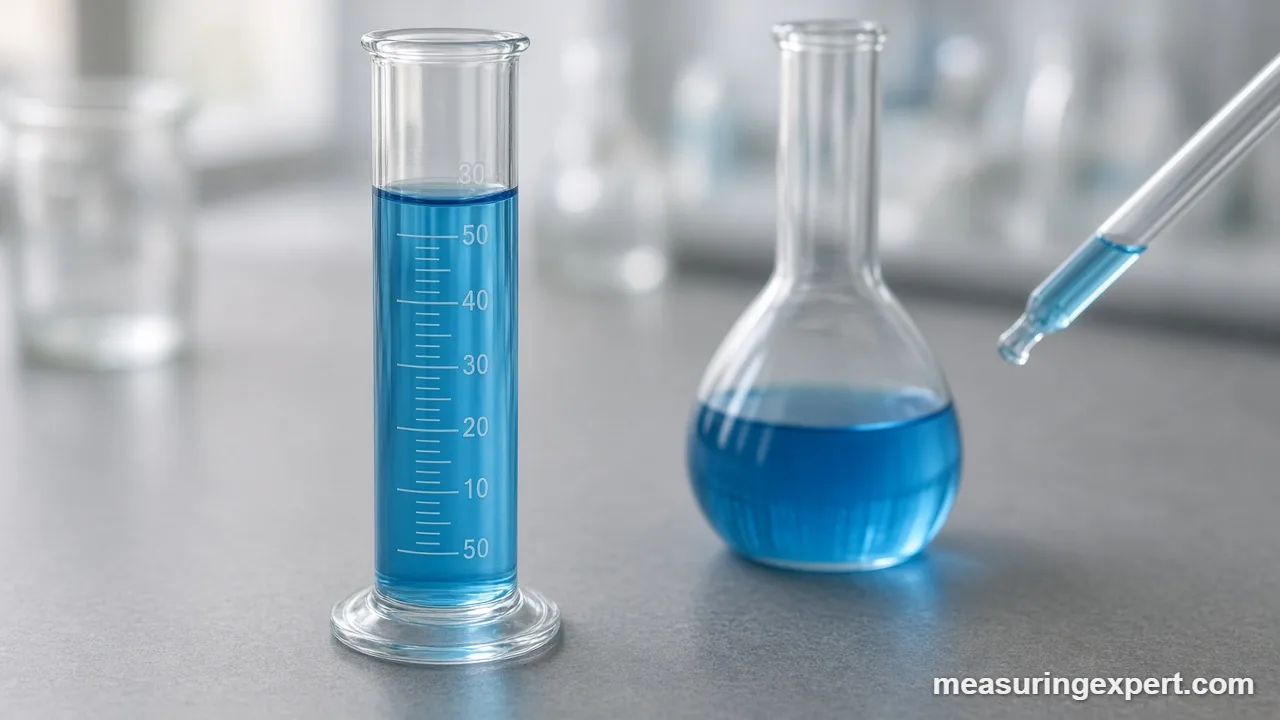
Dark or opaque liquids, such as motor oil or coffee, make the bottom of the curve hard to see. In that case, NIST’s guide describes reading the top edge instead, with your eye exactly level with the surface. Whichever method you use, keep it consistent between readings.
Parallax is the other common error. If you look down at the surface from above, the reading comes out too high. If you look up from below, it comes out too low. On a narrow 10 mL cylinder, that shift is small; on a wide container, however, it can easily cover a whole marking. Therefore, always bring your eye to the level of the liquid.
| Liquid | Meniscus shape | Where to read |
|---|---|---|
| Water, juice, alcohol, most solutions | Curves down (concave) | Bottom of the curve |
| Mercury | Bulges up (convex) | Top of the curve |
| Opaque liquids (oil, dark syrup, ink) | Bottom hidden | Top edge, eye level |
| Liquid in a plastic cylinder | Often flatter | Center of the surface |
How Temperature Changes the Volume of a Liquid
Most liquids expand as they warm. For instance, water at 25 C (77 F) takes up about 0.12% more space than the same water at 20 C, and at 30 C (86 F) about 0.26% more. That is about 0.1 mL in a 100 mL sample, which does not matter in the kitchen. In a lab, by contrast, it matters, because it is larger than the tolerance of a Class A flask.
The glass also changes size, although much less than the liquid. That is why lab glassware carries a reference temperature, usually printed as “20 C” next to the TC or TD mark. Consequently, for precise work, let liquids and glassware sit at room temperature before measuring, and avoid measuring hot liquids in calibrated glass at all.
Find the Volume of a Liquid by Weighing It
A good scale is often more accurate than any marking you can read by eye. The method is simple: weigh the liquid, then divide by its density.
Volume (mL) = mass (g) / density (g/mL)
For example, pure water at 20 C has a density of 0.9982 g/mL, according to the OpenStax water properties table. So 50.00 g of water is 50.00 / 0.9982 = 50.09 mL, and 250.0 g is about 250.4 mL. For everyday work, 1 g of water is close enough to 1 mL. However, other liquids differ: oils are lighter than water, while syrups and salt solutions are heavier, so look up the density of your specific liquid first.
- Place an empty container on the scale and press tare (zero).
- Pour in the liquid and note the mass in grams.
- Divide by the density of the liquid at its current temperature.
This approach is also how calibration labs check glassware: they weigh the water a flask holds or a pipette delivers, then convert to volume. Similarly, for odd-shaped solid objects, you can measure the water they push aside; see our guide to the displacement method.
Kitchen vs Lab Tools for Liquids
Kitchen and lab tools solve the same problem with different goals. A kitchen cup needs to be quick, sturdy and readable from above. A lab cylinder, on the other hand, needs to be repeatable and traceable to a tolerance class.
| Feature | Kitchen measuring cup | Lab graduated cylinder |
|---|---|---|
| Units | Cups, fl oz, mL | mL only |
| Smallest marking | Often 1/8 or 1/4 cup (about 30-60 mL) | 0.1-2 mL, depending on size |
| Tolerance | No formal class | Class A or Class B |
| Reference temperature | None | Usually 20 C |
| How to read | Eye level, or from above on angled cups | Eye level, bottom of meniscus |
Angled kitchen cups have a ramp inside so you can read from above. Even so, a standard glass cup should go on the counter while you crouch to eye level. Also, keep dry measuring cups for flour and sugar: filling them to the brim with liquid invites spills and short measures. Beakers sit between the two worlds; their marks are guides, not measurements, as our article on measuring volume with a beaker explains.
Do and Don’t When Measuring Liquids
Do
- Read with your eye level with the surface.
- Choose the smallest vessel that holds your amount.
- Let foam and bubbles settle first.
- Note the temperature for precise work.
- Weigh the liquid when markings are too coarse.
Don’t
- Hold the cylinder in the air while reading.
- Trust beaker or flask marks for exact amounts.
- Blow out a TD pipette unless it says so.
- Measure hot liquids in calibrated glassware.
- Mix up fluid ounces (volume) and ounces (weight).
Honest Limits
No reading is perfect. The tolerances in the table describe the glass itself; your own reading adds error on top, typically a fraction of the smallest division. In addition, viscous liquids such as honey or glycerin cling to the walls, so the volume you pour out is less than what the cylinder showed. Plastic cylinders are tough and cheap, but they often carry Class B tolerances. Finally, the weighing method is only as good as the density value you use, and densities change with temperature, concentration and, for mixtures, with how well you stir. For 1 mL or less, a syringe or micropipette gives a better result than any cylinder. If you are converting your result to kitchen units, our page on how much 30 mL is shows the spoon and ounce equivalents.
When to Call a Professional
Home and classroom measurements rarely need outside help. However, some work does. For example, regulated lab testing, pharmacy compounding, and quality control in food or chemical production need glassware with a calibration certificate. In those cases, use a calibration lab that follows a recognized standard, or buy certified glassware. Similarly, if you are dosing medicine or mixing a hazardous chemical and you are unsure of the amount, ask a pharmacist or the product’s manufacturer before you go ahead.
Frequently Asked Questions
What is the most accurate way to measure the volume of a liquid?
A Class A volumetric pipette or flask is the most accurate glassware, often within 0.1%. Weighing the liquid on a precise scale and dividing by its density is just as good or better.
What tool is used to measure the volume of a liquid?
Common tools include measuring cups, graduated cylinders, pipettes, burettes, volumetric flasks and syringes. Beakers have marks too, but they only give rough estimates.
Why do you read the bottom of the meniscus?
Water clings to the glass and curves up at the walls. The bottom of the curve shows the true level of the liquid, so glassware is calibrated to that point.
When do you read the top of the meniscus?
Read the top for mercury, which curves upward, and for opaque liquids where you cannot see the bottom of the curve.
Does temperature affect the volume of a liquid?
Yes. Most liquids expand when warm. Water at 25 C takes up about 0.12% more space than at 20 C, which matters in precise lab work.
How do you find the volume of a liquid from its mass?
Divide the mass by the density. For water at 20 C, 50.00 g divided by 0.9982 g/mL is 50.09 mL.
Is 1 gram of water equal to 1 mL?
Very nearly. At 20 C, 1 g of water is about 1.0018 mL, so for kitchen and classroom work you can treat them as equal.
What is parallax error when measuring liquids?
It is the shift in reading caused by viewing the surface from an angle. Looking from above reads too high and looking from below reads too low.
Can you measure the volume of a liquid with a kitchen measuring cup?
Yes, for cooking. Use a clear liquid measuring cup on a flat counter and read at eye level. For lab work, use a graduated cylinder instead.
How many mL are in a US cup of liquid?
One US cup is about 236.6 mL. Nutrition labels round it to 240 mL, and metric recipes use 250 mL.
Bottom Line
To sum up, you get a reliable number when you match the vessel to the precision you need, read the meniscus at eye level, and keep the liquid near the temperature the glass was calibrated for. For the tightest results, use Class A volumetric glassware or weigh the liquid and divide by its density.
For everyday tasks, however, a clear measuring cup or a graduated cylinder is plenty. Then use the converter at the top of this page to turn your reading into ounces, cups or spoons.
4 thoughts on “How Do You Measure the Volume of a Liquid? Tools, Steps and Accuracy”