

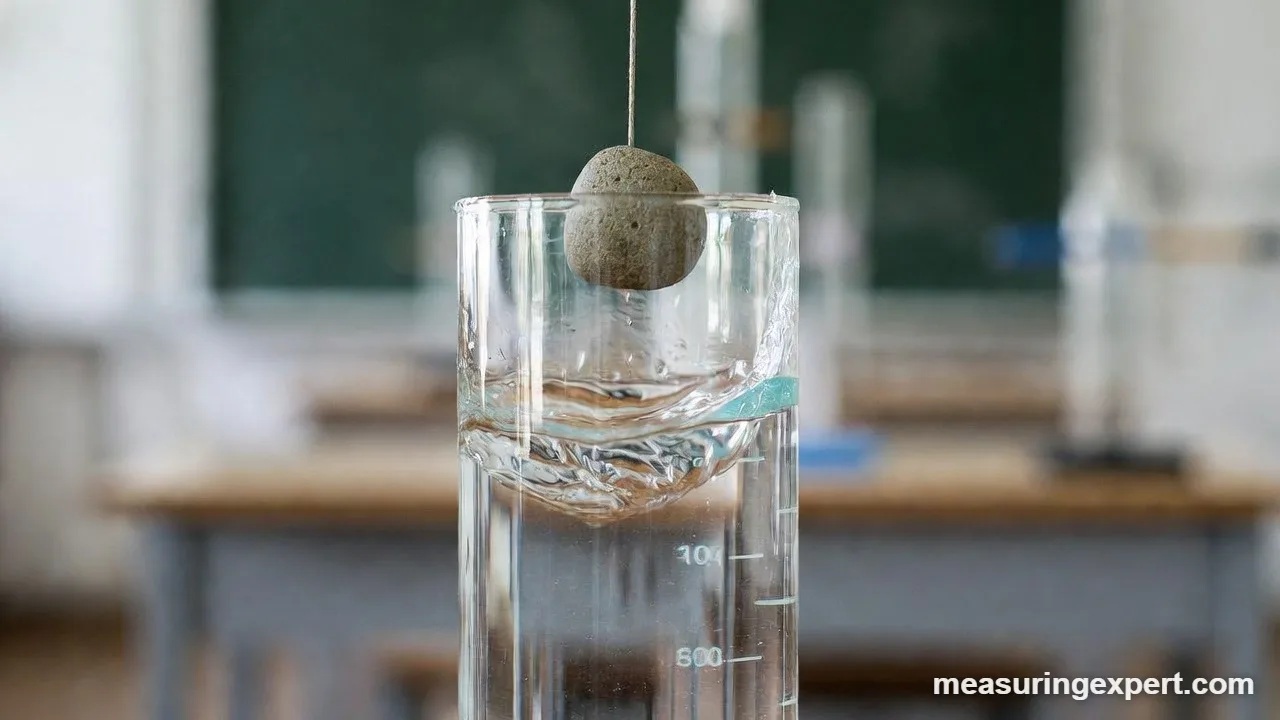
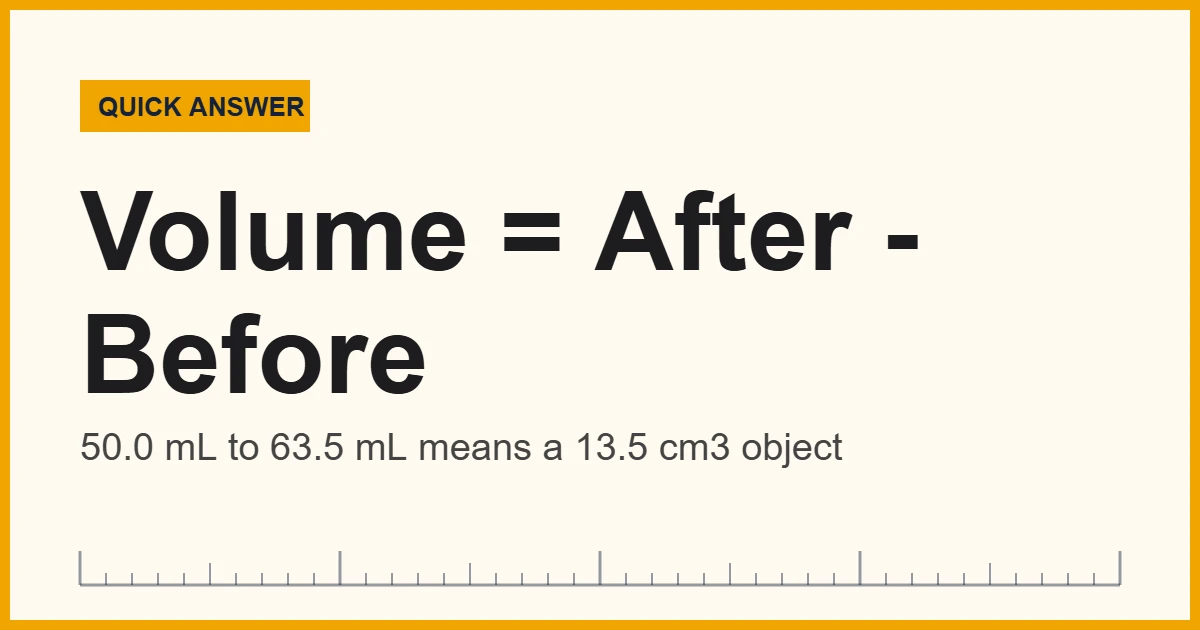
The displacement method measures the volume of a solid by sinking it in water and recording how much the water level rises (or how much water overflows). Because the object pushes aside its own volume of water, final reading minus starting reading equals the object’s volume. For example, 50.0 mL rising to 63.5 mL means 13.5 mL, or 13.5 cm3.
For example, rulers and formulas work well for boxes, cylinders and spheres. A rock, a key, a chess piece or a lump of clay, however, has no neat formula. Instead of measuring its sides, you let water do the measuring for you. In short, that is the whole idea behind water displacement, and it is one of the first lab skills taught in school science.
In short: water cannot share space with a solid, so the solid moves an amount of water equal to its own volume. Then you read that amount off a graduated cylinder, or you catch it from the spout of an overflow (Eureka) can and measure it.
The chemistry department at Harper College describes the same three-step routine in its lab technique page on the volume of a solid: record the water level, add the object, read the new level and subtract. In their example, a battery raises the water from 12.4 mL to 20.2 mL, so its volume is 7.8 mL.
Below, you will find a converter for your result, both versions of the method step by step, worked examples, the errors that spoil most readings and, finally, how to turn the volume into density.
Convert the Volume You Measured
First, enter the difference between your two readings in milliliters. The converter then shows the same volume in cubic centimeters, liters, US fluid ounces and kitchen spoons. Since 1 mL equals exactly 1 cm3, the first two values always match.
For cubic inches, divide the milliliters by 16.387 (1 cubic inch is exactly 16.387064 mL). For instance, 13.5 mL is about 0.824 cubic inches.
- Object volume = water level after minus water level before.
- 1 mL of displaced water = 1 cm3 of object volume, exactly.
- Use a graduated cylinder for small objects and an overflow can for objects too wide for the cylinder.
- The object must sink completely; push floaters under with a thin wire.
- Tap away air bubbles and read the bottom of the meniscus at eye level.
- Porous or water-soaking objects give low readings unless you seal or pre-soak them.
- Divide mass by the measured volume to get density in g/cm3.
Recommended Tools for the Displacement Method
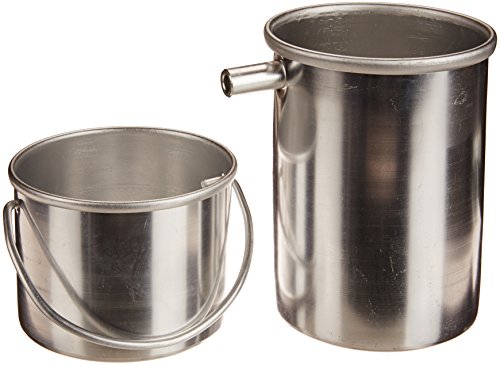
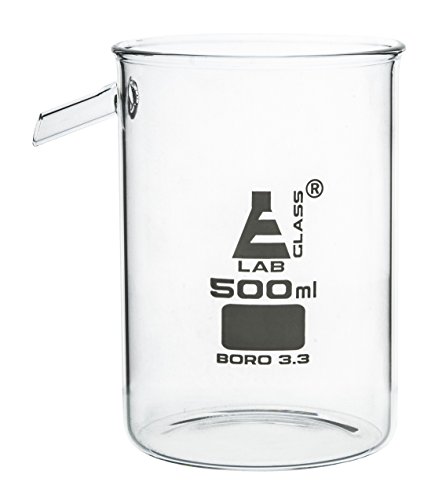
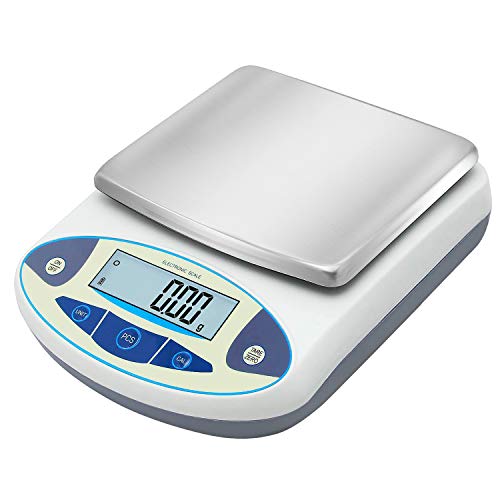
You only need three things: a graduated cylinder, an overflow can for bulky objects, and a scale if you want density. First, choose glass cylinders with clear, fine graduations; a 100 mL cylinder marked every 1 mL suits most school objects. Next, pick an overflow can with a catch cup so you do not lose water. Finally, a 0.01 g scale lets you turn your volume into an accurate density. The picks below come from established lab-ware brands, based on manufacturer specs and buyer reports.


As an Amazon Associate, Measuring Expert earns from qualifying purchases.
Why the Displacement Method Works
First of all, two objects cannot occupy the same space at the same time. So when you lower a solid into water, the water has to go somewhere: it rises in a narrow cylinder, or it spills out of a full can. Either way, the volume of water that moves equals the volume of the part of the object under the surface. If the object is fully submerged, that is its whole volume.
The idea is linked to Archimedes, the Greek mathematician. According to a story told by the Roman writer Vitruvius, Archimedes noticed the water level rise as he stepped into a bath and realized he could test whether a king’s crown was pure gold by comparing the water it displaced with the water displaced by an equal weight of gold. Historians doubt the details; even so, the method itself is sound.
Archimedes is also credited with the related buoyancy rule. Weber State University’s physics page on Archimedes’ principle explains that an object sinks when the water it displaces weighs less than the object. That is why a steel ship floats while a steel bolt sinks. For volume work, the practical lesson is simple: the object has to go all the way under.
How to Use the Displacement Method With a Graduated Cylinder
Above all, this version suits objects that fit easily through the mouth of the cylinder: pebbles, bolts, marbles, small figurines.
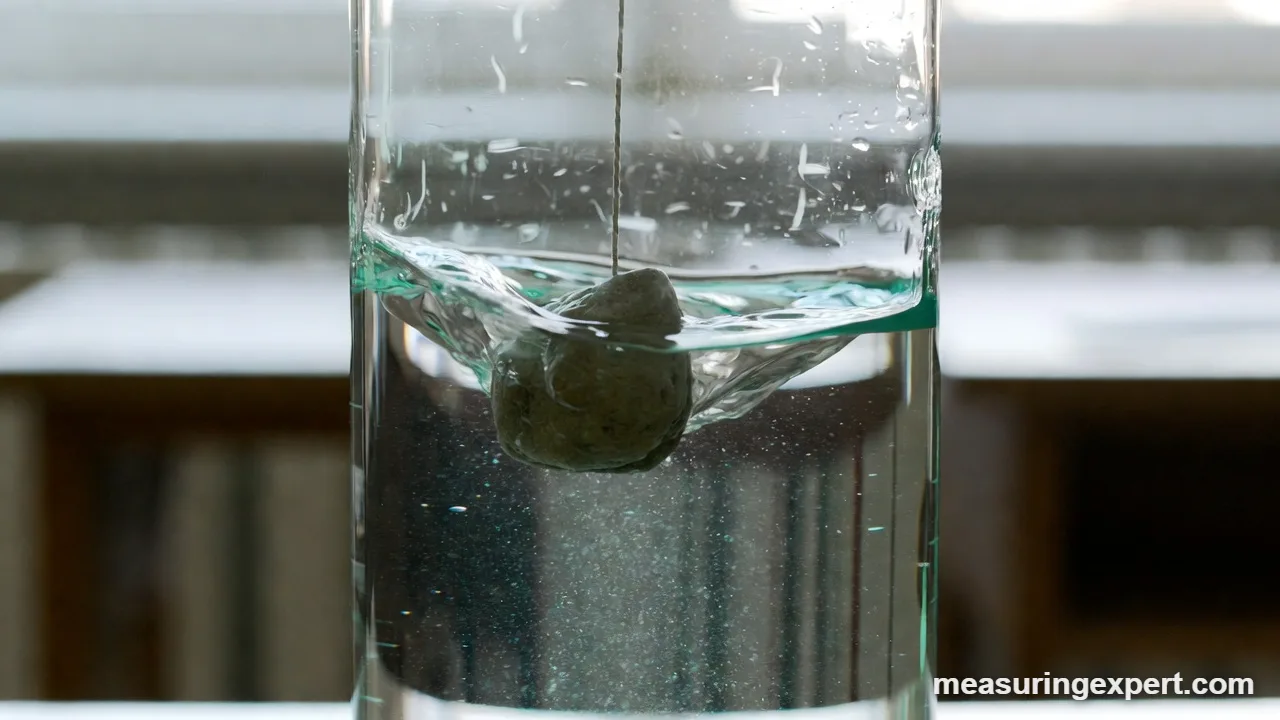
- Choose the smallest cylinder that fits. The object should slide in without touching the walls, and also the cylinder should have room for the water to rise.
- Add enough water to cover the object. Fill to a round mark, such as 50.0 mL, but leave space so the water will not reach the top.
- Read the starting level. Put the cylinder on a flat table, bring your eye level with the water, and read the bottom of the curved surface (the meniscus). Write it down.
- Tilt and slide the object in. Tip the cylinder slightly and let the object slide down the inside wall, or lower it on a thin thread. Dropping it can splash water out or crack the glass.
- Remove air bubbles. Tap the side gently or swirl the cylinder until no bubbles cling to the object.
- Read the final level. Again, read the bottom of the meniscus at eye level.
- Subtract. Final level minus starting level is the object’s volume in mL, which is the same number in cm3. Enter it in the converter above for other units.
The Overflow Can (Eureka Can) Version
However, some objects are too wide for any cylinder: a fist-sized rock, a fruit, a toy car. For these, an overflow can works better. Basically, it is a can with a spout near the top, so any water above the spout runs out into a catch cup.
- First, fill the can past the spout and let the extra water drain until it stops dripping.
- Next, place an empty catch cup or beaker under the spout.
- Then lower the object slowly into the can until it is fully under water.
- Wait for the spout to stop dripping completely.
- Finally, pour the caught water into a graduated cylinder and read it. That reading is the object’s volume.
Because the catch cup collects the water, you can also weigh it instead of pouring it. At room temperature, 1 g of water takes up about 1.002 mL, so for most school and home work, grams of caught water equal milliliters of object volume.
Displacement Method Worked Examples
Next, these examples show how the subtraction works with real-looking numbers. The densities in the last column are typical handbook values, included so you can check whether a result makes sense.
| Object | Method | Before | After or caught | Volume | Mass | Density |
|---|---|---|---|---|---|---|
| Quartz pebble | 100 mL cylinder | 50.0 mL | 63.5 mL | 13.5 cm3 (0.82 in3) | 35.8 g | 2.65 g/cm3 (quartz is about 2.65) |
| AA-size battery (Harper College example) | Cylinder | 12.4 mL | 20.2 mL | 7.8 cm3 (0.48 in3) | – | – |
| Aluminum block | Overflow can | can full to spout | 10.0 mL caught | 10.0 cm3 (0.61 in3) | 27.0 g | 2.70 g/cm3 (aluminum is about 2.70) |
| Small gold ring | 10 mL cylinder | 5.0 mL | 5.5 mL | 0.5 cm3 (0.03 in3) | 9.65 g | 19.3 g/cm3, but see the error note below |
The ring row is the warning case. With a reading uncertainty of about 0.1 mL, the true volume could be anywhere from 0.4 to 0.6 mL. That puts the density anywhere from about 16.1 to 24.1 g/cm3, which is too wide to tell real gold from a gold-plated fake. In other words, the displacement method is best when the object displaces many times more water than your cylinder’s smallest division.
Graduated Cylinder vs Overflow Can
| Feature | Graduated cylinder (level rise) | Overflow / Eureka can |
|---|---|---|
| Best for | Small objects that fit inside | Wide or bulky objects |
| What you read | Two levels, then subtract | One volume of caught water |
| Typical resolution | 0.1 to 1 mL, depending on size | Limited by the cylinder you pour into, plus drips |
| Main error | Meniscus reading, bubbles | Water left on the spout, early or late reading |
| Speed | Fast | Slower; you wait for dripping to stop |
For a broader look at volume instruments, see our guide to the tools that measure volume. Similarly, if you only have a beaker, read whether you can measure volume with a beaker before you rely on its rough markings.
Common Errors in the Displacement Method
The math is a single subtraction, so almost every error comes from the reading or the object. Here are the ones teachers see most:
- Air bubbles. Bubbles stuck to the object add their own volume, so the result comes out too high. Tap the glass and swirl gently until they float off.
- Porous or absorbent objects. Sponge, wood, brick, chalk and some rocks soak up water. As a result, the level drops while you watch and the reading comes out too low. Instead, seal the object in a thin plastic film or soak it first, then measure quickly.
- Meniscus reading. Because of surface tension, water curves up at the glass. Always read the bottom of the curve with your eye at the same height as the surface; looking from above or below shifts the reading.
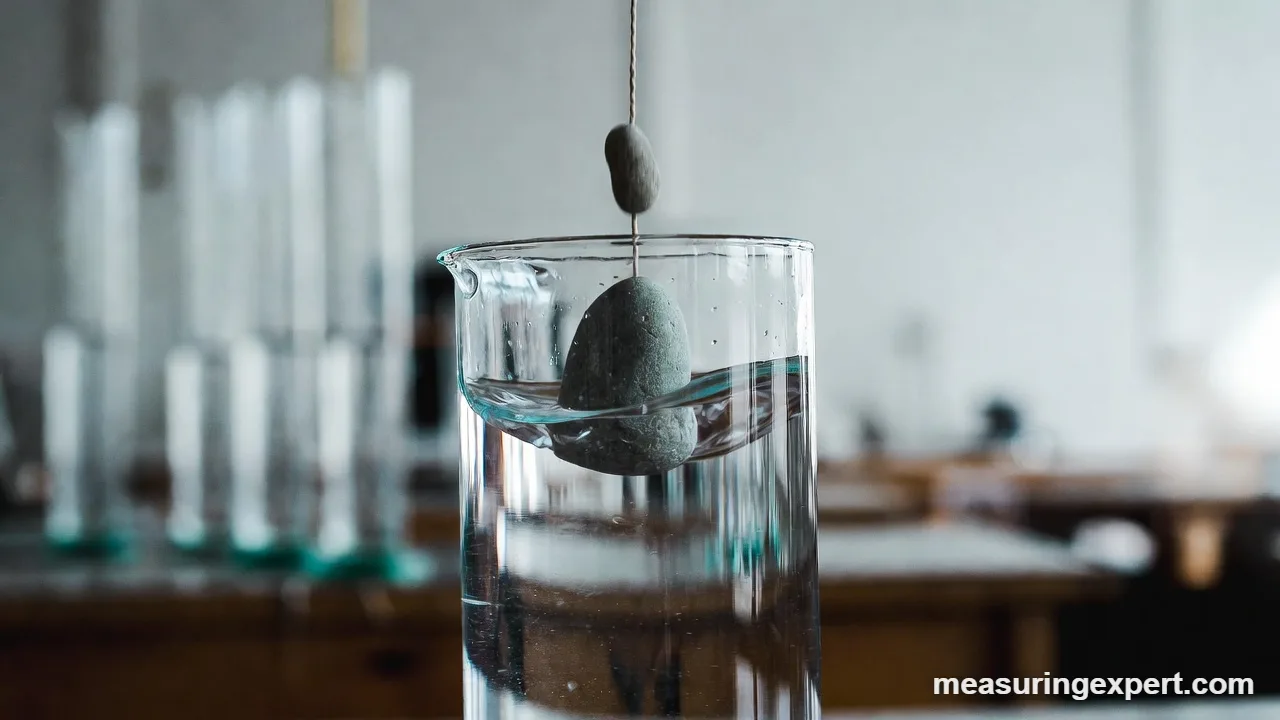
- Floating objects. Cork, plastic and many woods float, so only part of them is under water. Push them under with a thin wire or pin and, if needed, subtract the small volume of the wire.
- Thread and fingers. Likewise, a thick string or your fingertip in the water adds volume. Use thin fishing line and keep your hand out.
- Splashing. Water that splashes out before the second reading makes the result too low. That is why you slide the object in rather than drop it.
- Dissolving or reacting. Finally, salt, sugar and some minerals dissolve, while some metals react. For these, labs use a liquid that does not dissolve them, such as oil, and the same subtraction.
If your object is irregular but too large for either tool, our step-by-step guide on measuring the volume of an irregular object covers bucket and weighing methods.
From the Displacement Method to Density
Once you know the volume, density is one more step: density = mass / volume. First, weigh the dry object on a scale in grams. Then divide by the volume in cm3. For example, the quartz pebble above weighs 35.8 g and displaces 13.5 cm3, so its density is 35.8 / 13.5 = 2.65 g/cm3.
Weigh the object before you put it in the water, because a wet object carries extra water on its surface. Also, compare your result with a reference value. Pure water is about 1.00 g/cm3, aluminum about 2.70, iron about 7.87 and gold about 19.3. If your number is far from what you expected, check for bubbles or a misread meniscus before you blame the material.
| Mass (g) | Displaced volume (cm3) | Density (g/cm3) | Density (lb/in3) |
|---|---|---|---|
| 35.8 | 13.5 | 2.65 | 0.0958 |
| 27.0 | 10.0 | 2.70 | 0.0975 |
| 78.7 | 10.0 | 7.87 | 0.284 |
Do and Don’t for Accurate Readings
Do
- Pick the smallest cylinder the object fits in.
- Read the bottom of the meniscus at eye level.
- Slide the object down the tilted wall.
- Tap away every air bubble.
- Weigh the object while it is still dry.
Don’t
- Drop heavy objects into glass cylinders.
- Measure sponges or wood without sealing them.
- Let your fingers touch the water.
- Move the overflow can after it drains.
- Trust a result smaller than a few divisions.
Honest Limits of Water Displacement
Above all, the method is only as good as your reading. A 100 mL school cylinder marked every 1 mL lets you estimate to about 0.1 to 0.5 mL, so a 13.5 mL pebble carries an uncertainty of roughly 1 to 4 percent. Consequently, smaller objects make that share grow quickly, as the ring example shows. Also, the method assumes the object does not absorb, dissolve in or react with the liquid. Finally, temperature matters slightly: water expands as it warms, but at room temperature the effect is far below what a school cylinder can show. For everyday science, these limits are small; for valuable items or official results, they are not.
When to Use a Professional Lab Instead
For homework, hobby projects and quick checks, water displacement is ideal. However, some jobs need better tools. Jewelers and assay offices test precious metals with calibrated hydrostatic balances or X-ray fluorescence, not a kitchen cylinder. Similarly, engineers who need the exact volume of a machined part use calibrated pycnometers or 3D scanners, and geologists measure porous rock with gas pycnometers that do not soak into the stone.
Displacement Method FAQs
What is the displacement method in simple words?
It is a way to find the volume of a solid by sinking it in water. The rise in the water level, or the water that overflows, equals the volume of the object.
What is the formula for the displacement method?
Object volume = final water level – initial water level. With an overflow can, the object volume equals the volume of water caught from the spout.
Why does the displacement method work?
A solid and water cannot occupy the same space, so the object pushes aside exactly its own volume of water when it is fully submerged.
Is 1 mL of displaced water equal to 1 cm3?
Yes. One milliliter is defined as exactly one cubic centimeter, so a 7.8 mL rise means the object is 7.8 cm3.
How do you use the displacement method for an object that floats?
Push it fully under the surface with a thin wire or pin, read the level, and subtract the small volume of the wire if it is significant.
Can the displacement method measure a sponge or wood?
Not directly, because they soak up water and give low readings. Seal them in thin plastic film or soak them first, then measure quickly.
Where do you read the water level in a graduated cylinder?
Read the bottom of the curved surface, called the meniscus, with your eye level with the water and the cylinder on a flat table.
What is an overflow can?
Also called a Eureka can or displacement vessel, it is a container with a side spout. Water pushed out by the object runs into a catch cup, and you measure that water.
How accurate is the displacement method?
With a 100 mL cylinder you can usually read to about 0.1 to 0.5 mL. Accuracy is good for objects of several milliliters and poor for very small ones.
How do you find density with the displacement method?
Weigh the dry object in grams, measure its volume by displacement in cm3, and divide mass by volume. The result is density in g/cm3.
Displacement Method: The Bottom Line
To sum up, the displacement method turns a hard shape problem into an easy subtraction. Read the water level, sink the object, read again, and the difference in milliliters is the volume in cubic centimeters. For wide objects, an overflow can and a catch cup do the same job.
Most errors come from bubbles, absorbent materials and careless meniscus reading, so slow down at those steps. Then weigh the dry object, divide by the volume, and you have its density as well. Finally, use the converter at the top of this page whenever you need the result in fluid ounces or spoons.
3 thoughts on “Displacement Method: How to Measure the Volume of a Solid With Water”