

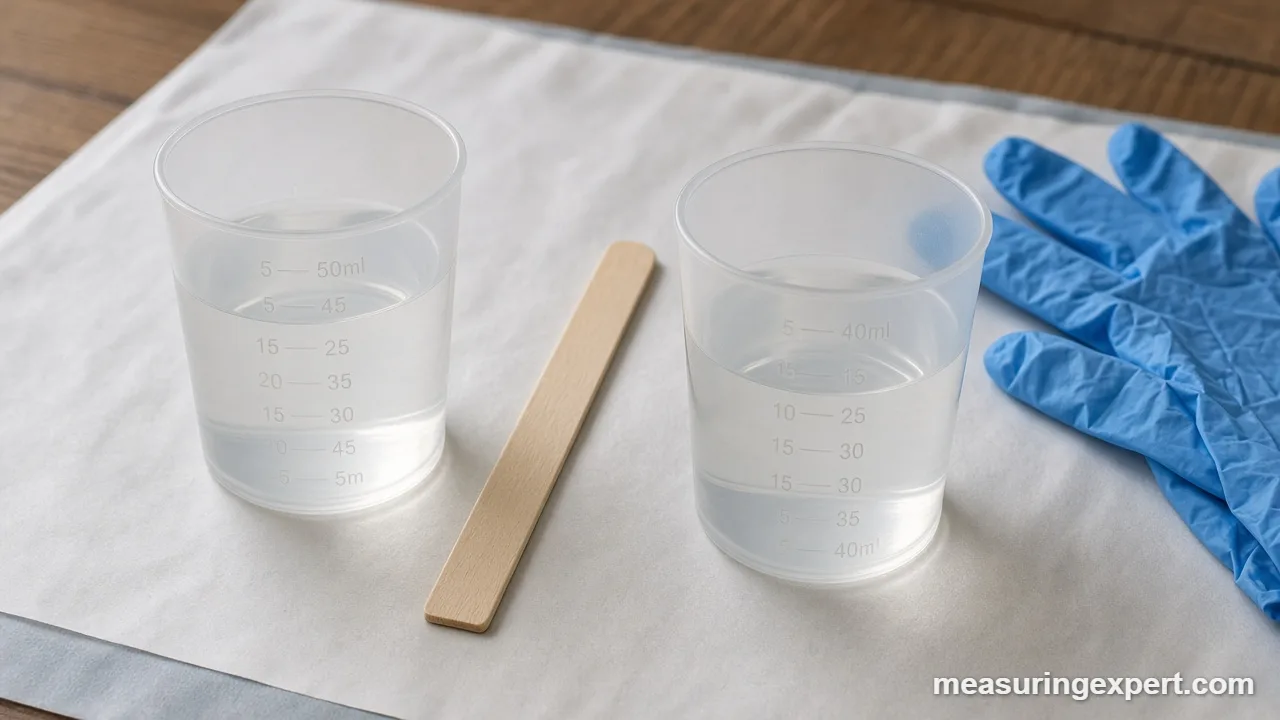
To measure resin by volume, pour resin and hardener into a clear graduated cup at eye level, using the exact ratio on the label (often 1:1 or 2:1). Next, mix for about 3 minutes. Because the two parts have different densities, a volume ratio and a weight ratio are never interchangeable.
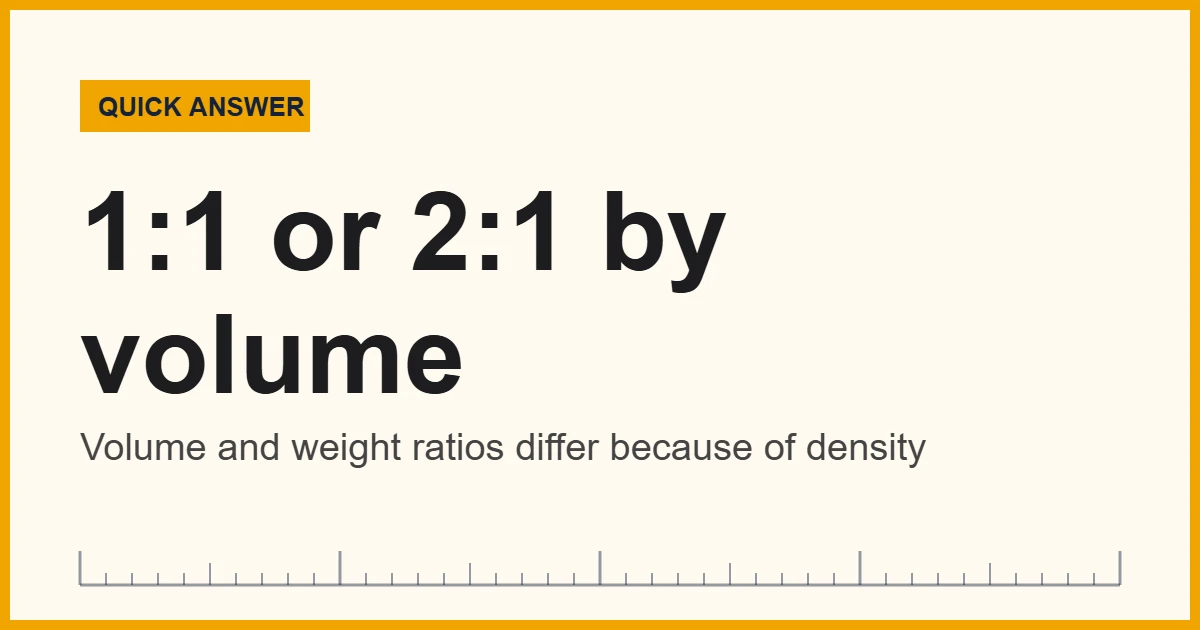
Epoxy resin is a two-part chemical system. The resin (part A) and the hardener (part B) react only in the proportion the manufacturer designed. So the way you measure matters as much as the product you buy. If the ratio drifts, the cast can stay tacky, turn soft or cure cloudy, and no amount of waiting will fix it.
The good news is that measuring by volume is simple once you know three things. First, check whether your label gives the ratio by volume, by weight, or both. Second, use straight-walled cups with printed graduations in ounces or milliliters, and read the line at eye level on a flat surface. Third, never swap a volume ratio for a weight ratio, because resin and hardener rarely weigh the same per cup. For example, a 1:1 by volume epoxy might be roughly 100:84 by weight. In addition, estimate your batch size before you open the bottles, so you mix once instead of running short halfway through a pour.
In short: follow the label, use marked cups, measure each part separately, and calculate the volume of your mold or table top first.
Epoxy makers say the same. For instance, the TotalBoat guide to measuring epoxy by weight vs volume explains that the weight ratio will always differ from the volume ratio because the two parts have different densities.
Below, you will find a converter, a step-by-step method, the math for molds and table tops, and safety basics.
Convert Your Resin Batch Between Ounces, Cups and Milliliters
Many resin kits list volume in fluid ounces, while cups and molds are often marked in milliliters. So enter your total batch size below and pick a unit; the converter then shows the same amount in the other units. To find the batch size for a mold, multiply length x width x depth in inches, then multiply by 0.554 to get US fluid ounces.
Recommended Tools to Measure Resin by Volume
You do not need much. However, the right cups make a real difference. Look for clear cups with molded or printed graduations on both ounce and milliliter scales, plus flat bottoms that sit level. Also, wear nitrile gloves, since latex and vinyl give weaker protection against epoxy. Finally, a 0.1 g scale is handy if your resin also lists a weight ratio.
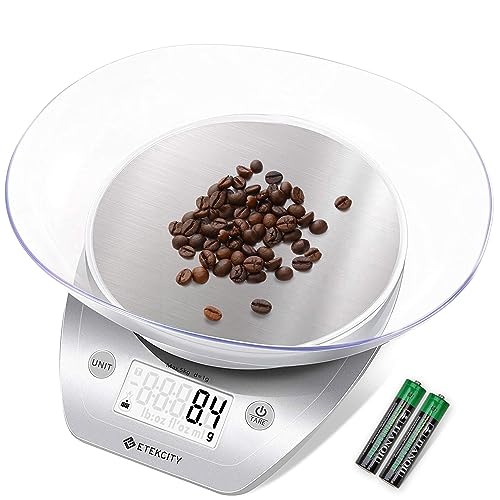


As an Amazon Associate, Measuring Expert earns from qualifying purchases.
Key Takeaways
- Always use the ratio printed on your resin, not a ratio from another brand.
- A 1:1 or 2:1 ratio by volume is not the same ratio by weight.
- Read graduated cups at eye level, on a level table, at the bottom of the curved surface.
- Pour each part into its own cup, then combine them in a third, larger cup.
- Mold volume = length x width x depth; 231 cubic inches make 1 US gallon.
- Add about 10% extra for cup residue and spills.
- Nitrile gloves, eye protection and fresh air are the minimum safety kit.
1:1 vs 2:1: Which Ratio Does Your Resin Use?
Most craft and table-top epoxies use one of two volume ratios. A 1:1 product takes equal parts resin and hardener. A 2:1 product takes twice as much resin as hardener. Deep-pour and marine epoxies may instead use 3:1, 4:1 or 5:1. As a result, the first job is always to read the label or the technical data sheet.
| Ratio on label | Resin (part A) | Hardener (part B) | Example: 300 mL batch |
|---|---|---|---|
| 1:1 by volume | 1 part | 1 part | 150 mL + 150 mL |
| 2:1 by volume | 2 parts | 1 part | 200 mL + 100 mL |
| 3:1 by volume | 3 parts | 1 part | 225 mL + 75 mL |
| 5:1 by volume | 5 parts | 1 part | 250 mL + 50 mL |
To split any batch, add the ratio numbers together and divide. For example, a 2:1 batch has 3 parts in total. So for 300 mL, each part is 100 mL; the resin gets 2 parts (200 mL) and the hardener gets 1 part (100 mL).
Why You Cannot Measure Resin by Volume and Weigh It the Same Way
Volume tells you how much space a liquid takes up. Weight, by contrast, tells you how heavy it is. The link between the two is density, and resin is usually denser than its hardener. Therefore, one cup of resin weighs more than one cup of hardener. The same idea applies in the kitchen, where a cup of flour and a cup of sugar weigh very different amounts; our guide to weight vs volume in cooking walks through it with food.
Here is an illustration with typical values. Suppose the resin has a specific gravity of 1.15 and the hardener 0.97. Then a 1:1 volume mix works out to about 100:84 by weight. Similarly, a 2:1 volume mix with values of 1.17 and 0.98 is about 100:42 by weight, not 100:50.
| People often confuse | What it really means |
|---|---|
| 1:1 by volume | Equal cup lines of each part; the weights will differ |
| 1:1 by weight | Equal grams of each part; the volumes will differ |
| Fluid ounce (fl oz) | Volume: about 29.57 mL |
| Ounce (oz) | Weight: about 28.35 g |
To convert a volume ratio to weight yourself, multiply each part by its specific gravity. For example, 1 x 1.15 = 1.15 and 1 x 0.97 = 0.97; then 0.97 / 1.15 x 100 = 84. Even so, use the weight ratio from the data sheet when there is one, because density changes slightly with temperature.
How to Measure Resin by Volume, Step by Step
- Set up a level, warm workspace. Cover the table with plastic sheeting, open a window, and aim for the temperature range on the label (often around 70 to 80 F, or 21 to 27 C).
- Put on gloves and eye protection. Nitrile gloves and safety glasses go on before either bottle opens.
- Calculate the batch size. Work out the volume you need, add about 10%, and split it by the ratio.
- Pour the resin into a graduated cup. Set the cup on the table, crouch to eye level, and stop at your line.
- Pour the hardener into a second cup. Use a fresh cup of the same type, so the scales match.
- Combine both parts in a larger mixing cup. Scrape each measuring cup with a stir stick to get the last drops out.
- Mix slowly for about 3 minutes, or as long as the label says. Scrape the sides and bottom often, then pour promptly.
Some makers sell cups printed with ratio marks, and others suggest pouring both parts into one cup in turn. Either method works if you follow the label. However, two separate cups make it easier to fix an over-pour before the parts touch.
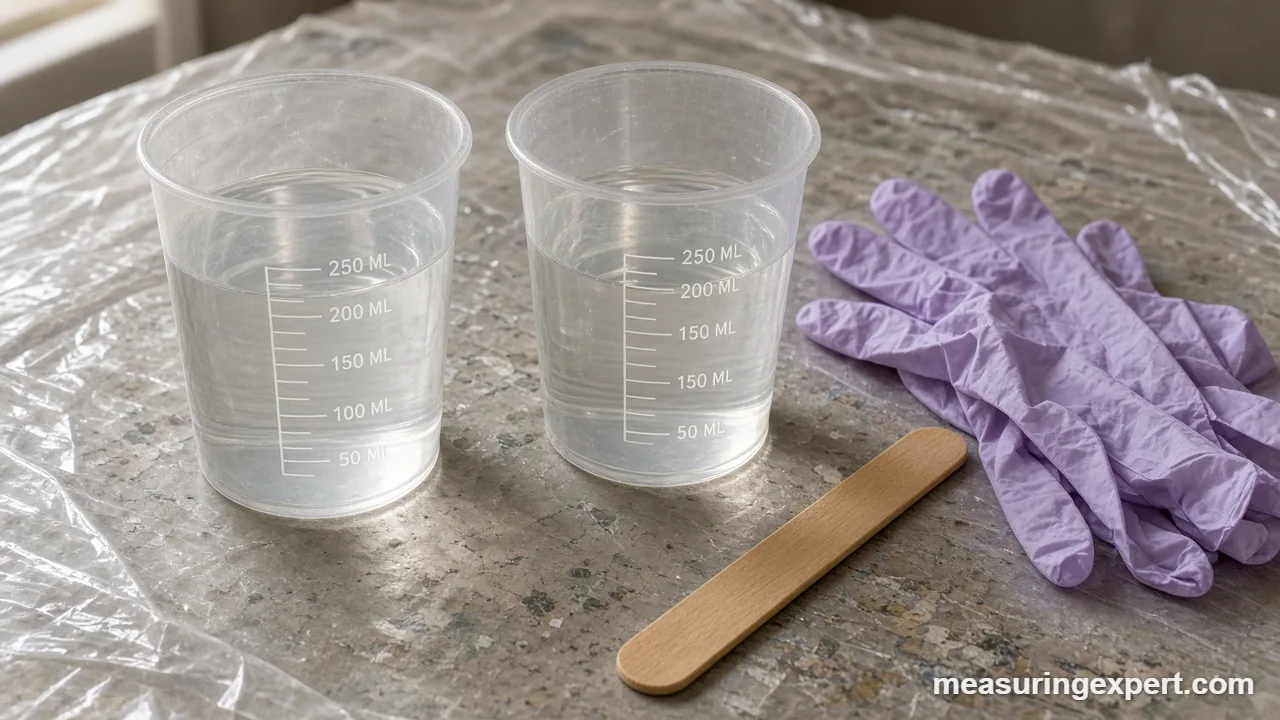
How Much Resin Do You Need? Estimate Before You Measure Resin by Volume
Running out mid-pour leaves a visible line in the cured piece. So calculate the volume first. For a rectangle, multiply length x width x depth. In inches, that gives cubic inches; next, divide by 231 for US gallons, or multiply by 0.554 for fluid ounces. In centimeters, the answer is already in milliliters, since 1 cubic centimeter equals 1 mL. For round or irregular shapes, see our guide on how to calculate cubic volume.
| Project | Dimensions | Volume | With 10% extra |
|---|---|---|---|
| Small coaster mold | 4 x 4 x 0.25 in | 4 cu in, about 2.2 fl oz (66 mL) | about 2.4 fl oz |
| Rectangular mold | 6 x 4 x 1 in | 24 cu in, about 13.3 fl oz (393 mL) | about 14.6 fl oz |
| Table top flood coat | 48 x 24 x 1/8 in | 144 cu in, about 79.8 fl oz (2.36 L, 0.62 gal) | about 87.8 fl oz (2.6 L) |
| Metric table top | 120 x 60 x 0.3 cm | 2,160 mL (about 73 fl oz) | about 2,376 mL |
For example, the 48 x 24 in table top needs about 87.8 fl oz with the margin. With a 1:1 resin, that is about 43.9 fl oz of each part. With a 2:1 resin, instead, it is about 58.5 fl oz of resin and 29.3 fl oz of hardener. As a rule of thumb, 1 US gallon spread 1/8 inch deep covers about 12.8 square feet.
Reading Graduated Mixing Cups Correctly
Graduated cups are only as accurate as the way you read them. First, put the cup on a level surface rather than holding it. Next, bring your eye level with the line. Looking from above makes the level seem higher, so you would under-pour. Then read at the bottom of the slight curve the liquid forms against the wall.
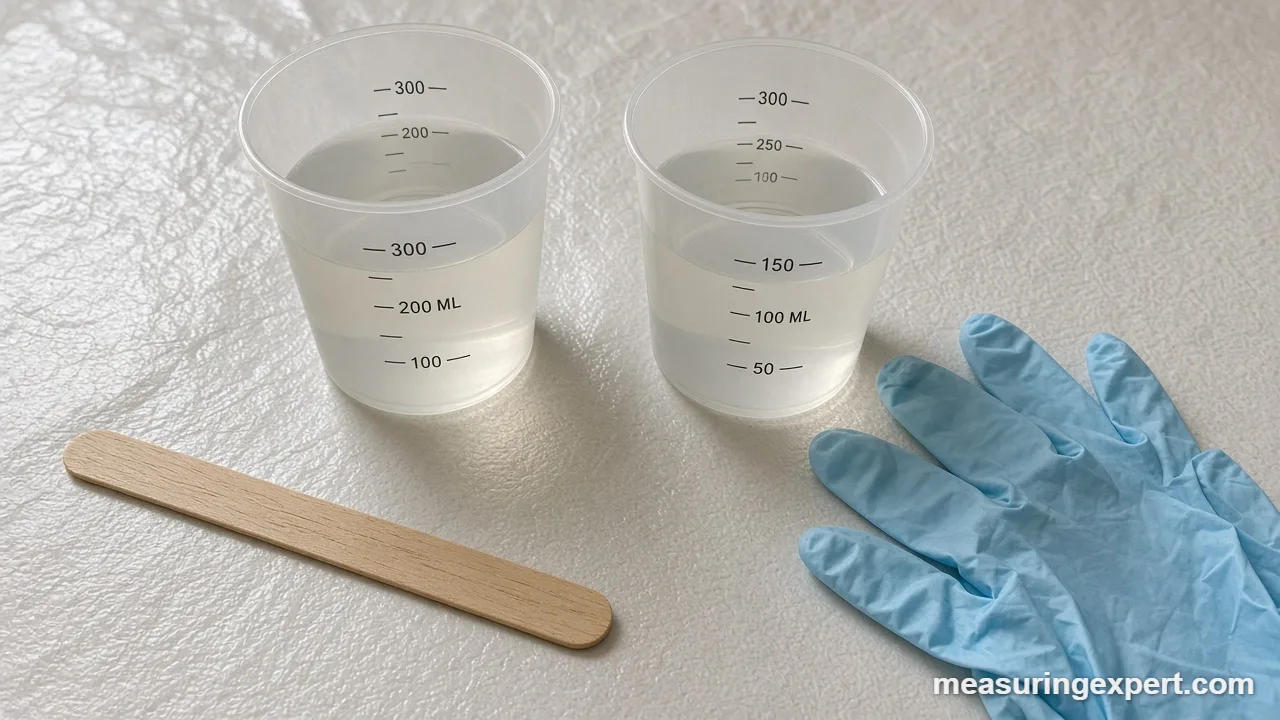
Also, check that the cup scale starts at the bottom of the cup. Some tapered cups have uneven spacing between lines, and that is fine, because the lines already account for the taper. Still, avoid kitchen measuring cups, since they are hard to clean and food use afterward is unsafe. In addition, thick resin clings to the cup wall, so very small batches lose a larger share to residue.
Safety Basics When You Measure Resin by Volume
Uncured epoxy can irritate skin and, with repeated contact, cause allergic sensitization. Once that happens, even small exposures can trigger a reaction. West System, a long-standing epoxy maker, sets out ways of preventing overexposure to epoxy, including gloves, eye protection, and ample ventilation.
- Gloves: wear disposable nitrile gloves and change them if they tear or get coated.
- Eyes: wear safety glasses; if resin splashes, flush with water for 15 minutes and get medical advice.
- Air: work with a window open or a fan moving air out of the room.
- Skin cleanup: wash with soap and water, never with solvents, which can carry resin into skin.
- Sanding: wear a dust mask or respirator, because dust from partly cured epoxy is a sensitizer.
Do and Don’t
Do
- Read the ratio on your own product label.
- Use cups with ounce and mL lines.
- Check the line at eye level.
- Scrape every cup and the stir stick.
- Keep a notebook of batch sizes that worked.
Don’t
- Add extra hardener to speed up curing.
- Weigh a resin that only lists a volume ratio.
- Mix brands of resin and hardener.
- Pour deeper than the label allows.
- Reuse kitchen cups for food afterward.
Honest Limits of Volume Measuring
Volume measuring is quick, but it has limits. For one thing, cup graduations are printed for convenience, not lab accuracy. Moreover, resin is thick, so a thin film stays on the cup wall. On a small batch of 1 or 2 ounces, that film can shift the ratio noticeably. For that reason, many makers recommend a minimum batch size, and weighing is more precise for tiny amounts when a weight ratio is published. Finally, the volume math on this page assumes a flat, level mold; real molds have rounded corners and uneven bottoms, so the 10% margin is a starting point, not a guarantee.
When to Ask a Professional
Craft pours and table tops are well within reach for most people. Even so, some jobs deserve expert input. For example, structural boat repairs, load-bearing bonds, flooring, food-contact surfaces and very deep river tables have stricter requirements. In those cases, talk to the resin maker’s technical support or a qualified installer before you mix.
Frequently Asked Questions
Can I measure resin by volume if the label only gives a weight ratio?
Not safely. You would need the density of each part to convert it. Instead, weigh it with a digital scale, or ask the maker for the volume ratio.
Is 1:1 by volume the same as 1:1 by weight?
No. Resin and hardener have different densities, so a 1:1 volume mix might be roughly 100:84 by weight. Use the ratio type the label states.
What cups should I use to measure resin by volume?
Use clear plastic cups with printed or molded graduations in ounces and milliliters. They should have straight sides or a gentle taper and a flat base.
Can I use kitchen measuring cups for resin?
It is better not to. Kitchen cups are hard to clean fully, and you should not use them for food again after resin touches them.
What happens if I add too much hardener?
Off-ratio epoxy often cures soft, sticky, brittle or cloudy. Extra hardener does not make it stronger or faster in a useful way, so stick to the ratio.
How do I measure resin by volume for a 2:1 ratio?
Add the parts (2 + 1 = 3), divide your batch by 3, then use two portions of resin and one of hardener. For 300 mL, use 200 mL and 100 mL.
How much resin do I need for a table top?
Multiply length x width x depth in inches and divide by 231 for gallons. A 48 x 24 in top at 1/8 in deep needs about 0.62 gal, plus about 10%.
How long should I mix resin?
Many products call for about 3 minutes, but follow your label. Stir slowly and scrape the sides and bottom so no unmixed resin remains.
Should I measure resin by volume or by weight?
Either works if you use the matching ratio from the label. Volume is quick for larger batches, while weighing is more precise for small batches.
Do I need a respirator when I measure resin by volume?
For pouring, good ventilation is the main control. Read the safety data sheet, and wear a dust mask or respirator when you sand cured epoxy.
The Bottom Line
To measure resin by volume, start with the ratio on your label, calculate the batch from length x width x depth, and pour each part into a graduated cup at eye level. Then combine and mix thoroughly. Above all, remember that volume and weight ratios are different numbers, because resin and hardener have different densities.
Next time, use the converter above to switch your batch between ounces, cups and milliliters. In addition, keep gloves on and the air moving, and your pours will cure clear and hard.