

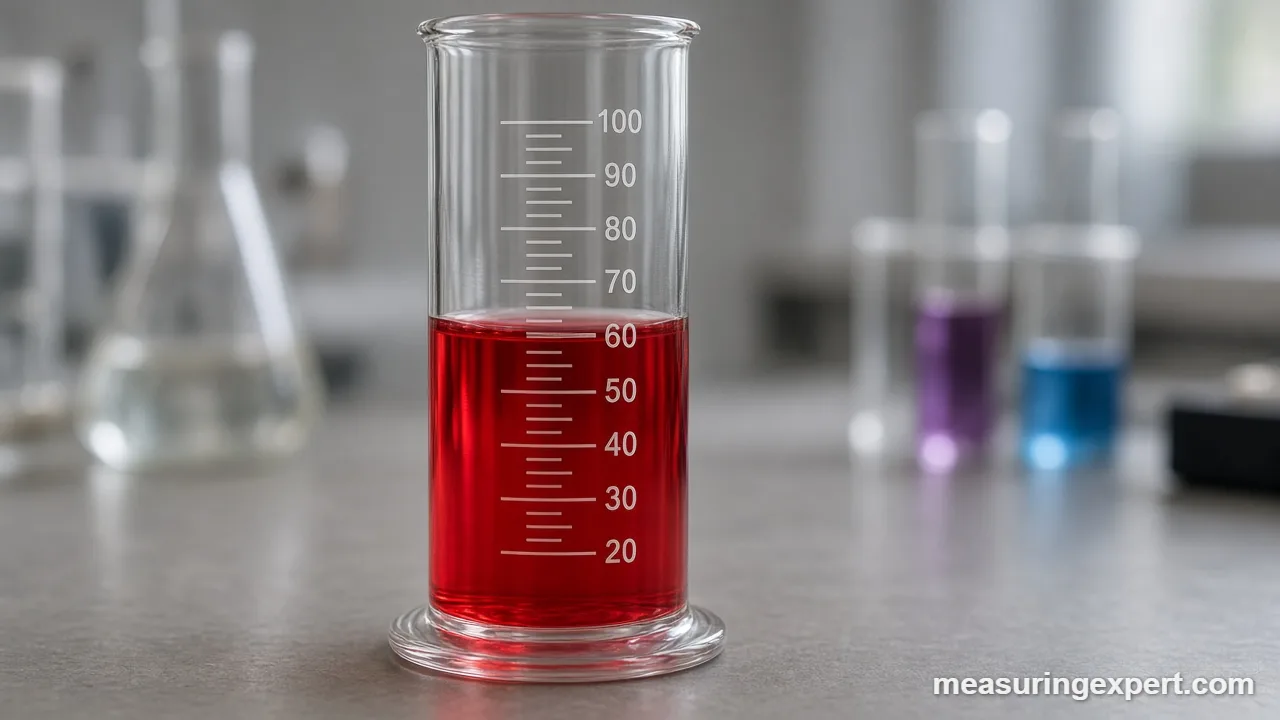
To measure volume in a graduated cylinder, set it on a flat surface, pour in the liquid, and bring your eye level with the surface. Then read the bottom of the curved meniscus against the scale and estimate one digit past the smallest marking. For example, a 100 mL cylinder with 1 mL lines reads to about 0.1 mL.
A graduated cylinder is the workhorse of school and lab volume measurement. It is a tall, narrow tube with a printed or etched scale, usually in milliliters (mL). Because the tube is narrow, a small change in volume moves the liquid level a visible distance, so you can read it more closely than a beaker or a kitchen jug.
In short: keep the cylinder level, read at eye level, use the bottom of the meniscus for water-like liquids, and record one estimated digit. Of course, other errors exist, but those four habits remove most of them.
The US National Institute of Standards and Technology (NIST) describes the same method in its good measurement practice for reading a meniscus. Specifically, it says to read the lowest point of a concave meniscus, with your eye in the same horizontal plane as the liquid surface, and to place a dark shade just below the meniscus so the curve stands out.
Below, you will find a unit converter for your reading, a step-by-step method, a table of cylinder sizes and their precision, and the mistakes that cost students the most points. Finally, there is a section on when a graduated cylinder is simply the wrong tool.
Convert a Graduated Cylinder Reading to Other Units
Once you have a reading in milliliters, type it below. The converter then shows the same volume in liters, cubic centimeters, US fluid ounces, teaspoons and cups, using the exact US definitions (1 US fl oz = 29.5735295625 mL).
Also note that 1 mL is exactly 1 cubic centimeter (cc), so a cylinder reading in mL is already a volume in cm3.
Recommended Tools for Measuring Liquid Volume
For home labs, classrooms and hobby work, a borosilicate glass cylinder with a single, clear scale is the best place to start. First, look for the class (A or B) and the tolerance printed on the glass. Next, check for a hexagonal or wide base, since a stable base matters more than you might expect. In addition, a plastic cylinder is a sensible second choice for younger students, because it does not break when it tips over.

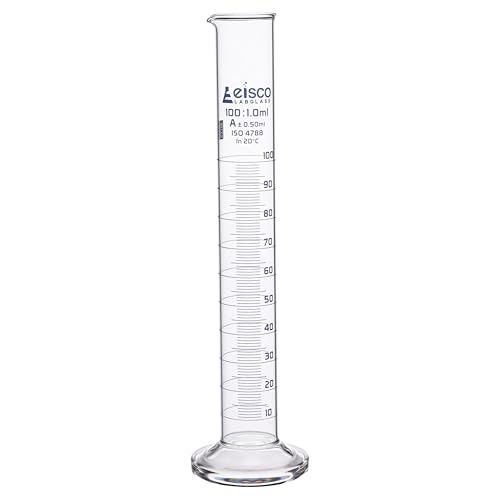
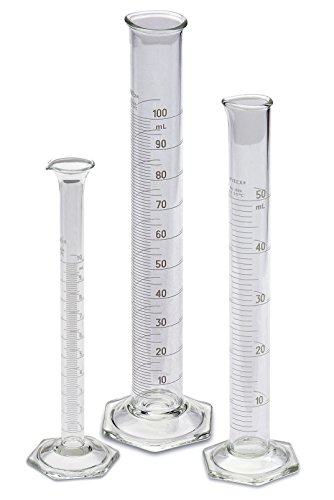
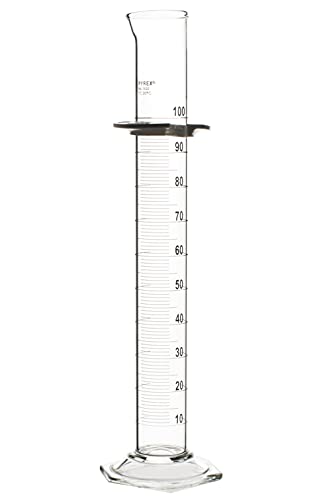
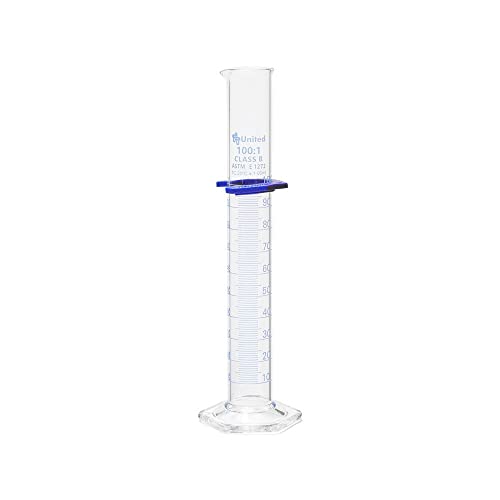
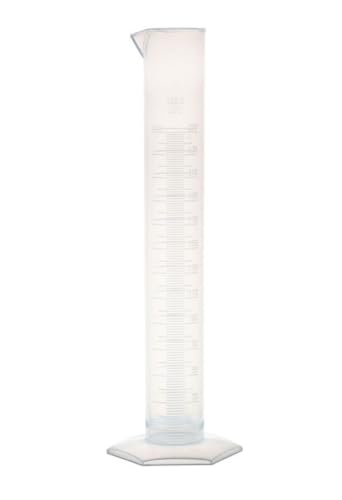
As an Amazon Associate, Measuring Expert earns from qualifying purchases.
The picks above are based on manufacturer specs and buyer reports, not on our own testing.
- Always read a graduated cylinder at eye level to avoid parallax error.
- For water and most liquids, read the bottom of the concave meniscus.
- For mercury, read the top of the convex meniscus instead.
- Estimate one digit beyond the smallest marked line.
- Choose the smallest cylinder that holds your whole sample.
- Class A glass is roughly twice as accurate as Class B.
- For exact volumes, use a buret, pipet or volumetric flask.
What Is Printed on the Glass?
Before you measure, take ten seconds to read the glass itself. Most cylinders also carry a few small markings near the top, and each one tells you something useful.
- Capacity. The largest number on the scale, such as 10, 100 or 500 mL.
- Graduations. The lines of the scale. Major lines carry numbers, while minor lines between them do not.
- Class. “A” or “B”. Class A means a tighter tolerance and, often, a certificate.
- Tolerance. For instance, “+/- 0.5 mL” is the maximum error the maker allows at full capacity.
- TD or TC. “TD” means calibrated to deliver (what you pour out); “TC” means calibrated to contain (what sits inside).
- Temperature. Usually 20 C (68 F), the temperature at which the scale is calibrated.
How to Measure Volume in a Graduated Cylinder, Step by Step
- Pick the right size. Choose the smallest graduated cylinder that holds the full volume, so the liquid fills most of the scale.
- Check that it is clean and dry. Drops left inside, or soap film on the walls, change both the volume and the shape of the meniscus.
- Set it on a flat, level surface. Otherwise, a tilted cylinder makes the liquid surface sit at an angle to the lines.
- Pour slowly. Stop a little below your target, then add the last few drops with a dropper or wash bottle.
- Wait a few seconds. Let liquid on the walls drain down and let any bubbles rise and burst.
- Get your eye level with the surface. Bend or crouch until the front and back of the nearest line seem to merge into one line.
- Read the meniscus. Use the bottom of the curve for water-like liquids, or the top of the curve for mercury.
- Record the value with one estimated digit and the unit. For example, write 36.4 mL, not just 36.
How to Read the Meniscus in a Graduated Cylinder
The meniscus is the curved surface of a liquid in a narrow tube. It forms because the liquid is either attracted to the glass wall or pulled away from it. Water, alcohol and most water-based solutions wet glass, so they climb the wall a little at the edges. That makes the surface dip in the middle, which is called a concave meniscus.
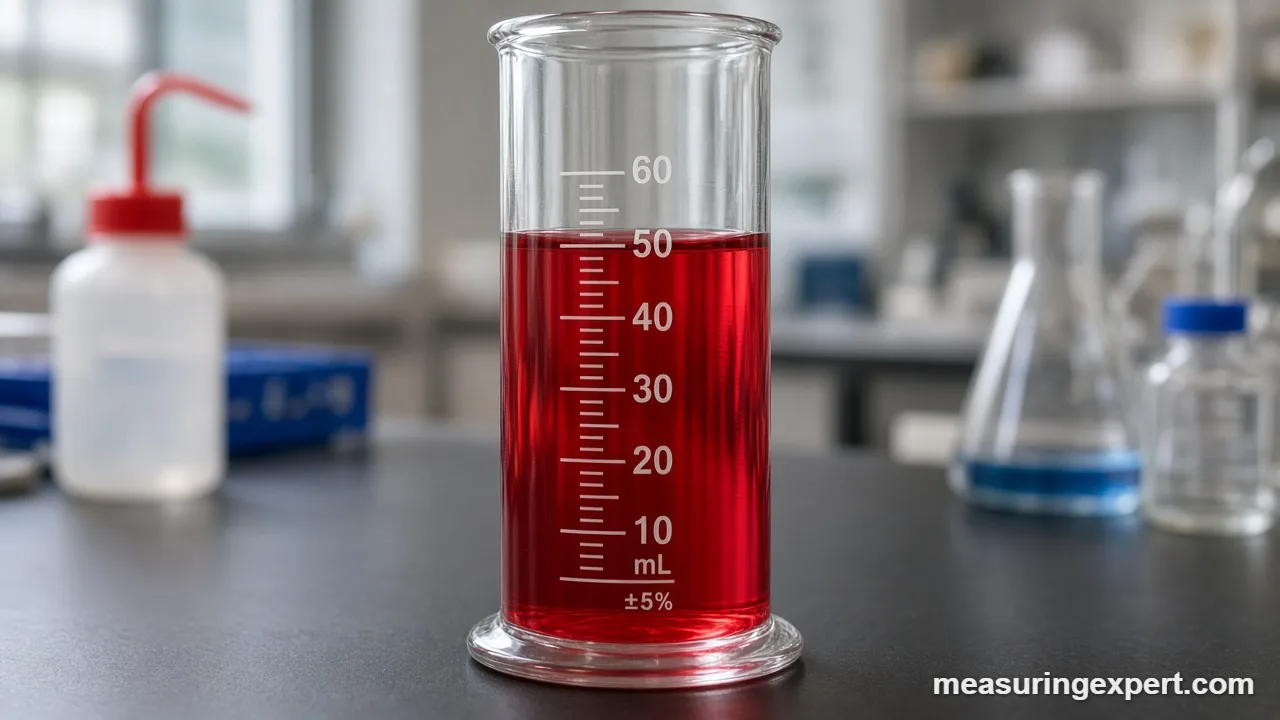
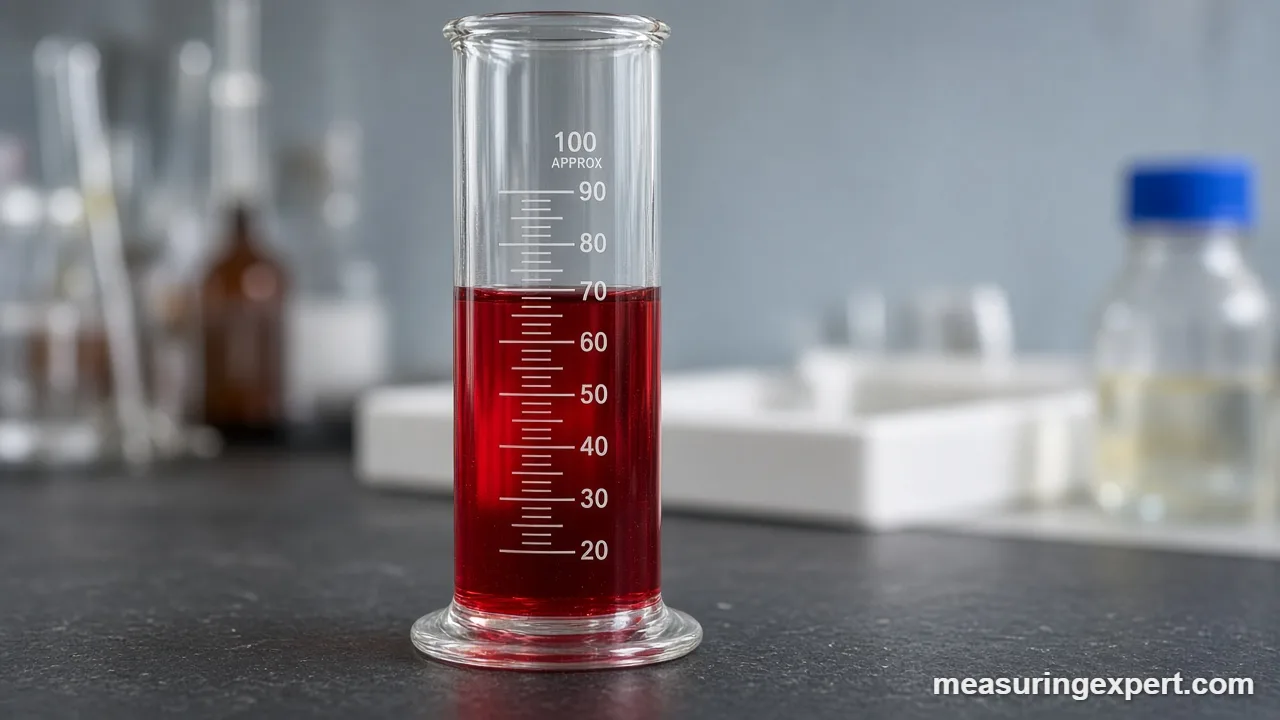
Mercury, however, is the classic exception. It does not wet glass, so its edges pull down and the center bulges up, forming a convex meniscus. Therefore, the reading point flips: you read the highest point of the bulge.
| Meniscus type | Shape | Typical liquids | Where to read |
|---|---|---|---|
| Concave | Edges higher than the center; the surface sags in the middle | Water, alcohol, most solutions | Bottom (lowest point) of the curve |
| Convex | Center higher than the edges; the surface bulges up | Mercury | Top (highest point) of the curve |
| Nearly flat | Little or no curve | Some liquids in plastic cylinders | The flat surface itself |
Plastic cylinders also deserve a quick word. Water does not wet polypropylene as well as it wets glass, so the meniscus in a plastic graduated cylinder is often flatter. However, you still read the center of the surface, exactly as you would in glass.
With dark or opaque liquids, such as strong coffee or ink, the bottom of the curve can be impossible to see. In that case, NIST’s guidance is to read the top edge of the liquid instead, with your eye in the same horizontal plane, and to note in your record that you did so.
Reading a Graduated Cylinder Scale and the Last Digit
First, note that every graduated cylinder scale has a step size: the volume between two neighboring lines. To find it, take two numbered lines, subtract them, and divide by the number of spaces between them. For example, if the lines read 30 and 40 mL and there are 10 spaces between them, each space is 1 mL.
Next, read every line you can see, and then estimate one more digit. If the bottom of the meniscus sits about four-tenths of the way between 36 and 37 mL, record 36.4 mL. Of course, that last digit is uncertain; still, it is meaningful, and lab teachers expect it.
Similarly, on a 10 mL cylinder with 0.2 mL lines, a meniscus halfway between 6.2 and 6.4 mL reads as 6.30 mL. In that case, you report two decimal places, because each line already carries one decimal and you estimate a fraction of the 0.2 mL space.
Graduated Cylinder Sizes, Lines and Precision
Precision depends on two things: how finely the scale is divided, and how close the liquid fills to the cylinder’s capacity. The table lists common sizes, typical line spacing (from a Class A spec sheet) and Class A tolerances published by glass makers. Class B tolerances are about twice these values.
| Capacity | Typical smallest division | Read to about | Class A tolerance (example) | About US fl oz |
|---|---|---|---|---|
| 10 mL | 0.2 mL | 0.02 mL | +/- 0.10 mL | 0.34 |
| 25 mL | 0.5 mL | 0.05 mL | +/- 0.17 mL | 0.85 |
| 50 mL | 1 mL | 0.1 mL | +/- 0.25 mL | 1.69 |
| 100 mL | 1 mL | 0.1 mL | +/- 0.40 to 0.50 mL | 3.38 |
| 250 mL | 2 mL | 0.2 mL | +/- 1.0 mL | 8.45 |
| 500 mL | 5 mL | 0.5 mL | +/- 1.5 to 2.5 mL | 16.9 |
| 1000 mL | 10 mL | 1 mL | +/- 3.0 mL | 33.8 |
Tolerances differ slightly by maker and by standard. For example, one 100 mL Class A cylinder made to ASTM E1272 lists +/- 0.40 mL, while another maker lists +/- 0.50 mL. So always check what is printed on your own cylinder.
Fill level, however, matters just as much. A +/- 0.5 mL tolerance is 0.5% of a full 100 mL reading. Measure only 10 mL in that same cylinder, though, and the same allowance becomes 5% of your sample. That is why the first step above says to pick the smallest graduated cylinder that fits.
Measuring a Solid With a Graduated Cylinder
A graduated cylinder can also measure the volume of a small, irregular solid, such as a stone, a bolt or a ring, by water displacement.
First, add enough water to cover the object completely, and read the level, for example 50.0 mL. Next, tilt the cylinder and slide the object in gently, so it does not splash or crack the base. Finally, read the new level, say 63.5 mL. The difference, 13.5 mL, is therefore the object’s volume, which equals 13.5 cm3 or about 0.82 cubic inches.
However, this only works if the object sinks, does not absorb water and has no trapped air bubbles on its surface. For more shapes and methods, see our guide to finding the volume of a solid.
Common Reading Mistakes and Fixes
| Mistake | What goes wrong | Fix |
|---|---|---|
| Reading from above | The level looks higher than it is (parallax) | Lower your eye to the liquid surface |
| Reading from below | The level looks lower than it is | Raise your eye or the cylinder to eye level |
| Holding it in the air | The cylinder tilts and the surface sits at an angle | Stand it on a level bench |
| Reading the top of a water meniscus | Adds a fraction of a line to every reading | Use the bottom of the curve |
| Ignoring bubbles | Bubbles take up space and inflate the reading | Tap the side gently and wait |
| Using a cylinder far too big | Small samples carry a large percent error | Choose the smallest size that fits |
Above all, parallax is the biggest of these. Because the scale lines sit on the outside of the glass and the liquid is inside, looking from even a slight angle shifts the apparent level. Bringing your eye level with the surface is the simplest fix you have.
Do and Don’t for Reading Volume
Do
- Stand the cylinder on a level surface.
- Read with your eye level to the liquid.
- Use a dark card behind the meniscus.
- Record one estimated digit and the unit.
- Rinse with the liquid you will measure if residue matters.
Don’t
- Heat a cylinder on a hot plate or over a flame.
- Use it for exact standard solutions.
- Read the top edge of a water meniscus.
- Drop heavy solids straight to the bottom.
- Trust a scratched or faded scale.
Honest Limits of Cylinder Measurements
A cylinder is a good measuring tool, but it is not a precision one. To begin with, its tolerance sets a floor on accuracy that careful reading cannot beat. Temperature also plays a part: the glass is calibrated at 20 C, and both glass and liquid expand slightly as they warm, although the effect is small for room-temperature work.
Moreover, the wall film is a source of error. Viscous liquids such as glycerin, syrup or oil cling to the glass, so what you pour out can be noticeably less than what the scale showed. Even so, for most school labs and hobby mixing, a well-read cylinder is more than accurate enough.
Finally, two people reading the same meniscus can disagree by a fraction of a line. That spread is normal; in fact, it is why the last digit is called an estimate.
When to Use Something Better Than a Graduated Cylinder
For a precise, known volume, the cylinder is the wrong tool. Instead, a volumetric pipet or volumetric flask delivers or contains one fixed volume very accurately, and a buret dispenses variable amounts with much finer resolution. Our comparison of a buret vs a graduated cylinder covers when each one makes sense.
In addition, if you are choosing glassware for a new lab, our overview of lab equipment to measure volume ranks beakers, cylinders, pipets, burets and flasks by precision. For results that must hold up in a regulated lab, have glassware checked by an accredited calibration lab.
Frequently Asked Questions
How do you read a graduated cylinder?
Stand it on a level surface, bring your eye level with the liquid, and read the bottom of the meniscus against the scale. Then add one estimated digit beyond the smallest line, such as 36.4 mL.
Do you read the top or bottom of the meniscus?
For water and most liquids, read the bottom of the concave meniscus. For mercury, which forms a convex meniscus, read the top.
How precise is a graduated cylinder?
A 100 mL cylinder with 1 mL lines reads to about 0.1 mL, and a Class A model is accurate to about 0.4 to 0.5 mL at full capacity. Class B is roughly twice as loose.
How many decimal places should a reading have?
Record one digit past the smallest line. With 1 mL lines, that means one decimal place; with 0.2 mL lines, it means two.
Why is a cylinder more accurate than a beaker?
Because it is narrow, a small volume change moves the liquid a visible distance against finer lines. In contrast, beaker marks are meant only as rough guides.
What is parallax error?
Parallax is the shift in the apparent liquid level when you look from above or below. Reading at eye level therefore removes it.
Why do water and mercury curve differently?
Water is attracted to glass and climbs the wall, so its surface sags in the middle. Mercury is not, so its surface bulges up.
What does TD mean on the glass?
TD means to deliver. The scale accounts for the film left on the wall, so the reading matches what you pour out.
Can a graduated cylinder measure the volume of a solid?
Yes, by displacement. Read the water level, slide in the object, read again, and subtract. The difference in mL equals the volume in cubic centimeters.
What size graduated cylinder should I use?
Use the smallest graduated cylinder that holds your full volume. A sample that fills most of the scale gives a lower percent error.
Graduated Cylinder: The Bottom Line
To sum up, a graduated cylinder gives reliable volumes when you keep it level, read at eye level and use the right side of the meniscus. Record the estimated digit as well, and pick a size that your sample nearly fills.
When you need more than about half a percent of accuracy, move up to a pipet, buret or volumetric flask. Meanwhile, the converter at the top of this page turns any reading into fluid ounces, teaspoons or cups. For a ranking of every common volume tool, see the most accurate volume measurement tool.