

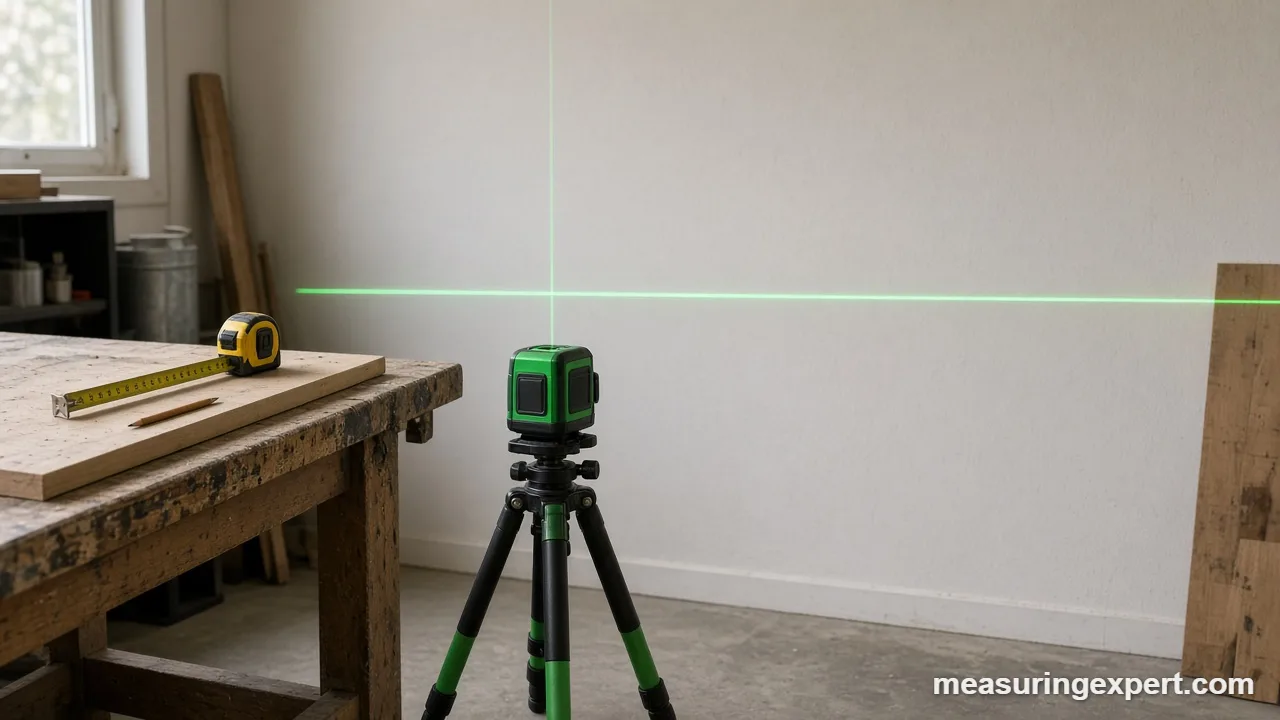
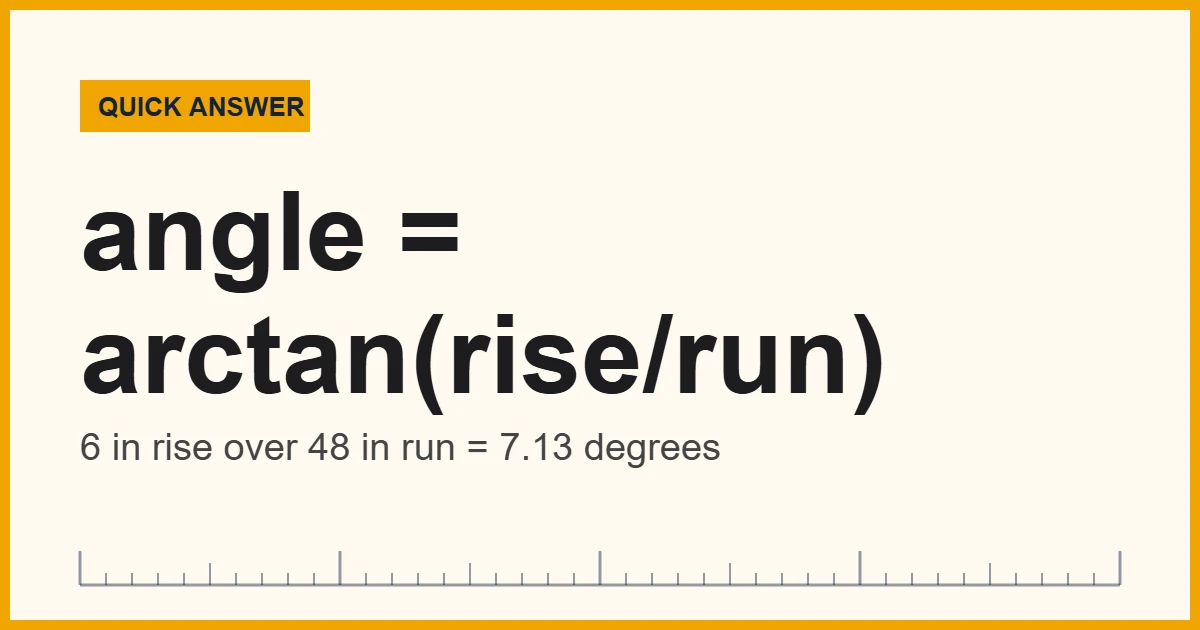
Laser level angles come from simple trigonometry. A laser level projects a true horizontal or vertical line, you measure the rise over a known run with a tape, and the angle equals arctan(rise / run). For example, 6 inches of rise over 48 inches of run gives 7.13 degrees, or a 12.5% grade.
Convert Laser Level Angles: Degrees, Grade and Pitch
Most laser levels show a line, not a number. Therefore, you first measure the rise and run, then turn them into an angle. Enter the angle you found below, and the converter shows the same slope as a percent grade and as a roof-style pitch.
Many people expect a laser level to read out an angle the way a protractor does. In practice, a basic cross-line model only draws level and plumb lines. As a result, you find laser level angles by comparing those lines with the surface you care about. Once you know the method, the job takes a few minutes. Also, you need only a tape measure.
In short: a laser level gives you a perfect reference, and your tape plus a little math give you the angle. Models with a digital slope mode can show the number directly, but the manual method works with any level.
For safety, the laser itself deserves respect. According to the University of Washington’s laser pointer safety guidance, you should never look directly into a beam or aim it at a reflective surface. The same advice applies to a laser level, so keep that in mind as you read on.
Recommended Tools for Laser Level Angles
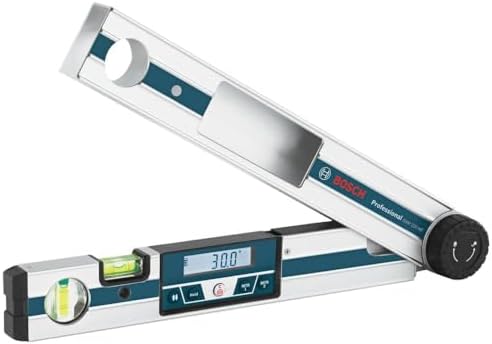
However, you do not need a full survey kit. First, pick a self-leveling cross-line laser, because it locks onto a true level line by itself. Next, add a tripod so the beam sits at a steady height. Finally, a digital angle finder lets you check your math against a direct reading.



As an Amazon Associate, Measuring Expert earns from qualifying purchases.
Key Takeaways on Laser Level Angles
- A laser level shows level and plumb lines; the angle comes from rise and run.
- Angle in degrees = arctan(rise / run), and percent grade = rise / run x 100.
- 6 inches of rise over 48 inches of run is 7.13 degrees.
- Self-leveling units work only within a small tilt range, often around 4 degrees.
- Typical accuracy of 1/8 inch at 30 feet is only about 0.02 degrees.
- Never look into the beam, and always confirm the line with a tape measure.
How Laser Level Angles Work
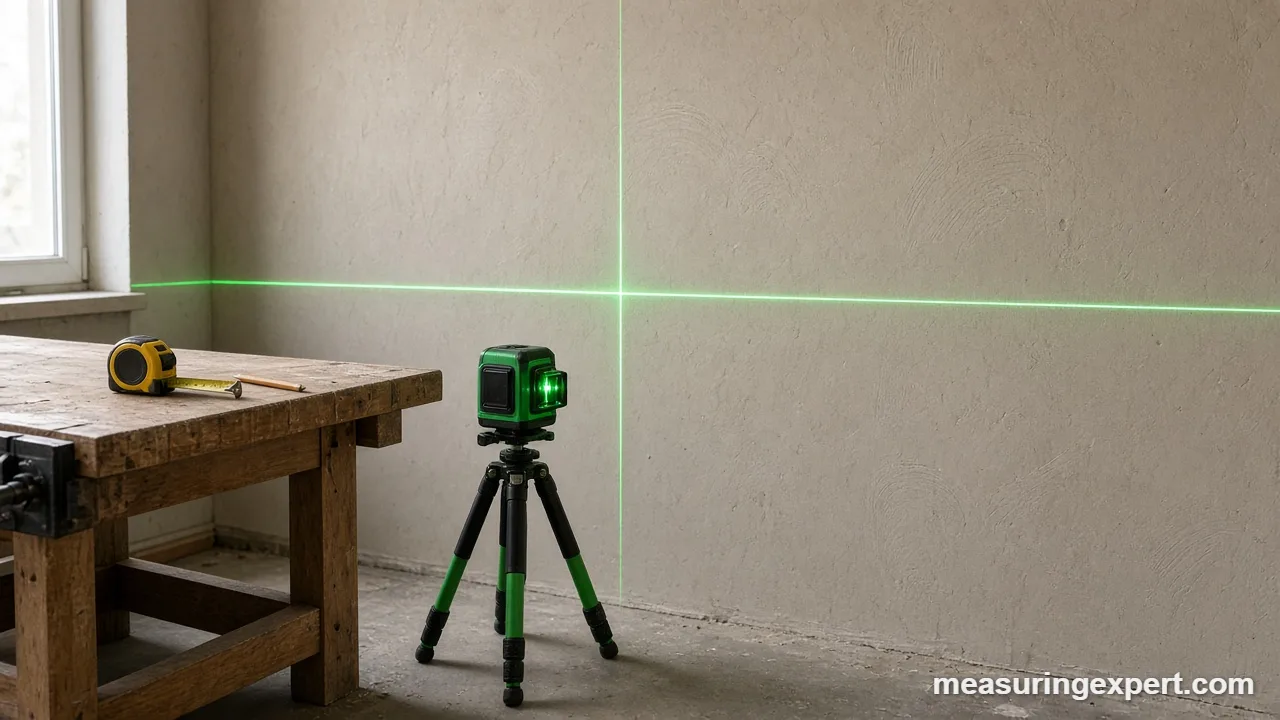
A self-leveling laser level hangs a small pendulum inside. Gravity pulls the pendulum straight down, so the beam it projects is truly level. Because the line ignores the shape of your room, you can compare any surface against it. In addition, any gap between the line and the surface tells you how far the surface tilts.
The rise and run idea
For example, think of a right triangle. The level laser line forms the flat side, which is the run. Next, the vertical gap you measure with a tape forms the second side, which is the rise. Finally, the angle sits where the surface meets the line. Therefore, a longer run gives a more reliable angle, since a small tape error matters less over a long distance.
angle = arctan(rise / run)
grade (%) = rise / run x 100
pitch = rise per 12 units of run
Why the units cancel
First, rise and run must use the same unit. For example, 6 inches over 48 inches and 15.24 cm over 121.92 cm give the same angle. In addition, the result does not change if you swap feet for meters, so use whichever your tape shows.
How to Measure Laser Level Angles Step by Step
- Set up the laser. First, place the laser level on a tripod or a flat, steady surface and switch it on. Wait for the self-leveling lock to release so the line settles.
- Project a level line across the surface. Then aim the horizontal line at the sloped surface, such as a ramp, a pipe run or a stair stringer.
- Mark the start point. Next, put a pencil mark where the laser line touches the surface at your starting position.
- Measure the run. Then pull a tape along the level line from the start mark to a second point, and write down the distance.
- Measure the rise. At that second point, measure straight up or down from the laser line to the surface.
- Calculate the angle. Divide rise by run, then take the arctangent, or type the numbers into the converter above.
- Check your work. Finally, compare the result with a digital angle finder or a second reading from a different spot.
Here is a worked example. A ramp rises 6 inches over a level run of 48 inches. First, divide 6 by 48 to get 0.125. Then the arctangent of 0.125 is 7.13 degrees. As a result, the grade is 12.5%, and the pitch is 1.5 in 12.
Laser Level Angles Cheat Sheet
This chart shows how much a surface drops or rises for common angles. Use it to check a result quickly or to plan a layout before you pick up the tape. In addition, the values come straight from tan(angle), rounded to two decimals.
| Angle | Rise over a 10 ft (120 in) run | Percent grade | Pitch (in per 12 in) |
|---|---|---|---|
| 0.5 degrees | 1.05 in (26.6 mm) | 0.87% | 0.10 |
| 1 degree | 2.09 in (53.2 mm) | 1.75% | 0.21 |
| 2 degrees | 4.19 in (106.4 mm) | 3.49% | 0.42 |
| 5 degrees | 10.50 in (266.7 mm) | 8.75% | 1.05 |
| 10 degrees | 21.16 in (537.5 mm) | 17.63% | 2.12 |
| 15 degrees | 32.15 in (816.6 mm) | 26.79% | 3.22 |
| 30 degrees | 69.28 in (1,759.7 mm) | 57.74% | 6.93 |
| 45 degrees | 120.00 in (3,048 mm) | 100% | 12.00 |
Some real jobs fall in this range. A drain that falls 1/4 inch per foot has an angle of 1.19 degrees, which is a 2.08% grade. A stair run with 36 inches of rise over 120 inches of run measures 16.70 degrees. If you need other conversions, our guide to solar panel angle shows tilt in the same terms.
Measuring Corner Angles With a Laser Level
However, slopes are only half the story. Corners matter just as much when you lay out tile, frames or a deck. Fortunately, the laser still helps, because it gives you a straight reference line to measure from.
Checking a right angle
First, project a line along one wall or chalk line. Next, mark a point 72 inches along that line and a second point 96 inches along the other edge. If the distance between the two marks is exactly 120 inches, the corner is 90.0 degrees. In fact, this is the 3-4-5 rule scaled up by a factor of 24.
Finding any corner angle
Next, for other corners, measure the two sides from the corner and the distance between their ends. Then use the law of cosines. For instance, sides of 48 and 60 inches with a 40 inch gap give an angle of 41.6 degrees. The formula is:
angle = arccos((a squared + b squared – c squared) / (2 x a x b))
For more on how professionals handle this work, read our overview of angle measurement in surveying.
Laser Level vs Angle Finder vs Inclinometer
However, a laser level is not the only way to get an angle. Each tool has a job it does best, so it helps to know the differences.
| Tool | What it gives you | Best for | Limit |
|---|---|---|---|
| Cross-line laser level | Level and plumb reference lines | Long runs, layout, comparing surfaces | No angle readout on basic models |
| Digital angle finder | Direct degree reading between two arms | Corners, miter cuts, pipe bends | Short reach |
| Digital inclinometer | Tilt from level or plumb in degrees | Ramps, roofs, machine setup | Needs contact with the surface |
| Protractor or bevel gauge | Transferred or read angle | Small parts, woodworking | Lower precision |
Instead, if you mainly need a reading on a small part, a protractor or bevel gauge may be enough. Our comparison of a protractor vs bevel gauge explains when each wins, and the best angle gauge guide covers digital options.
Mistakes That Skew Laser Level Angles
In fact, most bad readings come from setup, not from the laser. Watch for these problems:
- Unlocked or jammed pendulum. If the unit sits beyond its self-leveling range, it blinks or beeps. A typical range is about 4 degrees, so check your manual.
- Wobbly mounting. For example, a shaky shelf or loose tripod leg moves the line during your measurement.
- Short runs. Because of the math, small errors grow into large angle errors when the run is only a foot or two.
- Bright light. Red beams fade in sunlight, so you may mark the wrong spot. A detector or a green beam can help.
- Reading the thick line center. For consistency, always mark the same part of the beam, either its top or its center.
Laser Safety When You Measure
Laser levels are low-power devices, but the beam can still hurt your eyes. The University of Washington guidance linked above lists afterimages and flash blindness as expected effects of viewing a beam. Also, reflections from shiny surfaces behave like a direct beam.
Do and Don’t for Laser Level Angles
Do
- Use the longest run that fits the space.
- Mount the laser on a stable tripod.
- Measure rise and run in the same unit.
- Repeat the reading from a second spot.
- Confirm with an angle finder when it matters.
Don’t
- Trust a line beyond the self-leveling range.
- Mix inches and centimeters in one calculation.
- Aim the beam at a reflective surface.
- Mark the beam in bright sun without a detector.
- Treat the result as survey-grade.
Honest Limits of Laser Level Angles
This method is practical, not perfect. For one thing, stated accuracy for a typical cross-line unit is around 1/8 inch at 30 feet, according to the spec page for the Fluke PLS 180R Z. That equals about 0.02 degrees, which is fine for hanging shelves and setting drains. However, tape reading, beam thickness and surface roughness add their own errors. In short, expect results within a fraction of a degree on a long run, and worse on a short one. If a code or contract needs certified angles, use a surveyor.
When to Call a Professional
For example, call a licensed surveyor when a boundary, a building permit or a structural limit depends on the number. Similarly, hire a qualified contractor for load-bearing slopes, roof framing and anything that affects safety. A calibration lab can also check and certify your laser level if you rely on it daily.
Frequently Asked Questions
Can a laser level measure angles?
Yes, but usually indirectly. However, a basic laser level projects level and plumb lines. You measure rise and run from the line, then calculate the angle. Some digital models show a slope reading directly.
How do you measure laser level angles with a tape measure?
Project a level line, measure the run along it, and measure the rise from the line to the surface. Then divide rise by run and take the arctangent. For example, 6 inches over 48 inches is 7.13 degrees.
What is the formula for an angle from rise and run?
The angle equals arctan(rise divided by run). Also, percent grade equals rise divided by run times 100. Pitch equals rise per 12 units of run.
How accurate are laser level angles?
A typical level line is accurate to about 1/8 inch at 30 feet, which is roughly 0.02 degrees. In fact, your tape reading and setup usually add more error than the laser does.
What is the self-leveling range of a laser level?
Many models level themselves within about 4 degrees of tilt. However, outside that range, the unit warns you with a flashing beam or a beep. Check your manual for the exact figure.
How do I measure a slope with a laser level?
Set a level line across the slope, then measure the vertical drop or rise at a known distance. For example, a drain that falls 1/4 inch per foot has a slope of 1.19 degrees, or a 2.08% grade.
How do I check a 90 degree corner with a laser level?
First, mark 72 inches along one line and 96 inches along the other. If the distance between the marks is 120 inches, the corner is 90 degrees.
Can I use a laser level to find a roof pitch?
Yes. Project a level line from the eave, measure the rise over a known run, and scale the result to 12 inches of run. For example, a rise of 6 inches over 12 inches is a 6 in 12 pitch, about 26.57 degrees.
Do I need a tripod to measure laser level angles?
You can use a flat surface, but a tripod keeps the beam steady and at a known height. As a result, repeat readings agree more closely.
Is it safe to look at a laser level beam?
No. Never look into the beam or point it at reflective surfaces or people. Also, wear the eye protection your manual recommends, and keep the unit away from children.
Laser Level Angles: The Bottom Line
To sum up, laser level angles are easy once you treat the laser as a perfect level line. Measure the rise over a long run, divide, and take the arctangent. A 6 inch rise over 48 inches gives 7.13 degrees, and the cheat sheet above covers the common angles.
Finally, double-check anything important with a second reading or a digital angle finder, and keep the beam away from eyes. For quick conversions, the converter at the top of this page handles degrees, grade and pitch.