

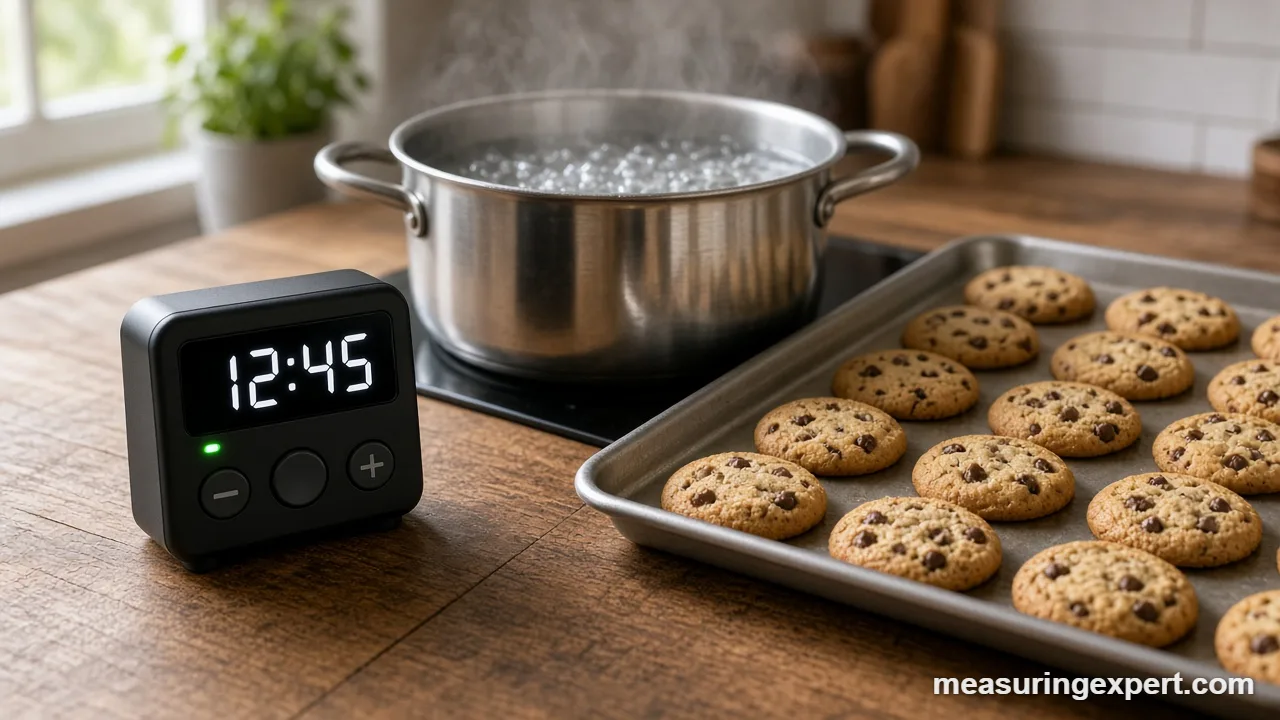
To use a kitchen timer, set it to the shortest time your recipe gives, press start the moment the food goes in, and check the dish when it beeps. A kitchen timer counts down in minutes and seconds, so you never have to watch the clock. Then add a few minutes only if the food is not done.
Most cooking mistakes come down to minutes, not skill. For instance, a pot of pasta left two minutes too long turns soft, and cookies left three minutes too long turn hard. For that reason, a timer is one of the cheapest ways to get repeatable results. In short, it works the same for a beginner and for a restaurant cook.
First, this page shows you how to set and read a timer. Next, it covers the main types, timing tips for baking and stovetop cooking, and safe food temperatures. Finally, it answers the questions people ask most often about timers.
Kitchen Timer Minutes and Seconds Converter
Recipes mix units. For example, one says 90 seconds, another says 1 1/2 hours, and a timer only accepts minutes and seconds. Simply type the time from your recipe below to see it in the units your timer needs.
How to Use a Kitchen Timer Step by Step
In fact, the basic routine is the same on every model. Learn it once and it works with any timer you pick up.
- Read the recipe time. If the recipe gives a range such as 20 to 25 minutes, set the shorter time.
- Clear the old time. Press the clear or reset button so leftover minutes do not carry over.
- Enter minutes and seconds. On a digital model, press the minute and second buttons. On a dial model, turn past the number and then back to it.
- Start it as the food goes in. Pressing start before you walk away is the step most people forget, so make it a habit.
- Check the food when it beeps. Look, smell and test with a thermometer or toothpick, because ovens and burners differ.
- Add short extra time if needed. Set 2 to 3 minutes, then check again instead of guessing a long block.
Digital vs Analog Kitchen Timer
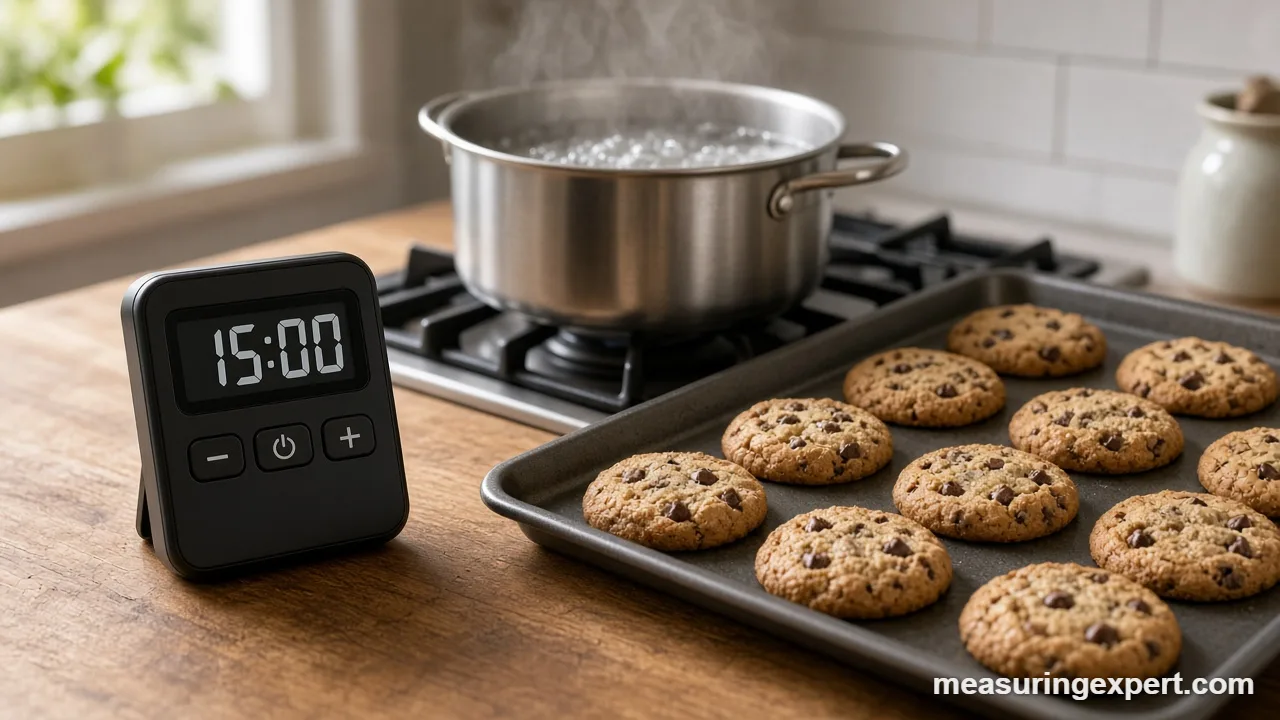
Both types do the same job, but they suit different cooks. For example, digital models count to the second and often remember your last setting. In contrast, analog (dial) models are simple and need no batteries. As a result, the right choice depends on how precise your recipes are.
| Feature | Digital | Analog (dial) |
|---|---|---|
| Precision | To the second | Usually to the minute |
| Power | Battery | Wind-up spring |
| Best for | Baking, candy, short sears | Simple tasks like boiled eggs |
| Extra features | Memory, count up, several channels | Usually none |
| Typical weak point | Dead battery | Loose accuracy near the end of the dial |
When you shop, first look at the display size, the alarm volume and the way it attaches. Then check whether it keeps counting after the alarm, because that tells you how late you are.
Recommended Kitchen Timers
These timers cover the common needs: a basic stainless model, a large magnetic display, and multi-channel timers for busy kitchens. For a longer comparison, see our buyer’s guide to top-rated timers.


As an Amazon Associate, Measuring Expert earns from qualifying purchases.
Kitchen Timer Tips for Baking
Baking is where a timer earns its place. Mixing, resting and cooling all have times as well, not just the bake itself. For example, creaming butter and sugar for too short a time gives a dense cake, and too long a rest gives dough that over-proofs.
- Start the timer after the oven reaches temperature. Preheating takes about 10 to 20 minutes in many ovens, and a timer started too early runs out before the food is ready.
- Set it for the low end of the range. Home ovens run hot or cold, so check early.
- Time the cooling too. Cakes and cookies finish setting on the rack, so a 10-minute cooling timer protects the texture.
- Rotate halfway. Set a second alarm at the midpoint to turn the pan if your oven has hot spots.
Kitchen Timer Tips for the Stovetop
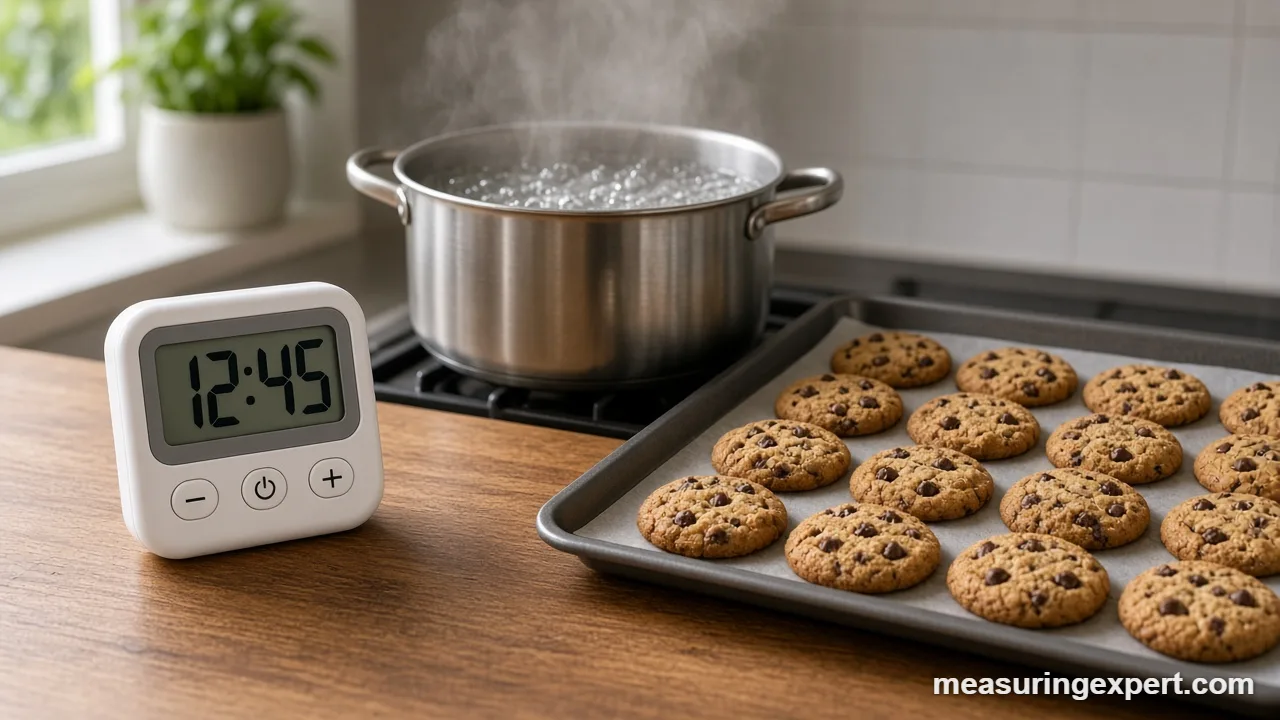
Stovetop times shift more than oven times, because burner heat and pot size change how fast things cook. Therefore, start the clock when the water returns to a boil, not when you turn on the burner. In addition, keep stirring tasks and timing tasks separate: the timer watches the clock, and you watch the pan.
| Task | When to start the timer | Typical time |
|---|---|---|
| Dried pasta | Water is boiling and pasta is in | Per package, check 1 minute early |
| Soft-boiled egg | Egg goes into boiling water | About 6 to 7 minutes |
| Hard-boiled egg | Egg goes into boiling water | About 10 to 12 minutes |
| Rice (covered) | Heat drops to a simmer | About 15 to 18 minutes for white rice |
| Steak sear | Meat touches a hot pan | About 2 to 4 minutes per side |
Treat these as starting points, not rules. Also, egg size, pot size and altitude all change the result, so write down what works in your kitchen.
Running Several Kitchen Timer Alarms at Once
Cooking a full meal means more than one clock. Fortunately, a four- or eight-channel unit lets you track each dish with its own countdown. If you only have one timer, work backward instead. First, begin with the dish that takes longest, then add the others so everything finishes together.
For instance, if the roast needs 60 minutes and the vegetables need 25, set the timer for 35 minutes, then start the vegetables when it beeps. Similarly, a phone can run extra timers if you name each one, such as “rolls” or “rice”. Meanwhile, keep a note of start times on paper so you can recover if a timer is cleared by mistake.
Kitchen Timer Safety: Times and Temperatures
Time alone does not tell you that meat is safe. In fact, size and heat change every result. The USDA lists minimum safe internal temperatures, and a thermometer is the only way to check them. According to the federal food safety chart, poultry needs 165 F (74 C), and ground meat needs 160 F (71 C). Steaks, roasts and chops of beef, pork and lamb need 145 F (63 C) followed by a 3-minute rest. Fish needs 145 F (63 C), or flesh that flakes easily.
| Food | Minimum internal temperature | Rest time |
|---|---|---|
| Poultry | 165 F (74 C) | None listed |
| Ground beef or pork | 160 F (71 C) | None listed |
| Beef, pork, lamb steaks and roasts | 145 F (63 C) | 3 minutes |
| Fish | 145 F (63 C) | None listed |
| Leftovers | 165 F (74 C) | None listed |
Use the timer to remind you when to take a reading, and then use a thermometer to make the decision. Our page on meat thermometer doneness shows where to place the probe.
Do and Don’t With a Kitchen Timer
Do
- Start the timer as soon as the food goes in.
- Set the low end of a time range first.
- Keep the timer within earshot.
- Replace batteries once a year.
- Check food with a thermometer when safety matters.
Don’t
- Leave the kitchen without starting it.
- Add a long extra block without checking.
- Set a timer and ignore the smell of the food.
- Trust an old timer after a battery change without testing it.
- Skip rest times for meat.
Kitchen Timer Problems and Quick Fixes
| Problem | Likely cause | Fix |
|---|---|---|
| Blank or dim display | Weak battery | Replace the battery and check the polarity. |
| Alarm is too quiet | Volume setting or muffled speaker | Raise the volume, or move the timer off a soft surface. |
| Time runs fast or slow | Low battery or a worn dial | Compare it with a phone clock for 10 minutes. |
| Buttons do not respond | Grease or moisture | Wipe with a dry cloth and let it dry fully. |
| Alarm does not stop | Count-up mode is on | Press clear, then start a new countdown. |
Honest Limits of a Kitchen Timer
A timer measures elapsed time, and nothing else. It cannot tell you how hot the oven really is, nor how thick the steak is, or how cold the dough started. Moreover, small digital timers are accurate enough for cooking but are not calibrated instruments, and dial timers can be off by a minute or more. In short, use the timer to prompt a check, and let your eyes, nose and thermometer confirm the result.
When Timing Really Matters
Most recipes forgive a minute either way. However, a few jobs need care. Candy and sugar work moves fast, so a 30-second error can ruin a batch. Likewise, home canning and sous-vide recipes depend on exact times at set temperatures, so follow tested instructions from the USDA or your equipment maker. Finally, food left out too long becomes unsafe, so set a reminder to refrigerate leftovers within two hours.
Frequently Asked Questions
How do you use a kitchen timer?
Set the minutes and seconds from your recipe, press start as soon as the food goes in, and check the dish when the alarm sounds. Add a few minutes only if the food needs it.
How do you set a digital kitchen timer?
Press the minute and second buttons until the display shows your time, then press start. Next, most models count down and beep at zero. Finally, press clear to reset it for the next use.
Do professional kitchens use a kitchen timer?
Yes. Professional cooks use multi-channel timers to track several dishes at once, so every item is done at the right moment.
What is the difference between cooking time and a kitchen timer on an oven?
Cooking time is how long the food needs. The oven timer only counts down or may switch the oven off. A separate timer simply reminds you.
Should I start the kitchen timer before or after preheating?
Start it after the oven reaches temperature and the food goes in. Starting earlier means the alarm sounds before the food has cooked for its full time.
How many minutes are in 90 seconds?
There are 1.5 minutes in 90 seconds, which is 1 minute and 30 seconds. Use the converter on this page for other values.
Is a digital or analog kitchen timer better?
Digital timers are better for baking and short tasks because they count to the second. Analog timers are fine for simple jobs and need no battery.
How accurate is a kitchen timer?
Digital models are typically accurate to within a few seconds over an hour, which is good enough for cooking. Dial timers are rougher and can drift by a minute or more.
Can a phone work as a kitchen timer?
Yes. A phone can run several named timers at once. However, a dedicated timer is easier to use with wet hands and is not interrupted by calls.
How long can food sit out before I need to refrigerate it?
The USDA advises refrigerating perishable food within 2 hours, or within 1 hour when the air temperature is above 90 F (32 C). Set a timer as a reminder.
Kitchen Timer: The Bottom Line
To sum up, a kitchen timer turns recipe times into reliable results. Set the low end of the range, start it as the food goes in, and check the dish when it sounds. Choose digital if you bake or need seconds, and choose analog if you want something simple.
Finally, remember that a timer only tracks time. For meat, add a thermometer and follow the safe temperatures above. If you need to convert a time first, the converter near the top of this page does it in a few seconds.