
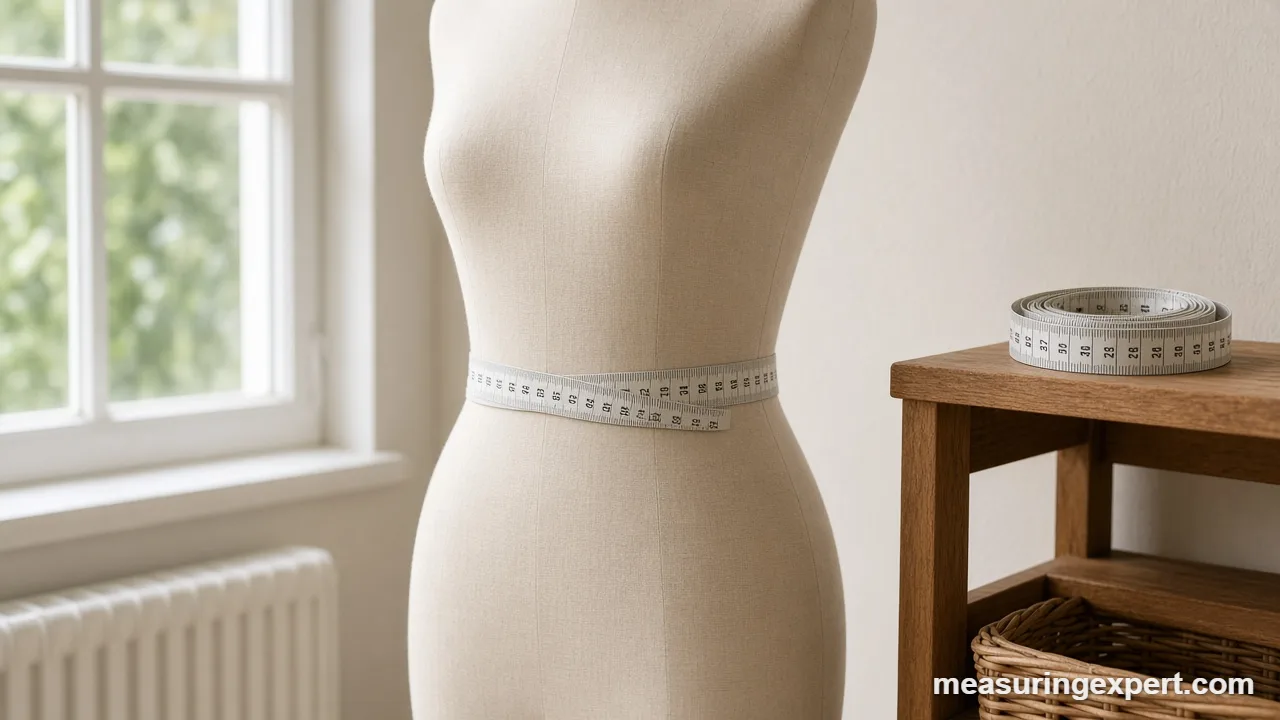
How to measure waist correctly: stand relaxed, wrap a soft tape around your bare middle just above the top of your hip bones, keep it level with the floor, breathe out normally, and read the number while the tape is snug but not tight. For clothing, use your natural waist, the narrowest point, instead.
A waist reading looks like the simplest body measurement there is. Even so, it is surprisingly easy to get wrong. Move the tape two inches up or down, let it sag at the back, or hold your breath, and the number can shift by an inch or more. That matters whether you are ordering a dress online or keeping an eye on your health.
The confusing part is that “waist” means two different places. Clothing makers usually mean your natural waist, the narrowest part of your torso. Health agencies, on the other hand, mean a lower spot: just above the top of the hip bones. Both are correct for their own purpose, so the first job is to know which one you need.
In short: use the narrowest point for clothes, the top of the hip bones for health tracking, and the same method every time.
The health method on this page follows the US National Heart, Lung, and Blood Institute (part of the NIH). Its guide to assessing your risk tells you to stand, place the tape around your middle just above your hip bones, and read it just after you breathe out. That is the version we use for every health figure below.
First, you can convert your reading between inches and centimeters with the tool below. After that, you will find the step-by-step method, the difference between the clothing and health waist, accuracy tips and the waist-to-height ratio.
Convert Your Waist Measurement: Inches to Centimeters
Type your waist in inches (or switch the unit) and the converter shows centimeters, millimeters and feet. It uses the exact definition 1 inch = 2.54 cm, so you can read a US size chart or a European one with the same number.
Recommended Soft Tape Measures for Body Measurements
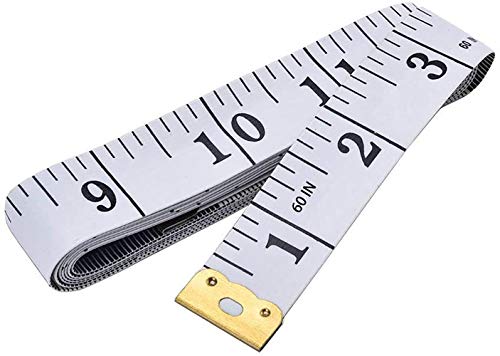
Any flexible tape works, but a few features make a real difference. First, look for a double scale in inches and centimeters so you can match any size chart. Next, a 60-inch (150 cm) length covers most waists with room to spare. Also, a retractable tape with a lock button lets you measure alone, because it holds the reading while you look down. The picks below are soft body tapes from established sewing and measuring brands, chosen from manufacturer specs and buyer reports.



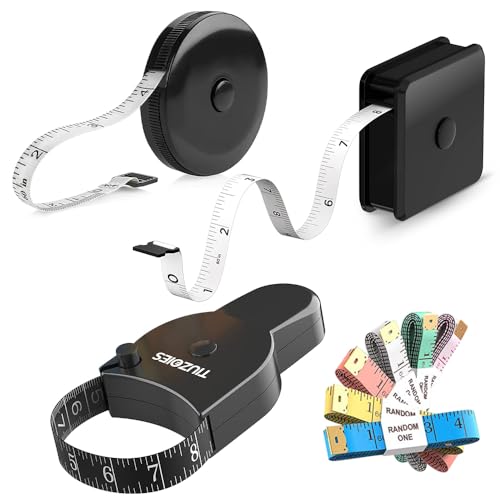
As an Amazon Associate, Measuring Expert earns from qualifying purchases.
- Health waist: just above the top of the hip bones, read after a normal breath out (NIH).
- Clothing waist: the natural waist, usually the narrowest point and an inch or two above the belly button.
- Keep the tape level all the way around; a dip at the back is the most common mistake.
- The tape should be snug, not tight, and you should not suck in your stomach.
- NIH risk cutoffs: over 35 in (88.9 cm) for women and over 40 in (101.6 cm) for men, not during pregnancy.
- Waist-to-height ratio: NICE suggests keeping your waist below half your height.
- A waist number is a screening sign, not a diagnosis; a doctor can put it in context.
Natural Waist vs Health Waist: Two Different Spots
Before you pick up the tape, decide why you are measuring. The two common definitions sit a few inches apart on most bodies, so mixing them up gives a number that fits neither purpose.
| Natural (clothing) waist | Health waist (NIH/CDC) | |
|---|---|---|
| Where | Narrowest part of the torso, between ribs and hips | Just above the top of the hip bones (iliac crest) |
| How to find it | Bend to one side; use the crease that forms | Feel along your sides for the top edge of the pelvis |
| Typical position | An inch or two above the belly button | Often at or slightly below the belly button |
| Used for | Dresses, skirts, tailored tops, sewing patterns | Health screening and tracking change over time |
| Breathing | Relaxed, normal breath | Read just after a normal breath out |
| Usual result | Smaller number | Often larger, because it sits lower |
Other organizations use slightly different spots. For example, the World Health Organization protocol uses the midpoint between the lowest rib and the top of the hip bone. As a result, readings taken with different methods are not directly comparable. The fix is simple: choose one method and stick with it.
How to Measure Waist Step by Step
This method works for both definitions; only step 3 changes. It takes about two minutes, and a mirror helps if you are measuring alone.
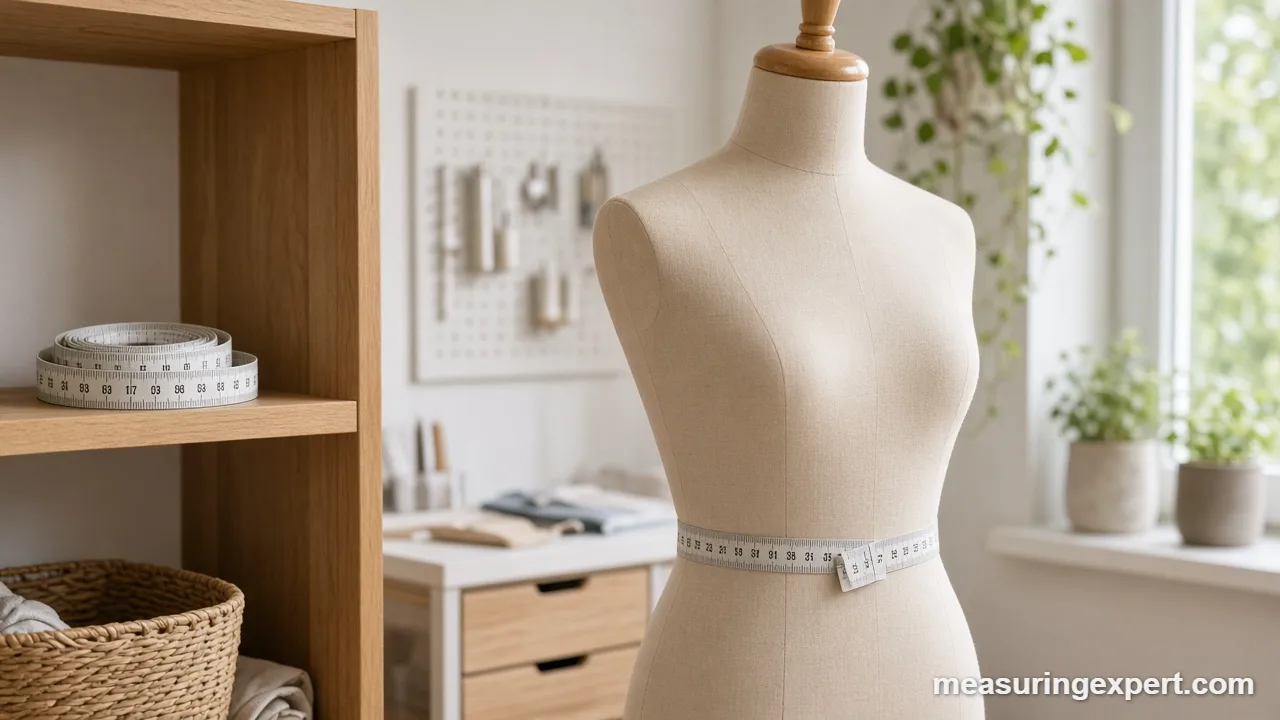
- Get a soft tape and a mirror. Use a flexible cloth or fiberglass tape that reads in inches and centimeters. A metal carpentry tape will not follow the curve of your body, so leave it in the toolbox.
- Stand relaxed with bare skin. Remove thick clothing or measure over one thin layer. Stand tall with your feet about hip-width apart and your weight even on both feet. Next, let your arms hang loosely at your sides.
- Find the right landmark. For a health check, press your fingers into your sides to find the top of each hip bone and place the tape just above it. For clothing, bend sideways and use the crease that forms at your natural waist instead.
- Wrap the tape level. Bring the tape around your body and check in the mirror that it stays parallel to the floor. In particular, make sure it has not dipped at the back, which is the most common error.
- Breathe out and relax. Take a normal breath in, then breathe out gently. Do not hold your breath, suck in your stomach or push it out.
- Read the number snugly. Keep the tape snug against the skin without pressing in. Then read where the zero end meets the tape, to the nearest 1/4 inch or 0.5 cm.
- Repeat and record. Take a second reading. If the two differ by more than about 1/2 inch (1 cm), measure a third time and use the average. Finally, write the number down with the date and the landmark you used.
How to Measure Waist for Health, per NIH and CDC
For health purposes, the landmark is bone, not the narrowest point. Press your fingertips into your sides below the ribs and slide them down until you feel the top edge of the hip bone on each side. Then place the bottom of the tape just above those points and wrap it around. The CDC’s healthy weight page describes the same spot and the same cutoffs.
Timing matters too. The NIH instructions say to read the tape just after you breathe out. Breathe in, let the breath go naturally, and read the number before you take the next breath. Similarly, avoid measuring right after a large meal, because a full stomach adds to the reading.
The same NIH guide gives these cutoffs for adults who are not pregnant. In addition, it notes that fat carried around the waist raises the risk of heart disease and type 2 diabetes more than fat carried on the hips.
| Group | Higher-risk waist (NIH) | In centimeters |
|---|---|---|
| Women (not pregnant) | More than 35 inches | More than 88.9 cm |
| Men | More than 40 inches | More than 101.6 cm |
These cutoffs come from population studies, so they describe average risk across many people. They do not tell you anything certain about your own health. Some health bodies also use lower cutoffs for certain ethnic groups, which is one more reason to discuss your number with a clinician.
Waist-to-Height Ratio: A Second Way to Read the Number
A fixed cutoff treats a 5-foot person and a 6-foot person the same. For that reason, many researchers prefer the waist-to-height ratio. You divide your waist by your height, using the same unit for both.
The UK’s National Institute for Health and Care Excellence (NICE) recommends keeping your waist to less than half your height. In other words, a ratio below 0.5 is the target.
| Height | Half of height (waist target) |
|---|---|
| 5 ft 0 in (60 in, 152.4 cm) | Under 30 in (76.2 cm) |
| 5 ft 4 in (64 in, 162.6 cm) | Under 32 in (81.3 cm) |
| 5 ft 6 in (66 in, 167.6 cm) | Under 33 in (83.8 cm) |
| 5 ft 10 in (70 in, 177.8 cm) | Under 35 in (88.9 cm) |
| 6 ft 0 in (72 in, 182.9 cm) | Under 36 in (91.4 cm) |
For example, a 32-inch waist on a 66-inch-tall person gives 32 / 66 = 0.48, just under the 0.5 line. The ratio is a screening guide only, so treat it as a prompt for a conversation rather than a verdict. If you are curious how waist size fits with other body proportions, see our article on ideal girth measurements.
How to Measure Waist for Clothing
For dresses, skirts, jackets and sewing patterns, you want your natural waist. To find it, stand straight and bend to one side. The crease that forms is your natural waist. If you cannot see a crease, look for the narrowest part of your torso in the mirror instead.
Wrap the tape there, keep it level, and leave a finger’s width of ease if you like a relaxed fit. Then compare the number with the brand’s own size chart, because sizes vary widely between brands and countries. For instance, a European chart may list waist in centimeters only, so the converter above saves some mental math.
Low-rise and mid-rise garments sit below the natural waist. So if a size chart says “waist” but the garment sits lower, the chart usually tells you where it expects the tape to go. When in doubt, follow the chart’s own diagram.
How to Measure Waist at Home: Tips for Accuracy
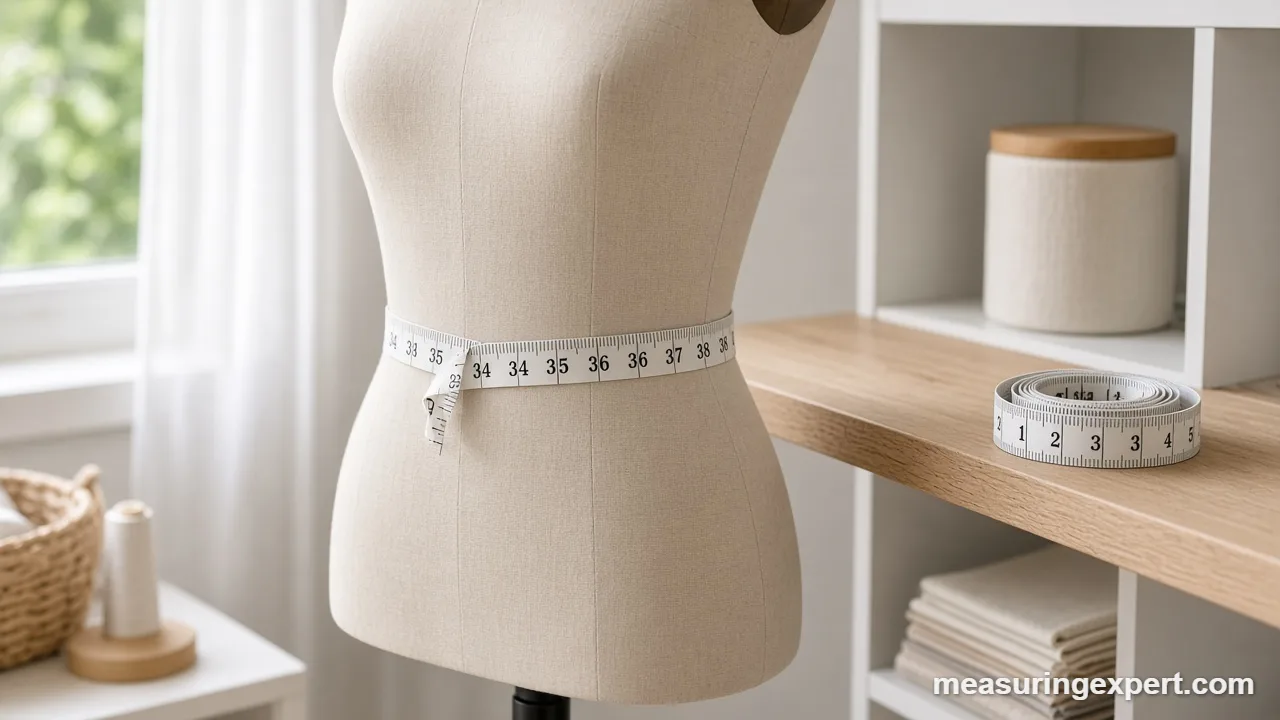
Most errors come from small habits, not from the tape. Here are the usual culprits and how much each one can change the reading.
| Mistake | What happens | Fix |
|---|---|---|
| Tape dips at the back | Reading comes out too large | Check the back in a mirror |
| Holding your breath or sucking in | Reading comes out too small | Read after a normal breath out |
| Tape pulled tight into the skin | Reading too small | Snug, with no dent in the skin |
| Measuring over thick clothing | Reading too large | Bare skin or one thin layer |
| Different landmark each time | Readings do not compare | Write down the landmark you used |
| Old, stretched cloth tape | Every reading slightly off | Check it against a rigid ruler |
Time of day matters as well. Your waist is usually smallest in the morning and grows a little after meals and drinks. Therefore, if you are tracking change, measure at the same time, ideally before breakfast. Also, take two readings and average them; that small habit removes most of the noise.
Do and Don’t for a Reliable Waist Reading
Do
- Pick the landmark that fits your purpose.
- Keep the tape parallel to the floor.
- Read the tape after a normal breath out.
- Write down the date and landmark.
- Average two or three readings.
Don’t
- Suck in your stomach or hold your breath.
- Pull the tape so tight it dents the skin.
- Measure over jeans or a thick sweater.
- Compare readings taken at different spots.
- Read a single number as a diagnosis.
How to Measure Waist Without a Tape Measure
No tape at home? You can still get a good reading with a piece of non-stretchy string, a ribbon or a phone charger cable.
- Wrap and pinch. Place the string around your waist at the right landmark, keep it level, and pinch the point where it meets the free end.
- Lay it flat. Straighten the string on a table without stretching it.
- Measure the length. Use a ruler, a yardstick or a rigid tape. A US letter sheet of paper is exactly 11 inches long, and an A4 sheet is 29.7 cm, so either works as a guide.
- Repeat once. String slips easily, so a second try confirms the number.
Phone apps that estimate waist size from a photo are convenient, but they guess from your outline. As a result, they are fine for a rough idea and not for tracking small changes.
Honest Limits of a Tape Measure Reading
A waist number is useful, but it is not precise to the millimeter. Even trained staff who measure the same person twice often differ by about a centimeter. Moreover, bloating, posture and the time since your last meal all shift the result. A tape also cannot tell muscle from fat, or fat under the skin from fat around the organs.
So the trend matters more than any single reading. A change of half an inch from one week to the next is usually noise; a steady change over several months is more likely to be real. Likewise, the health cutoffs are averages from large groups, and they fit some bodies better than others.
When to Talk to a Doctor
If your waist is above the NIH cutoffs, or it has grown noticeably in a short time, it is reasonable to mention it at your next checkup. A doctor can combine it with blood pressure, blood tests and your history, which a tape cannot do. Also talk to a clinician before you set a waist goal during pregnancy, after surgery, or if you have a medical condition that affects your abdomen.
Frequently Asked Questions
How to measure waist size at home?
Wrap a soft tape around your bare middle, keep it level with the floor, breathe out normally and read the number while the tape is snug but not tight. Use the top of your hip bones for a health check, or the narrowest point for clothing.
Where is your natural waist?
Your natural waist is the narrowest part of your torso, between the bottom of your ribs and the top of your hips. On most people it sits an inch or two above the belly button. Bend to one side and it is where the crease forms.
How to measure waist circumference for health?
NIH guidance says to stand, place the tape around your middle just above your hip bones, and read it just after you breathe out. Keep the tape level and snug, and do not pull it into the skin.
Should I suck in my stomach when I measure?
No. Holding your stomach in can take an inch or more off the reading. Instead, breathe out normally, relax your belly and then read the tape.
Is waist size the same as pant size?
Not always. Many pants sit lower than the natural waist, and brands size their pants differently, so the number on the label may not match your tape reading. Always check the brand’s own size chart.
What waist size is linked to higher health risk?
The NIH says a waist over 35 inches (88.9 cm) for women or over 40 inches (101.6 cm) for men raises the risk of heart disease and type 2 diabetes. These cutoffs do not apply during pregnancy. Ask a doctor what your number means for you.
What is a healthy waist-to-height ratio?
UK health guidance from NICE suggests keeping your waist to less than half your height, a ratio below 0.5. For example, a person who is 66 inches tall would aim for a waist under 33 inches.
How to measure waist without a tape measure?
Wrap a piece of string or a phone charger cable around your waist, pinch the point where it meets the end, then lay it flat and measure it with a ruler or a printed sheet of paper. A US letter sheet is 11 inches long and A4 is 29.7 cm.
How often should I measure my waist?
For tracking, once every two to four weeks is plenty, because waist size changes slowly. Measure at the same time of day, ideally in the morning before eating, so the readings are comparable.
Why are my waist measurements different each time?
Small changes in tape height, tension, breathing and meal timing can shift the reading by up to an inch. Use the same landmark, keep the tape level, and average two or three readings.
How to Measure Waist: The Bottom Line
To sum up, a good waist reading comes down to three things: the right landmark, a level tape and a normal breath out. Use the top of the hip bones for health tracking and the narrowest point for clothing, and keep the tape snug without pulling it tight.
Finally, measure the same way every time and watch the trend rather than one number. If the reading worries you, take it to your doctor, who can tell you what it means for your health.
1 thought on “How to Measure Your Waist: Natural Waist, Health Method and Tips”