
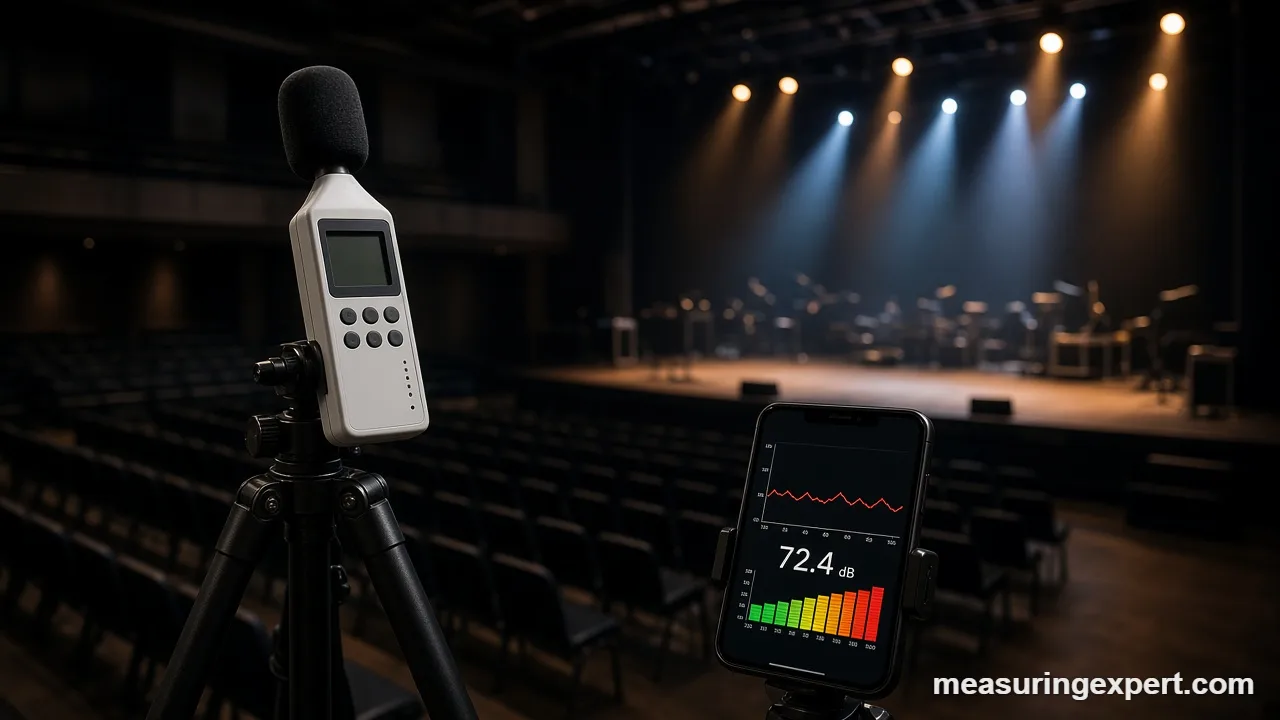
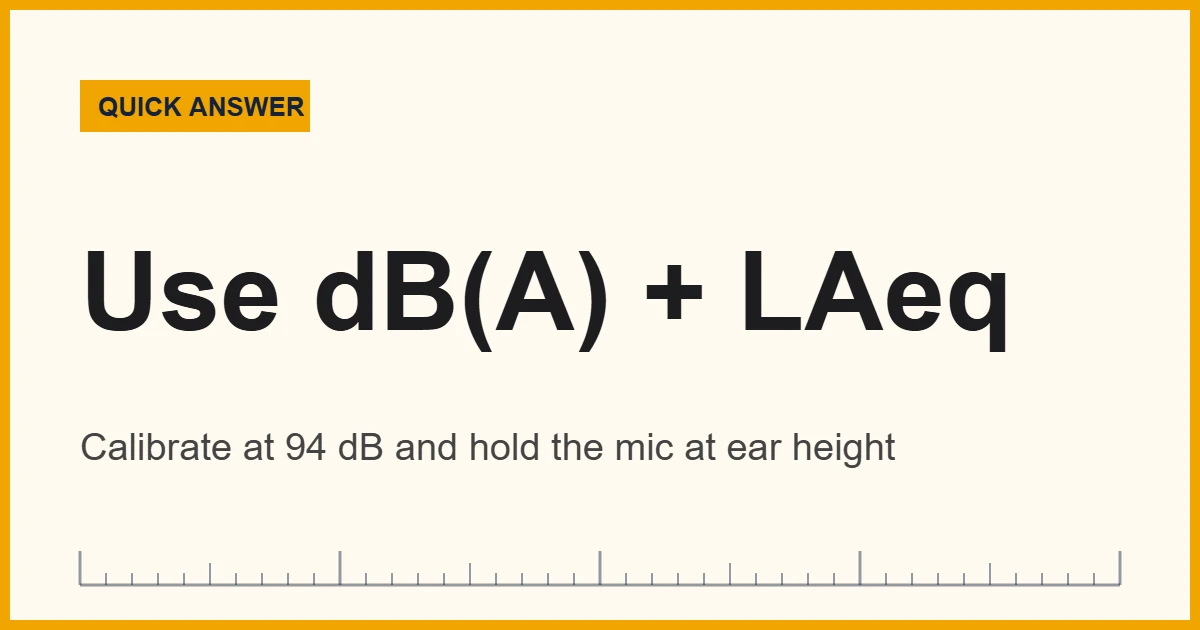
To measure sound volume, use a sound level meter or a calibrated phone app set to A-weighting, dB(A). Then hold the microphone where people’s ears are and record the average level (LAeq) over a few minutes, not just the peak. For hearing checks, compare that average with the NIOSH limit of 85 dB(A) over eight hours.


As an Amazon Associate, Measuring Expert earns from qualifying purchases.
Loudness questions come up everywhere. For example, you may want to know whether a workshop is too loud, whether a neighbor’s speaker breaks a local noise rule, or how loud your band really plays. A number settles the argument, but only if you take it the right way. Otherwise, two people with two phones can stand in the same room and get readings 10 dB apart.
This guide stays practical. In other words, it covers which tool to use, which settings to pick, where to hold the microphone, and how to check calibration. If you want the physics first, such as why amplitude, distance and frequency change loudness, read our explainer on what determines the volume of a sound. Then come back here to measure sound volume with confidence.
In short: a decibel reading is only as good as its weighting, its averaging time and its calibration. So set A-weighting for anything about hearing, average over time, and check the meter against a known tone when accuracy matters.
Why Weighting, Time and Calibration Matter
The US Occupational Safety and Health Administration (OSHA) explains in its technical manual chapter on noise that workplace readings use A-weighting, a microphone near the worker’s ear, and an acoustic calibrator before and after each survey. As a result, those three habits form the backbone of every method below, even at home.
Finally, keep in mind that the decibel scale is logarithmic. Two equal 80 dB sources together read about 83 dB, not 160 dB. Likewise, a 10 dB rise means ten times the sound intensity, and most listeners hear it as roughly twice as loud.
Measure Sound Volume in Pascals and Other Pressure Units
Every decibel reading comes from sound pressure, the tiny pressure swing the microphone senses. A sound pressure level in dB equals 20 x log10(p / 20 micropascals). For example, 94 dB is about 1 pascal (Pa), and 114 dB is about 10 Pa. Also, this site has no decibel calculator yet, so the converter below turns a pressure in pascals into kPa, psi, atm and other units. Use the chart under it to go from dB to Pa.
| Level (dB SPL) | Sound pressure | Rough everyday example |
|---|---|---|
| 0 dB | 0.00002 Pa (20 micropascals) | Reference: threshold of hearing |
| 40 dB | 0.002 Pa | Quiet room |
| 60 dB | 0.02 Pa | Conversation at about 1 m |
| 80 dB | 0.2 Pa | Busy street |
| 94 dB | 1.002 Pa | Common calibrator tone |
| 100 dB | 2 Pa | Power tools up close |
| 114 dB | 10.02 Pa | High calibrator tone |
| 120 dB | 20 Pa | Front row at a loud concert |
First, the pressure values come straight from the formula. The examples, however, are rough, because real sources vary with distance and the room.
Recommended Tools to Measure Sound Volume
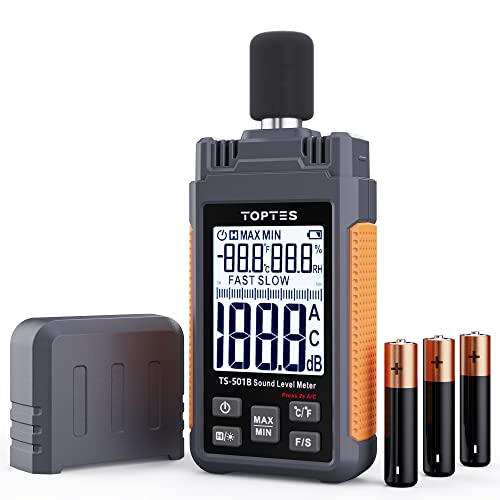
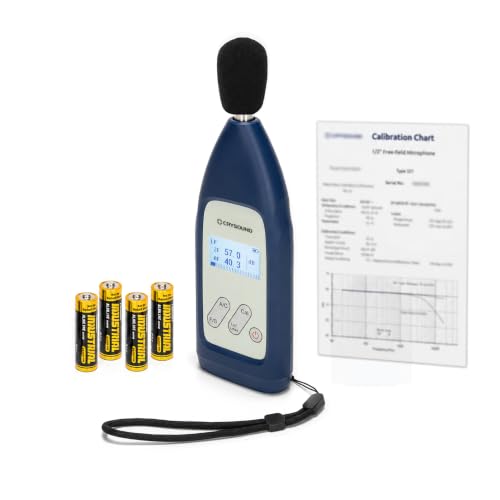
For most people, a handheld meter with A and C weighting covers the job. First, choose a meter that states its class under IEC 61672 if you need defensible numbers. Next, add a sound level calibrator so you can check the meter before each session. Otherwise, a basic meter still works well for comparing before and after, such as checking whether new door seals helped.
Our separate guide to the best sound level meters compares more models. The picks here rely on manufacturer specs and buyer reports, not our own lab tests.
Key Takeaways
- Set A-weighting, dB(A), for anything about hearing or noise rules.
- Record the average (LAeq) over minutes, not a single glance at the display.
- Hold the microphone at ear height, about an arm’s length from your body.
- Check calibration with a 94 dB tone before and after important readings.
- The NIOSH SLM app runs on iPhone and iPad and can log LAeq, dose and peaks.
- Built-in phone microphones give estimates; an external calibrated microphone narrows the error.
- Compare averages with NIOSH (85 dB(A), 8 hours) or OSHA (90 dB(A), 8 hours) limits.
Sound Level Meter vs Phone App vs Noise Dosimeter
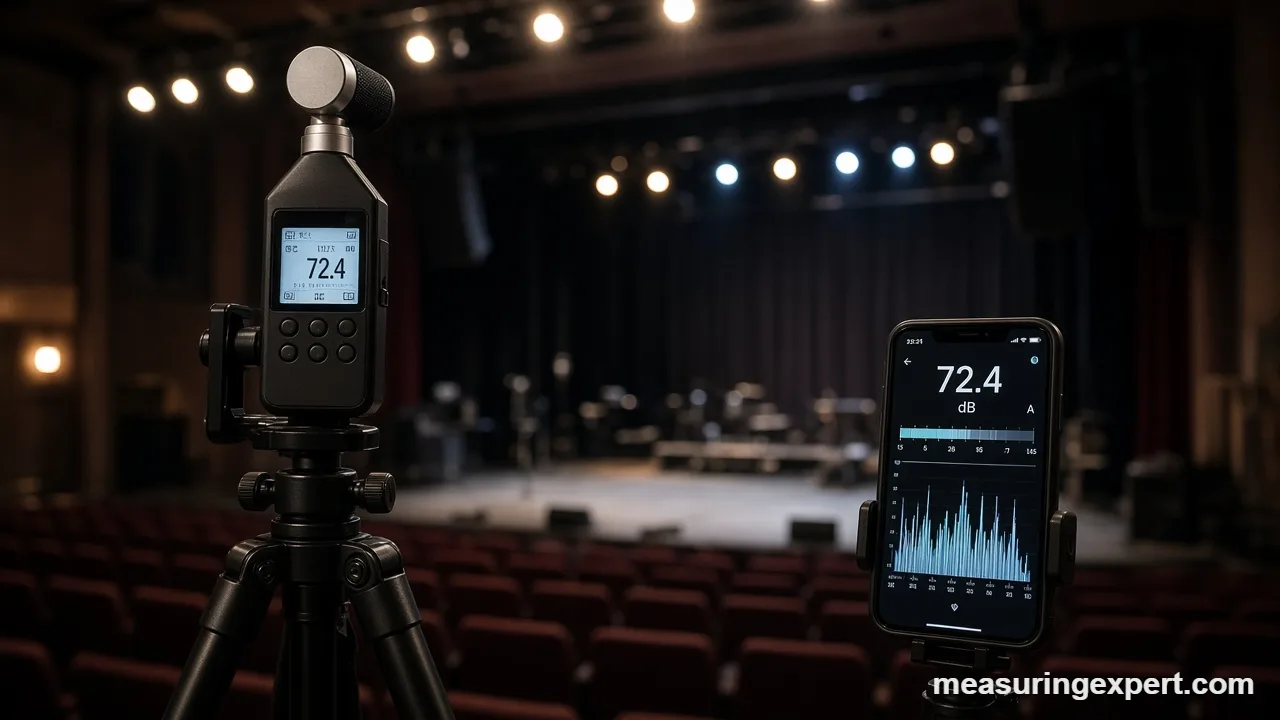
Three kinds of tools can measure sound volume in decibels. However, they differ in accuracy, in cost, and in what question they answer. For example, a meter tells you how loud a spot is, while a dosimeter tells you how much noise one person absorbed over a whole shift.
| Tool | Best for | Typical accuracy | Main weakness |
|---|---|---|---|
| Class 1 sound level meter | Legal, environmental and lab work | About +/-1.1 dB at 1 kHz (IEC 61672-1) | Costly; needs periodic lab calibration |
| Class 2 sound level meter | Workplace surveys, venues, home checks | About +/-1.4 dB at 1 kHz (IEC 61672-1) | Wider tolerance at very low and high pitches |
| Basic handheld meter (no class stated) | Before-and-after comparisons | Often a few dB; check the spec sheet | No traceable accuracy claim |
| Phone app, built-in microphone | Quick estimates and awareness | Within about 2 dB(A) for the best iOS apps in NIOSH tests | Varies by phone, case and app |
| Phone app plus external calibrated microphone | Low-cost surveys | Within about 1 dB in a NIOSH follow-up study | Extra hardware; still not a certified meter |
| Noise dosimeter (worn) | Personal exposure over a full shift | Class 2 performance is common | Measures one person, not a location |
The class tolerances above apply at the 1 kHz reference frequency. At very low and very high pitches, the allowed error grows, especially for Class 2 meters.
What dB(A), dB(C) and dB(Z) Mean
A microphone hears all frequencies equally, but your ears do not. So meters apply a frequency weighting filter before they show a number. Also, the letter after “dB” tells you which filter the meter used, and the choice can change a reading by several decibels.
| Weighting | What it does | When to use it |
|---|---|---|
| A, dB(A) or dBA | Cuts low and very high frequencies, roughly like human hearing at moderate levels | Hearing risk, workplace limits, most noise rules |
| C, dB(C) or dBC | Nearly flat; keeps most bass | Peak levels, bass-heavy music, subwoofer complaints |
| Z, dB(Z) | Zero weighting, flat across the range | Acoustic analysis and engineering work |
As a rule of thumb, a big gap between the C and A readings tells you the sound carries a lot of low-frequency energy. For instance, a thumping bass line next door can read far higher in dB(C) than in dB(A).
How to Measure Sound Volume Step by Step
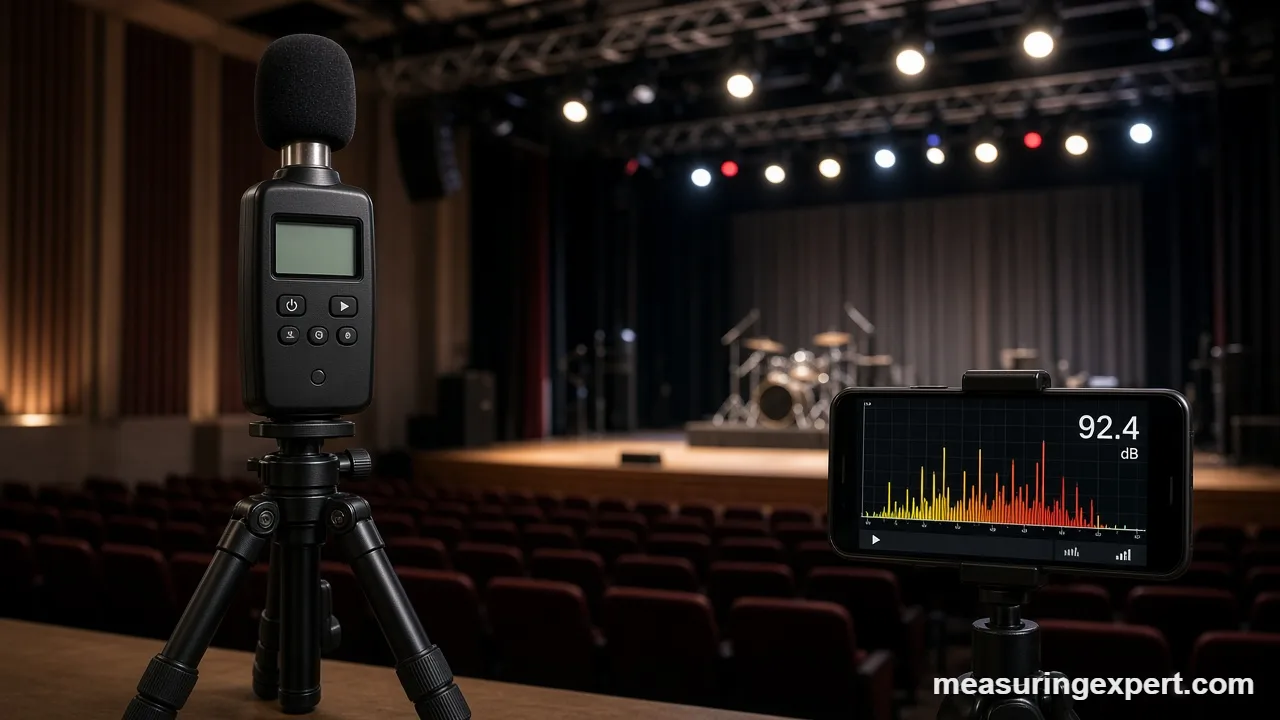
This method lets you measure sound volume with a handheld meter or a phone app. Also, it follows the same logic that safety professionals use, scaled down for everyday checks.
- Define the question. Decide whether you want a hearing-risk check, a noise complaint record, or a before-and-after comparison.
- Check calibration. Fit the calibrator over the microphone and confirm the meter reads 94 dB, or note the offset.
- Set the meter. Choose A-weighting and slow response, and turn on LAeq logging if the meter has it.
- Position the microphone. Hold it at ear height where people actually stand, at arm’s length, pointed toward the source.
- Record for long enough. Log at least a few minutes, and cover a full cycle of the noise, such as one complete machine run.
- Write down the details. Note the LAeq, the maximum, the time, the location and the distance from the source.
- Check calibration again. Repeat the 94 dB check at the end; a drift of more than about 1 dB means you should repeat the session.
How to Calibrate Before You Measure Sound Volume
A sound level calibrator is a small device that plays a steady 1 kHz tone at a known level, usually 94 dB (about 1 Pa) and often 114 dB as well. You slide it over the microphone, switch it on, and compare the display with the stated level.
First, match the calibrator to your microphone size, typically 1/2 inch. Next, let the meter warm up for a minute and select the range that includes 94 dB. Then fit the calibrator snugly, because a loose seal lets the tone leak and lowers the reading. Finally, adjust the meter if it has a calibration control, or simply write down the offset and correct your readings by hand.
However, calibrator checks confirm the meter at only one frequency and one level. Therefore, professional meters also go back to an accredited lab periodically, often once a year or as the maker recommends, for a full check across frequencies.
Using the NIOSH SLM App and Other Phone Apps
The National Institute for Occupational Safety and Health (NIOSH) built a free Sound Level Meter app for iPhone and iPad. It shows A, C and Z weighting, LAeq, maximum and peak levels, and a noise dose based on the NIOSH limit. According to NIOSH, the app reads within about 2 dB(A) in its test chamber, and it can meet Type 2 requirements when you pair it with a calibrated external microphone.
So why only iOS? NIOSH says it cannot verify Android devices, because so many makers use different microphones and audio hardware. In its earlier app study, NIOSH also found that only a few of the apps it tested landed within 2 dB of a reference meter, and the iOS apps did better overall. You can read the summary on the NIOSH Science Blog.
When you measure sound volume with any app, first remove thick phone cases that cover the microphone. Also, point the bottom edge of the phone, where the main microphone usually sits, toward the source. Then keep your hand and body out of the sound path, and repeat each reading a few times.
Meter Settings: Fast, Slow, LAeq and Peak
Besides the weighting, you also need a time setting to measure sound volume well. Sound changes from moment to moment, so the meter smooths it before it shows a value. In addition, better meters can store an average or the single highest pressure spike.
| Setting | What it shows | Good for |
|---|---|---|
| Fast (F) | Level smoothed over 0.125 s | Changing sounds, music, traffic pass-bys |
| Slow (S) | Level smoothed over 1 s | Steady noise and OSHA-style workplace readings |
| LAeq | Energy average over the whole recording | Comparing with exposure limits and noise rules |
| Max (LAFmax or LASmax) | Highest smoothed level during the recording | Spotting the loudest moment |
| Peak (LCpeak) | Highest instant pressure, usually C-weighted | Impacts, slamming, impulse noise |
Therefore, most noise questions call for LAeq. A glance at a jumping display, by contrast, tells you little, because the eye picks the highest digit it sees.
Reading Your Results Against Noise Limits
Once you have an average, you also need something to compare it with. NIOSH recommends a limit of 85 dB(A) averaged over an eight-hour day, and it uses a 3 dB exchange rate. That means every 3 dB increase halves the safe time. OSHA, meanwhile, sets a legal limit of 90 dB(A) for eight hours with a 5 dB exchange rate, plus an 85 dB(A) action level that triggers a hearing conservation program.
| Average level | NIOSH recommended time | OSHA permitted time |
|---|---|---|
| 85 dB(A) | 8 hours | Above the action level; 8 hours is under the limit |
| 88 dB(A) | 4 hours | Under the limit for 8 hours |
| 91 dB(A) | 2 hours | About 7 hours |
| 94 dB(A) | 1 hour | About 4.6 hours |
| 100 dB(A) | 15 minutes | 2 hours |
| 105 dB(A) | About 5 minutes | 1 hour |
| 110 dB(A) | About 1.5 minutes | 30 minutes |
These times come from the exchange-rate formulas, so treat them as guides rather than guarantees. Local noise ordinances, on the other hand, often set lower limits at a property line, and they may specify the weighting and averaging time. Check your city code before you rely on a reading in a dispute.
Do and Don’t When You Measure Sound Volume
Do
- Use A-weighting for hearing and rule checks.
- Log an LAeq over several minutes.
- Hold the microphone at ear height, away from walls.
- Check the meter with a calibrator before and after.
- Note distance, time and location with each reading.
Don’t
- Trust one glance at a jumping display.
- Cover the phone microphone with a case or finger.
- Measure from a quiet corner when people sit elsewhere.
- Mix dB(A) and dB(C) readings in one comparison.
- Skip hearing protection while you survey loud noise.
Honest Limits of Home Decibel Readings
Even when you measure sound volume with a good meter, the number describes only one spot at one time. For example, move a meter a short distance in a room with hard walls, and the reading can shift by a few decibels, because reflections add and cancel. Likewise, distance matters a lot outdoors. In open air, doubling your distance from a small source lowers the level by about 6 dB.
Wind is also a trap. Air rushing over the microphone creates its own noise, so outdoor readings need a foam windscreen. In addition, background noise inflates quiet readings. If the background sits within about 10 dB of the source, your number includes both. Finally, a phone app without calibration gives an estimate, not evidence. It is fine for learning, but it will not settle a legal dispute.
When to Call a Professional
Some situations need more than a quick attempt to measure sound volume yourself. For example, call an industrial hygienist or acoustical consultant when workers may be over the action level, when you need a report for a landlord, court or city, or when you plan soundproofing work. Likewise, see an audiologist if you notice ringing in your ears, muffled hearing after noise, or trouble following conversations.
Besides, professionals bring lab-calibrated Class 1 equipment, dosimeters, and the know-how to sample the right places and times. As a result, their numbers hold up when someone challenges them.
Frequently Asked Questions
What is the easiest way to measure sound volume?
The easiest way is a phone app such as the NIOSH SLM app on iPhone, set to dB(A) with LAeq. For more trustworthy numbers, use a Class 2 sound level meter and check it with a calibrator.
Can I measure sound volume with my phone?
Yes, for estimates. NIOSH found that the best iOS apps read within about 2 dB(A) of a reference meter. Android results vary more, and an external calibrated microphone improves any phone.
Is the NIOSH sound level meter app free?
Yes. NIOSH offers the app free for iPhone and iPad. It shows A, C and Z weighting, LAeq, peak levels and noise dose.
Should I use dB(A) or dB(C) to measure sound volume?
Use dB(A) for hearing risk and most noise rules. Use dB(C) for peak levels and bass-heavy sound, because C-weighting keeps more low frequencies.
How long should I record to measure sound volume properly?
Record at least a few minutes, and cover a full cycle of the noise. Then use the LAeq average rather than a single reading from the display.
Where should I hold the meter?
Hold it at ear height where people actually listen or work, at arm’s length from your body and away from walls. Point it toward the main source.
How do I calibrate a sound level meter?
Slide a sound level calibrator over the microphone, play its 94 dB tone, and adjust the meter or note the offset. Repeat the check after you finish.
What decibel level is harmful?
NIOSH recommends keeping average exposure at or below 85 dB(A) over eight hours. Every 3 dB above that halves the recommended time.
Why do two apps show different readings?
Phones use different microphones and processing, and apps use different weighting and averaging. Calibrate each app against a trusted meter, or treat the numbers as rough estimates.
Can I measure sound volume for a noise complaint?
You can record readings to support a complaint, but city codes often specify the meter class, weighting and location. A calibrated meter or a professional survey carries more weight.
Bottom Line: Measure Sound Volume the Right Way
To sum up, a reliable decibel number needs three things: the right weighting, enough averaging time, and a calibration check. So set dB(A), log the LAeq at ear height, and compare the result with the 85 dB(A) NIOSH guide. A phone app gives a useful first estimate, while a calibrated meter gives you numbers you can defend.
Next, if you want to understand why some sounds seem louder than others, our guide to what determines the volume of a sound explains amplitude, distance and pitch. And when a reading lands above 85 dB(A), protect your ears first and measure second.
Buying for a workshop, lab or kitchen? Save with Amazon Business
2 thoughts on “How to Measure Sound Volume: Sound Level Meters, Phone Apps, dB(A) and Calibration”