

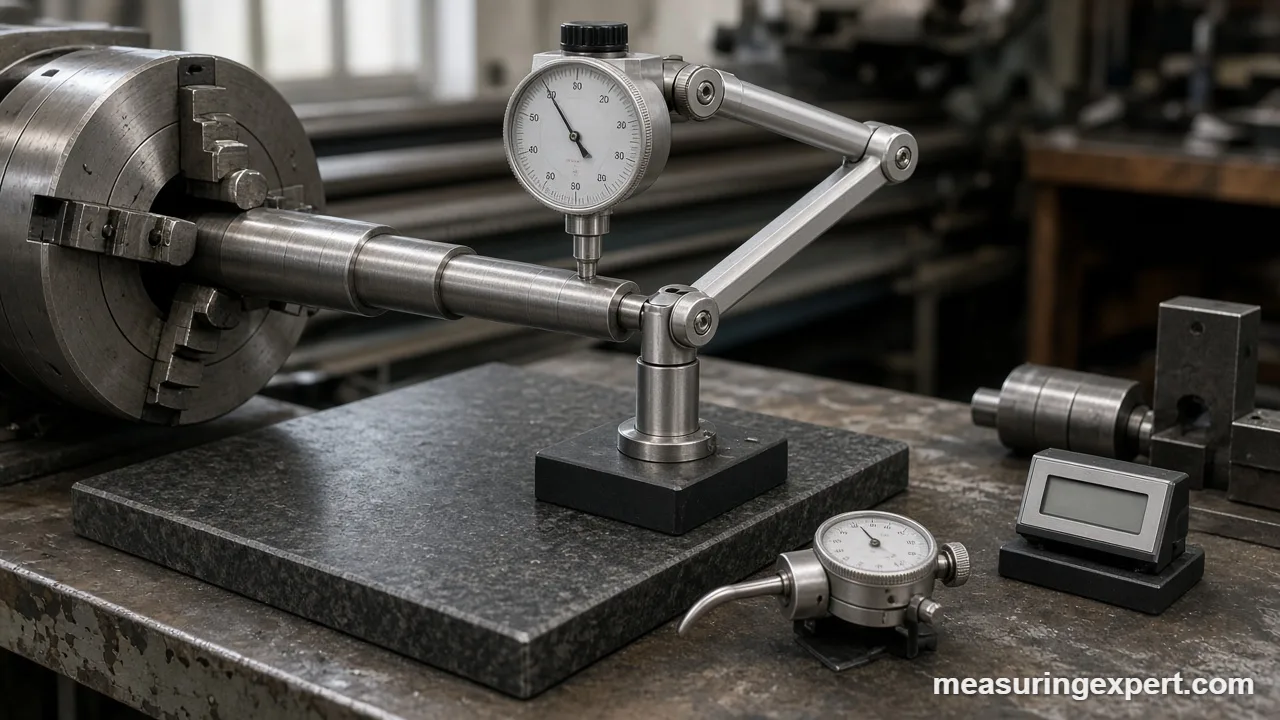
The best dial indicator for most shop work is the Starrett 25 Series 1 in model, because it reads .001 in over a full inch and fits standard AGD holders. However, the right pick depends on the job: a plunger indicator for travel and runout, or a lever test indicator for bores and tramming.
In short: buy the Starrett 25 Series for a lifetime tool, the Mitutoyo 513-402-10E for tramming, and the Clockwise Tools kit if you are on a budget.
As an Amazon Associate, Measuring Expert earns from qualifying purchases. Our picks are based on research, specifications and owner feedback, not paid placement.
Best Overall

Best Budget
Best Pro Test Indicator
Quick Answer: Which Indicator Fits Your Job?
- General machining and runout: Starrett 25 Series, 0-1 in.
- Brand-name quality for less: Fowler 52-520-110 ADG.
- Tramming a mill or sweeping a bore: Mitutoyo 513-402-10E test indicator.
- First kit for a garage or woodshop: Clockwise Tools DIMR-0105.
- Easy digital reading in inch or mm: Neoteck digital indicator set.
- Trying a lever indicator on a budget: Neoteck dial test indicator kit.
On This Page
- Comparison table
- The 7 picks, reviewed
- How we chose
- Indicator types compared
- Specs that matter
- Thousandths to millimeters
- How to measure runout
- Care and calibration
- Do and don’t
- Honest limits
- FAQ
- Bottom line
Best Dial Indicator Comparison Table
| # | Product | Best For | Standout Feature | Amazon |
|---|---|---|---|---|
| 1 | Starrett 25 Series Dial Indicator (0-1 in) | Machinists who want a lifetime tool | AGD Group 2 body, 1 in travel, .001 in graduation | View |
| 2 | Fowler 52-520-110 ADG Dial Indicator | Pro features at a lower cost | Meets AGD Group II and III specs, tolerance marker | View |
| 3 | Mitutoyo 513-402-10E Dial Test Indicator | Tramming, bores and edge finding | Lever design reads .0005 in over .030 in | View |
| 4 | Clockwise Tools DIMR-0105 with Magnetic Base | First indicator for a home shop | 0-1 in dial indicator plus magnetic base in one kit | View |
| 5 | Neoteck Digital Indicator with Magnetic Base | Easy reading and inch/mm switching | Digital display reads 0.0005 in, 176 lb base | View |
| 6 | Neoteck Dial Test Indicator Kit | Low-cost lever indicator for setups | 0.03 in lever indicator with 90 lb base | View |
| 7 | Qnkaa Dial Indicator with Magnetic Base | Occasional DIY checks | 0-1 in dial gauge with fine-adjust long arm | View |
The 7 Best Dial Indicator Picks, Reviewed
Best Overall
1. Starrett 25 Series, 0-1 in
Best for: machinists, toolmakers and serious home-shop owners who want one plunger indicator that fits standard holders and lasts for decades.
Overall, the Starrett 25 Series is the plain, classic drop indicator that most shop work is built around. Starrett lists the 25 Series as its AGD Group 2 line, so the body size, stem and back follow the American Gage Design standard. As a result, it fits the magnetic bases, height gage arms and fixtures you probably already own.
Specifically, this version reads 0 to 1 in (25.4 mm) of travel in .001 in (0.0254 mm) steps. That is the right resolution for runout, flatness and alignment checks on a lathe or mill.
- Range: 0-1 in (25.4 mm)
- Graduation: .001 in (0.0254 mm)
- Body: AGD Group 2 per Starrett’s series listing
- Type: plunger (drop) indicator with a standard stem mount
- Dial: white face, the usual color for inch readings
Pros
- Standard AGD size fits common holders and bases
- One inch of travel covers most setup work
- Made by a long-running American gage maker
- Simple analog dial with no battery to fail
Cons
- Costs several times more than import kits
- No magnetic base in the box
- Not a lever-type test indicator, so it is slow for side-on bore work
Skip it if: you only check a 3D printer bed a few times a year; a kit such as the Clockwise Tools DIMR-0105 is enough for that.
Best Value Pro
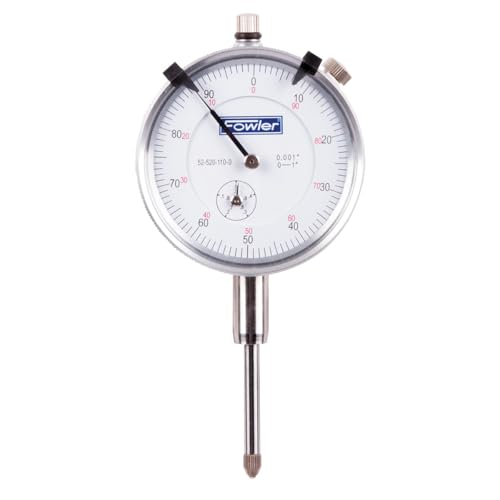
2. Fowler 52-520-110 ADG
Best for: buyers who want a recognized gage brand and standard AGD sizing without paying top-tier prices.
To start, Fowler is a long-established gage supplier, and its ADG line is the company’s mainstream dial indicator. Fowler states that this 1 in model meets AGD Group II and III specifications. So, like the Starrett, it mounts on standard holders and bases.
In addition, Fowler lists a measuring pressure of about 2 oz (57 g) and a tolerance marker on the bezel. For example, set the marker at your upper limit, and you will see at a glance when a part drifts past it.
- Range: 0-1 in (25.4 mm)
- Standard: meets AGD Group II and III specs (per Fowler)
- Measuring pressure: about 2 oz (57 g) per Fowler
- Bezel: adjustable tolerance marker
- Metric versions available in the same line
Pros
- Recognized gage brand at a mid-range cost
- Light measuring pressure suits thin or soft parts
- Tolerance marker speeds go/no-go checks
- Standard mounting fits most bases
Cons
- No base or case in the box
- Fowler does not state a numeric accuracy on the product page
- Plain finish feels less refined than Starrett
Skip it if: you need readings finer than one thousandth; in that case, look at a .0005 in or .0001 in test indicator instead.
Best Test Indicator
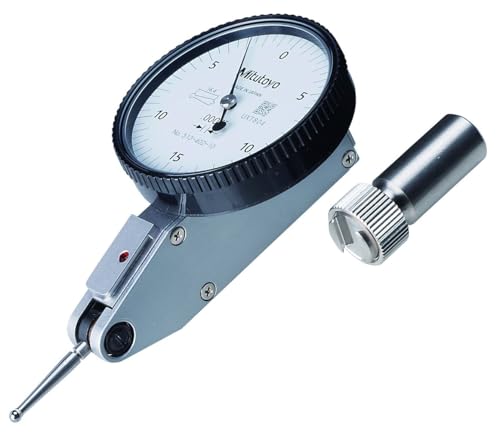
3. Mitutoyo 513-402-10E Test Indicator
Best for: machinists who tram a mill head, sweep a bore, or center work in a four-jaw chuck.
First, note that a dial test indicator (DTI) is a different tool from a plunger indicator. Instead of a stem that slides straight in, it has a small lever that swings in an arc. Because of that, it can reach inside bores and touch the side of a part where a plunger indicator cannot fit.
Next, the Mitutoyo 513-402-10E is the basic set of Mitutoyo’s 513 series. According to its listing, it reads a .030 in (0.76 mm) range with .0005 in (0.0127 mm) graduations and an accuracy of .0002 in (0.005 mm). That short range is normal for a DTI. However, it is the right tool when you want to zero a spindle on a hole or square a vise to the table.
- Type: lever-style dial test indicator
- Range: .030 in (0.76 mm)
- Graduation: .0005 in (0.0127 mm)
- Accuracy: .0002 in (0.005 mm) per the listing
- Set: basic (BAS) kit with a white inch dial
Pros
- Reaches into bores and along vertical faces
- Fine graduation for tramming and centering
- Mitutoyo build quality and wide parts support
- Compact body fits tight setups
Cons
- Very short range, so it cannot measure large travel
- Readings suffer from cosine error if the lever angle is wrong
- No holder or magnetic base included
Skip it if: you need to measure how far something moves (for example, end play over 0.1 in); use a 1 in plunger indicator for that.
Best Budget Kit
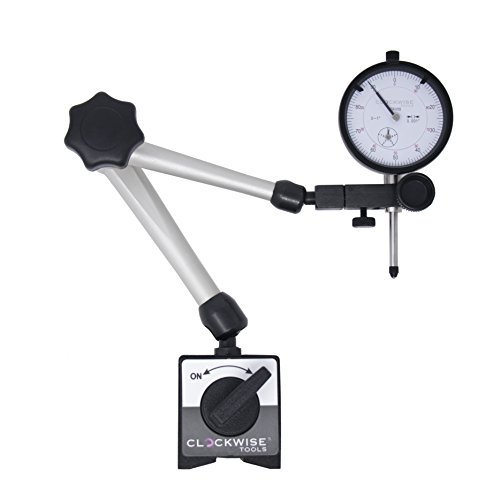
4. Clockwise Tools DIMR-0105 with Magnetic Base
Best for: hobbyists, mechanics and 3D printer owners who want a complete, ready-to-use kit on a tight budget.
Clockwise Tools is, above all, a well-known budget brand for calipers and indicators. This kit pairs its DICR 1 in dial indicator with a magnetic base and an adjustable arm. In short, you get everything you need to start measuring runout on a brake rotor, a table saw blade or a lathe chuck.
Clockwise lists the DICR indicator at 0 to 1 in of travel with .001 in resolution. So the dial reads like the pro models above. On the other hand, a budget kit will not have the same gear smoothness, and the base arm may flex more under load. Therefore, tighten every joint firmly, and check your zero again after each setup.
- Indicator range: 0-1 in (25.4 mm)
- Resolution: .001 in (0.0254 mm) per Clockwise
- Mount: switchable magnetic base with an adjustable arm
- Use: rotor runout, saw blade checks, printer beds
Pros
- Complete kit at a low entry cost
- Standard 1 in range and .001 in dial
- Magnetic base with on/off switch
- Good fit for car and woodshop jobs
Cons
- Arm flexes more than a pro-grade holder
- Gear movement is less smooth than Starrett or Fowler
- Fit and finish vary from unit to unit
Skip it if: you work to tenths (.0001 in) or need certified accuracy for inspection work.
Best Digital
5. Neoteck Digital Indicator with Magnetic Base

Best for: beginners and 3D printer users who find an analog dial hard to read and want instant inch/metric switching.
Of course, not everyone wants to count dial marks. This Neoteck set swaps the dial for an LCD, and it ships with a magnetic base and a case. According to the listing, it covers 0 to 1 in (25.4 mm) with 0.0005 in (0.01 mm) resolution, and the base is rated at 176 lb (80 kg) of holding force.
Besides that, a digital display lets you zero anywhere and switch between inch and millimeter at the push of a button. However, finer display resolution does not mean better accuracy. In fact, Starrett notes that a digital and a mechanical indicator can have the same accuracy when you compare them by graduation and range.
- Range: 0-1 in (25.4 mm)
- Resolution: 0.0005 in (0.01 mm)
- Units: inch and metric switching
- Base: magnetic, rated 176 lb (80 kg) on the listing
- Includes a storage case
Pros
- No dial counting, so beginners read it quickly
- Zero anywhere and switch units instantly
- Strong magnetic base in the kit
- Case keeps parts together
Cons
- Needs a battery
- LCD is harder to read when the needle would show a trend
- Not a recognized metrology brand
Skip it if: you watch for a trend while you turn a part; a needle sweep is easier to follow than changing digits.
Best Budget DTI
6. Neoteck Test Indicator Kit

Best for: home machinists who want to try tramming and edge work before they pay for a Mitutoyo test indicator.
Similarly, this Neoteck kit puts a lever-type test indicator together with a magnetic base and a case. Its listing gives a .030 in (0.76 mm) range, .0005 in (0.0127 mm) graduations and a 90 lb (40 kg) base. In other words, on paper it matches the Mitutoyo 513-402-10E for range and graduation.
Still, the difference is in consistency. A budget DTI can have more friction in the lever pivot, so the needle may not return to exactly the same spot. For that reason, sweep each surface twice and compare the readings.
- Type: lever-style dial test indicator
- Range: .030 in (0.76 mm)
- Graduation: .0005 in (0.0127 mm)
- Base: magnetic, rated 90 lb (40 kg) on the listing
- Includes a storage case
Pros
- Full DTI kit with base for a low cost
- Same range and graduation as the Mitutoyo basic set
- Good for learning to tram a mill
- Case keeps the stylus safe
Cons
- Repeatability is less consistent than a premium DTI
- Base arm can flex on long reaches
- Limited spare parts support
Skip it if: you tram or center parts every day; the Mitutoyo will pay off in consistency.
Best for Occasional Use
7. Qnkaa Indicator With Magnetic Base
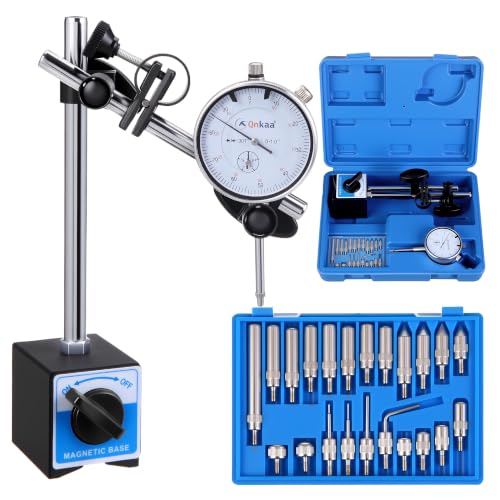
Best for: DIY users who need an indicator now and then for a table saw, a drill press or a car part.
Likewise, the Qnkaa kit is a simple 1 in dial indicator on a magnetic base with a long, fine-adjust arm. Its listing gives a 0 to 1 in range with .001 in graduations. Also, the long arm is useful, because it lets you reach over a saw table or into an engine bay from one base position.
Like the Clockwise kit, this is not a precision inspection tool. Instead, think of it as a way to find a problem, such as a wobbling blade or a bent rotor.
- Range: 0-1 in (25.4 mm)
- Graduation: .001 in (0.0254 mm)
- Mount: magnetic base with a long fine-adjust arm
- Use: saw blades, drill presses, rotors
Pros
- Long arm reaches over tables and into bays
- Fine adjust helps you set a light preload
- Low cost for a full kit
Cons
- Less known brand with little support
- Long arm flexes if you push on it
- Accuracy is not stated
Skip it if: you plan to use it weekly; spend a little more on the Clockwise kit or a Fowler indicator.
How We Chose the Best Dial Indicator Picks
To be clear, we did not test these indicators in a lab. Instead, this list is research-based. First, we looked at the indicators a buyer can actually find on Amazon, and we favored established gage makers such as Starrett, Mitutoyo and Fowler. Next, we checked each spec against the maker’s own page or the product listing, and we left out any figure we could not confirm.
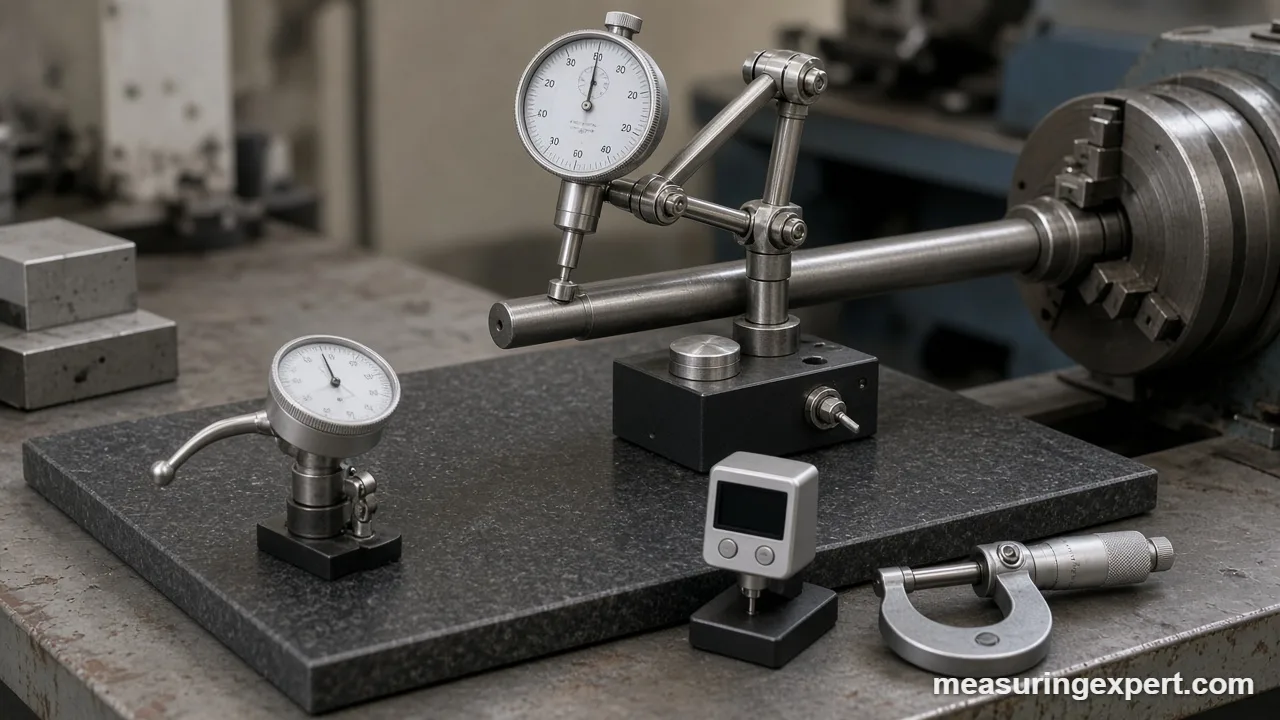
We also looked for more Mitutoyo and Starrett models. However, many of those listings were not available when we checked. Finally, we added budget kits, because many readers only need a tool for a car, a saw or a 3D printer.
- Graduation and range: .001 in over 1 in for plunger models, .0005 in for test indicators.
- Standard mounting: an AGD body and stem that fit common holders.
- Published specs: a stated range, graduation and, where given, accuracy.
- Kit contents: a magnetic base and case for buyers who start from zero.
- Support: a maker that sells parts, manuals and calibration.
For background, we used Starrett’s guide The World of Indicators, the Fowler indicator catalog pages and the NIST conversion factor table, which lists the international foot as exactly 0.3048 m (so one inch is exactly 25.4 mm).
Plunger, Lever or Digital: Indicator Types Compared
To begin with, “dial indicator” covers three tool families. Moreover, each one answers a different question, so pick the type first and the brand second.
| Type | How it moves | Typical range | Best jobs |
|---|---|---|---|
| Plunger (drop) dial indicator | Stem slides straight in and out | 0.25 to 1 in common; long-range models go further | Runout, end play, height, flatness |
| Dial test indicator (DTI) | Lever swings in a small arc | About .008 to .060 in | Tramming, bores, edge finding, centering |
| Digital (electronic) indicator | Stem slides straight; encoder reads it | 0.5 to 1 in common, up to 4 in or more | Easy reading, unit switching, data output |
In practice, most home shops start with a 1 in plunger indicator on a magnetic base. Later, they add a test indicator for setup work on a mill or lathe.
What to Look for in the Best Dial Indicator
Graduation: First, this is the value of one mark on the dial. For example, .001 in equals 0.0254 mm, and .0005 in equals 0.0127 mm. However, a finer graduation helps only if the rest of the setup is just as solid.
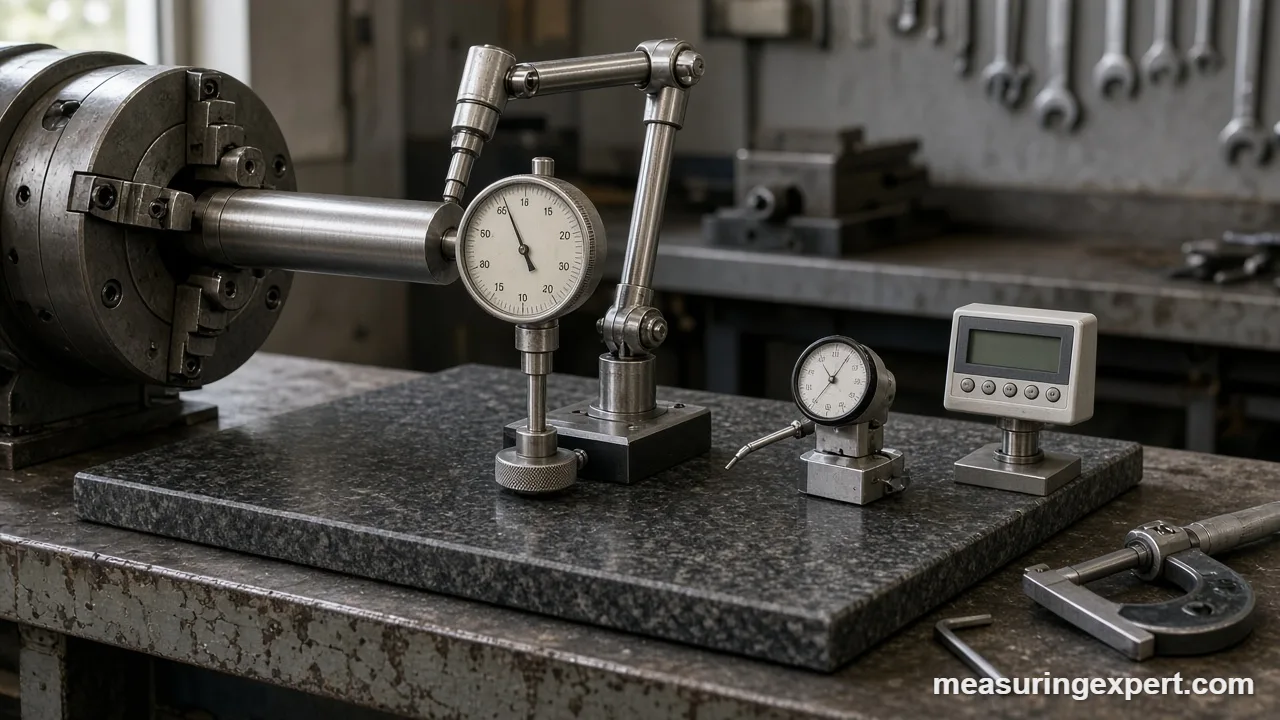
Range: Second, this is the total travel of the plunger or lever. A 1 in (25.4 mm) plunger indicator covers most jobs. By contrast, a test indicator often reads only .030 in (0.76 mm), which is fine because it compares, rather than measures long distances.
Accuracy: Third, accuracy is how close the reading is to the true value. It is not the same as graduation. For instance, a .001 in dial can still be off by more than one mark over its full range. Starrett notes that gear-train error can grow over longer ranges, so check the maker’s figure if your work needs it.
Dial style: A balanced dial reads plus and minus from zero, such as 0-50-0. In contrast, a continuous dial reads 0 to 100 around the face. In general, balanced dials suit plus/minus checks, and continuous dials suit total travel.
Revolution counter: Here, a small inner hand counts full turns of the main needle. Without it, it is easy to lose a whole turn, which is .100 in on most 1 in indicators.
Mounting the Best Dial Indicator
Mounting: Inch indicators built to AGD standards use a 3/8 in stem and a lug back. Meanwhile, metric models often use an 8 mm stem. So match the indicator to your holder, or buy an adapter.
Magnetic base: Similarly, a switchable magnet holds the tool on steel. However, the base only reaches full force on thick steel. Clockwise Tools, for example, notes that its standalone magnetic base needs steel about 30 mm (1.2 in) thick for its full rated pull.
For more on the wider family of length tools, see our guide to tools to measure length, and our overview of length units.
Convert Thousandths to Millimeters
Dial readings often come in thousandths of an inch (mils or thou), while drawings and printer settings may use millimeters. So use this converter to switch between them. Note that one thousandth is 0.0254 mm exactly, because the inch is defined as 25.4 mm.
How to Measure Runout With the Best Dial Indicator
In simple terms, runout is the wobble of a turning part, such as a lathe chuck, a brake rotor or a saw blade. Below is a simple method that works with any plunger indicator. For more general methods, see our guide on how to measure length.
- Clean everything. Wipe the part, the contact point and the base surface, because a chip under the base can add several thousandths of error.
- Mount the base solidly. Switch the magnetic base on over thick, flat steel, and keep the arm as short as the job allows.
- Set the plunger square. Point the plunger straight at the surface, at 90 degrees to it, so the reading equals the real movement.
- Preload the indicator. Push the plunger in about a quarter of its travel, or one or two turns of the needle, so it can read both high and low spots.
- Zero the dial. Turn the bezel until the needle sits on zero, then lock the bezel if it has a lock.
- Turn the part slowly. Rotate the part one full turn and watch for the highest and lowest needle positions.
- Record the total reading. Add the plus and minus swings to get the total indicator reading (TIR), then repeat once to confirm.
For example, if the needle swings from -.002 in to +.001 in, the total indicator reading is .003 in (0.076 mm). Then compare that number with the spec for the part.
Cosine Error on a Test Indicator
A lever indicator reads true only when its stylus is close to parallel with the surface. So if you tilt it, the dial shows less than the real movement. Starrett’s guide flags this cosine error as something to watch during setup.
| Lever angle to surface | Correction factor | A real .010 in reads about |
|---|---|---|
| 0 degrees | 1.000 | .0100 in |
| 10 degrees | 0.985 | .0098 in |
| 20 degrees | 0.940 | .0094 in |
| 30 degrees | 0.866 | .0087 in |
In short, keep the lever within about 10 degrees of the surface. If you cannot, multiply the reading by the cosine of the angle to get closer to the true value.
Keeping the Best Dial Indicator Accurate
A dial indicator is a small gear train, so treat it gently. First, never drop it or let the plunger snap back from full travel. Also, keep the stem clean and dry, and do not oil it, because oil collects grit. Instead, wipe it with a clean, lint-free cloth.
Next, check it now and then against something you trust. For example, a set of gage blocks on a surface plate is the usual home method. If the reading drifts or the needle sticks, send it to a calibration lab, or replace a budget model. As a rule, many shops recalibrate their indicators once a year.
Do and Don’t at the Bench
Honest Limits of These Picks
We could not open every maker’s spec sheet. So where a figure comes from the product listing, we say so in the review. In addition, budget kits vary from unit to unit. Therefore, treat their readings as a guide, and check any critical value with a better tool.
Best Dial Indicator FAQ
What is the best dial indicator for most people?
For most shop users, the Starrett 25 Series 1 in indicator is the best dial indicator here. Specifically, it has a 1 in range, .001 in graduations and an AGD Group 2 body that fits standard holders. If you want a lower cost, the Fowler 52-520-110 is a strong second choice.
How is a plunger indicator different from a test indicator?
A dial indicator has a plunger that moves in a straight line, so it measures travel over a long range, often 1 in. In contrast, a dial test indicator has a lever that swings in an arc. It has a short range, often .030 in, and it reaches into bores and along side faces.
How accurate is a .001 in indicator?
Graduation is not the same as accuracy. For example, a .001 in dial shows steps of 0.0254 mm, but the true error depends on the gear train and range. So check the maker’s accuracy figure, and compare against gage blocks if the job matters.
Is a digital readout better than an analog needle?
Not always. On one hand, a digital model is easier to read and switches units. However, a needle is better for spotting the high and low points while you turn a part. Starrett also notes that both types can have the same accuracy for the same graduation and range.
What size dial indicator do I need?
For most jobs, a 1 in (25.4 mm) range with .001 in graduations is the best dial indicator size to start with. Next, choose a .0005 in or .0001 in test indicator if you need finer work in tight spots.
Can I check brake rotor runout at home?
Yes, with a plunger indicator. First, mount the base on a solid steel part of the suspension. Then put the plunger square to the rotor face near its outer edge, preload it, and turn the rotor one full revolution. The total needle swing is the runout.
How do I check my indicator for accuracy?
The simplest home check uses gage blocks. First, zero the indicator on a flat surface plate, then slide a block of known size under the plunger. After that, the reading should match the block within the stated accuracy. For certified results, send it to a calibration lab.
Why does my test indicator read low?
Usually the cause is cosine error. If the lever is not parallel to the surface, the reading is too small. For example, at a 30 degree angle the dial shows only about 87% of the real movement.
Do I need a magnetic base?
In most cases, yes. After all, a magnetic base holds the indicator on any steel surface. However, the base needs thick steel for full holding force, and it will not stick to aluminum, wood or plastic.
Which best dial indicator is good for 3D printer bed leveling?
A low-cost kit such as the Clockwise Tools DIMR-0105 or the Neoteck digital set is enough for printer beds. In short, you only need to compare corners against each other, so a .001 in or 0.01 mm reading works well.
Bottom Line on the Best Dial Indicator
For most readers, the Starrett 25 Series 0-1 in dial indicator is the best dial indicator to buy. It reads .001 in over a full inch, and its AGD Group 2 body fits the holders you already have. Next, add the Mitutoyo 513-402-10E if you tram a mill or center work in a chuck.
On the other hand, if you only check a saw blade or a printer bed now and then, the Clockwise Tools kit gives you a base and an indicator in one box. Whatever you choose, mount it solidly, set it square and preload it, and it will tell you the truth.