
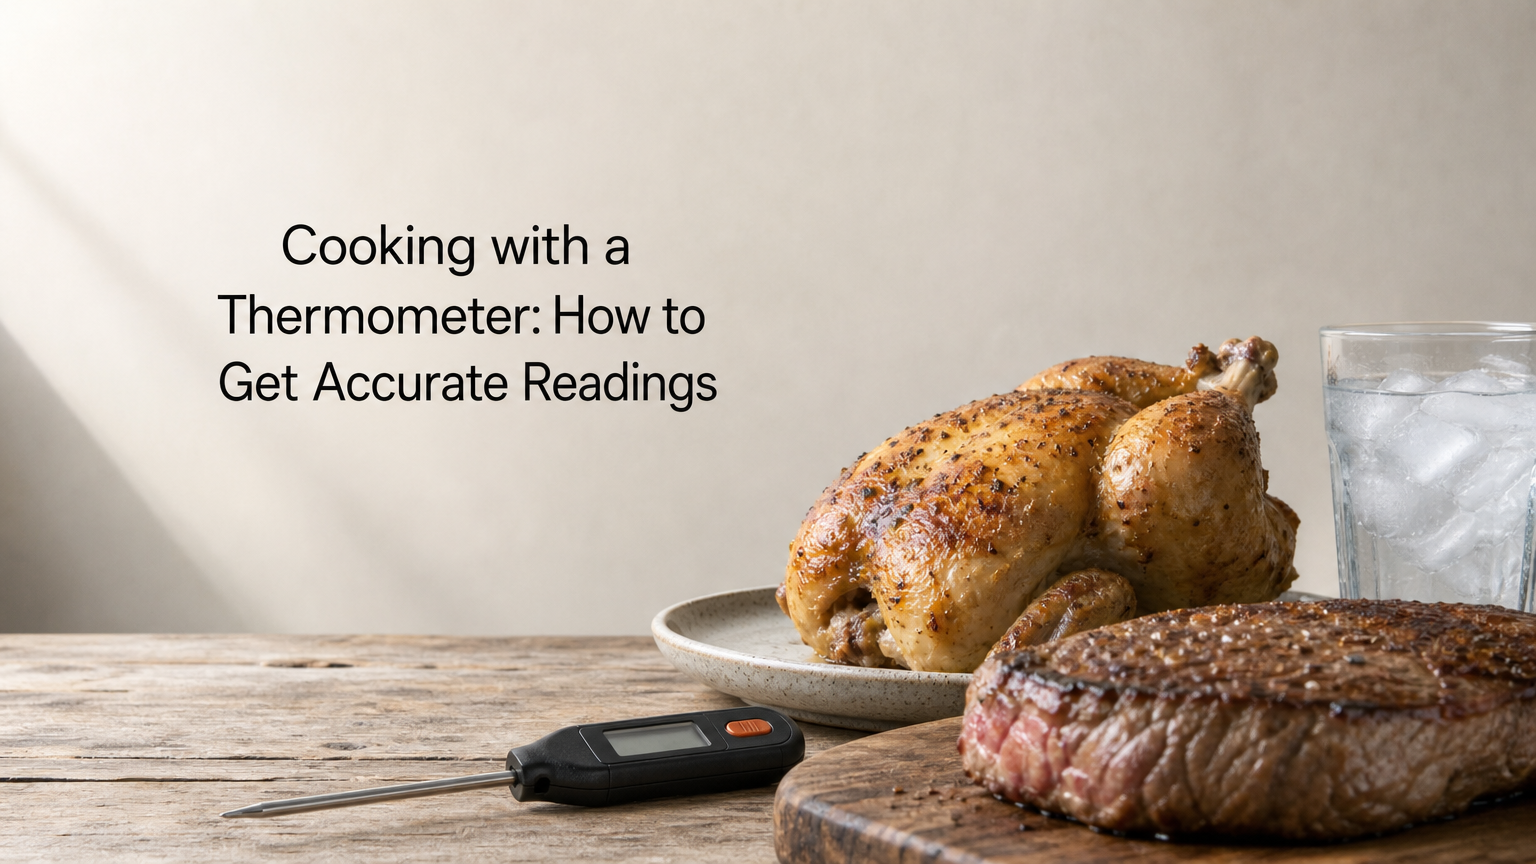
Cooking with a thermometer takes four moves. Check that it reads accurately, push the probe into the center of the thickest part of the food, read it near the end of cooking, and compare the number to a safe internal temperature. For poultry that number is 165°F. For ground meat it is 160°F. For steaks, chops, and roasts it is 145°F, followed by a three-minute rest. Color, juices, and cook time cannot tell you this as reliably.
Most people who say a thermometer "doesn’t work" have a placement or timing problem. The probe touches bone, sits in a thin edge of the meat, or gets read once and never again. A burger can brown before it is safe to eat. A chicken breast can climb past 180°F while you wait for the juices to run clear. The first mistake is a food safety risk, and the second gives you dry meat.
This guide walks through the process in order. You will learn how to pick the right type of thermometer, how to test it, where to insert the probe, when to read it, and which temperatures mean the food is done. We write about measuring tools and their accuracy at Measuring Expert, and a kitchen thermometer is one of the few tools in your drawer that protects your health.
Why a thermometer beats guessing
A thermometer is the only dependable way to know that food reached a safe temperature, and the right model makes it a ten-second job. This section explains why the old methods fail and what to buy.
Color, time, and juices are poor guides
The USDA states that a food thermometer is the only reliable way to confirm that food has reached a safe minimum internal temperature. You can read its food thermometer guidance for the full list. Cook times are only estimates because ovens run hot or cold, and meat goes in at different starting temperatures. Thickness changes everything too.
Color misleads in both directions. Ground beef can brown before it is safe, and some properly cooked pork and poultry still looks pink near the bone.
A number on a thermometer is evidence. Color and cook time are guesses.
Pick the right type of thermometer
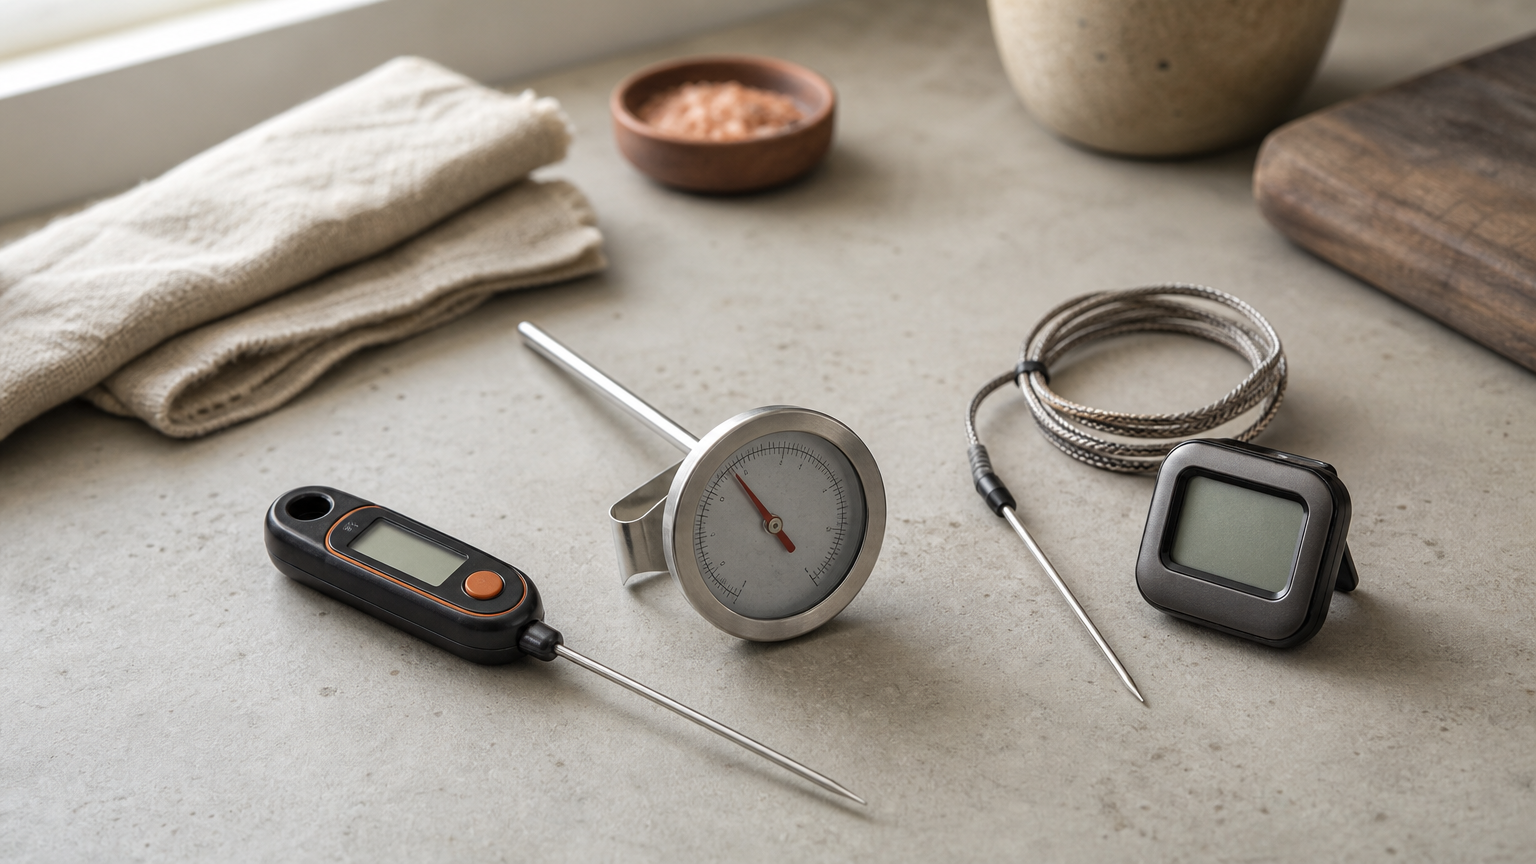
Choose by the job. An instant-read model suits quick checks, while a leave-in probe suits long cooks.
| Type | Best for | Stay in the oven? |
|---|---|---|
| Instant-read digital | Steaks, chops, burgers, chicken pieces | No |
| Dial, oven-safe | Roasts, whole turkey | Yes, if labeled oven-safe |
| Leave-in probe with cable or wireless base | Roasts, smoking, long braises | Yes |
Digital instant-read models usually sense at the tip and settle within seconds. Dial models sense along the lower part of the stem, often about 2 inches, so they need deeper insertion and respond more slowly.
Quick answers to common questions
Can you use a regular thermometer? No. Medical and room thermometers are not built for food, and candy or fry thermometers are slow and awkward in meat. Do you leave the probe in while cooking? Only if it is a leave-in or oven-safe type. Heat can damage an instant-read. Do professionals use them? Yes, because consistency and food safety depend on it.
Step 1. Test your thermometer first
Test the thermometer in ice water before you trust it. A thermometer that is off by 10°F turns a safe chicken into a risky one, and the test takes about two minutes.
Run the ice water test
- Fill a glass to the top with ice, then add cold water.
- Stir for about a minute so the temperature evens out.
- Insert the probe at least 2 inches deep without touching the glass.
- Wait until the number stops changing.
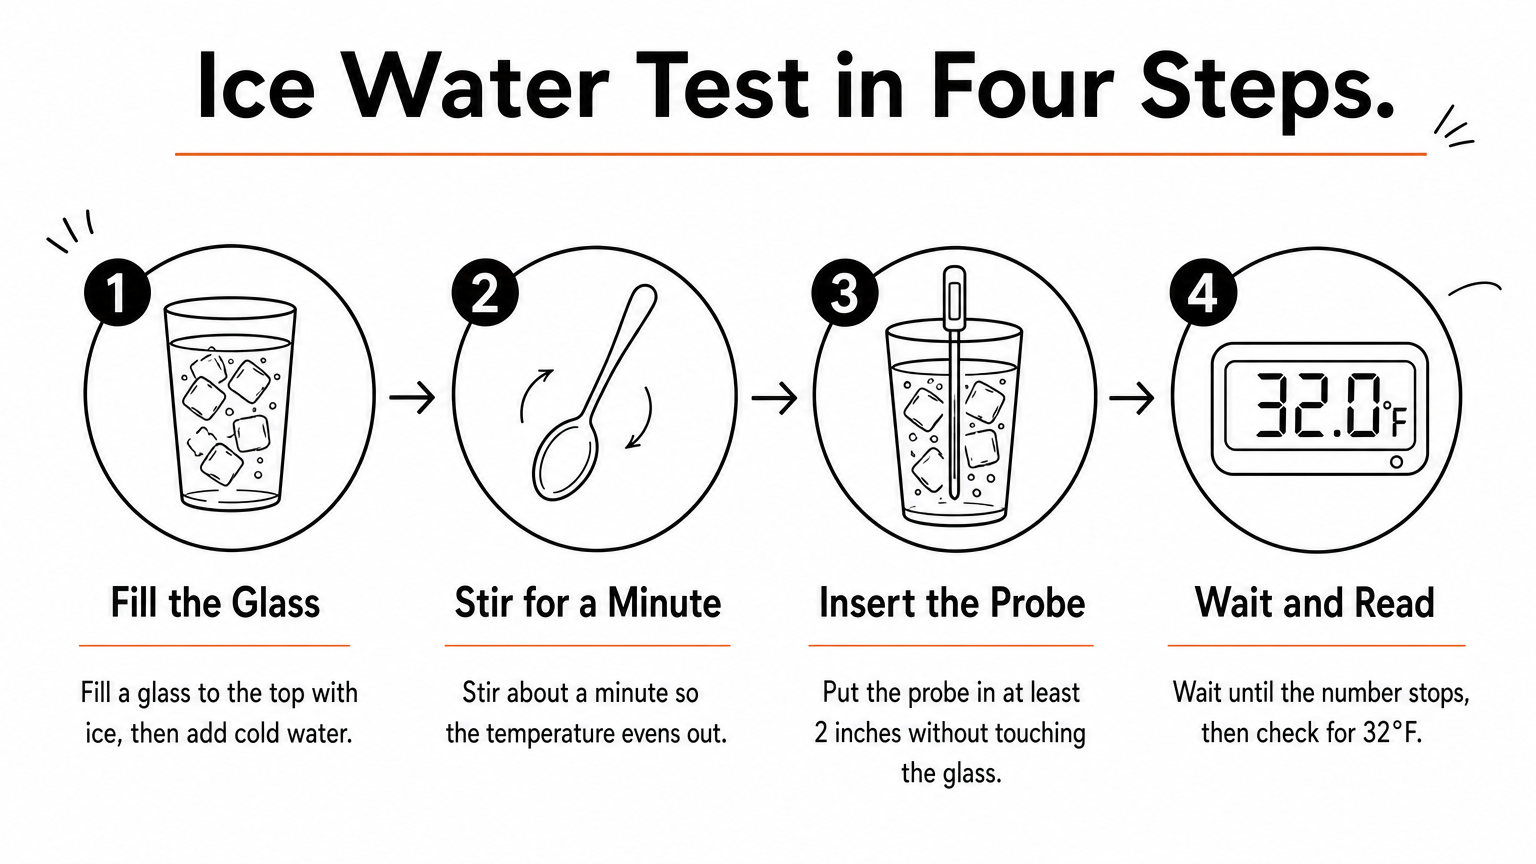
Ice water sits at 32°F (0°C), so a good thermometer reads within about 2°F of that. The boiling point of water is 212°F at sea level but drops as you gain altitude. Ice water is the simpler check for most kitchens.
Fix the error or work around it
Many dial thermometers have a nut under the dial. Hold the probe in ice water and turn the nut until the needle reads 32°F. Some digital models have a reset or calibration button. If yours has neither, note the offset (if it reads 35°F, subtract 3°F from every reading) or replace it.
Test with ice water once every few months, and again after a drop.
Step 2. Insert the probe in the right spot
Put the tip in the center of the thickest part of the food, away from bone, fat, and gristle. The center is the last place to heat, so it is the reading that counts.
Find the thickest part
Bone conducts heat differently from muscle, and fat reads misleadingly. Keep the tip clear of both. In a whole chicken or turkey, check the innermost part of the thigh, near the body but not touching the bone. Then check the thickest part of the breast. If either one is short, keep cooking.
Insert deep enough, and from the side for thin cuts
The sensing area of a thermometer can run from about ½ inch to 2 inches along the probe. If only part of that sits in the meat, the number will be wrong. For thin cuts like burgers and chops, insert from the side so the tip lands in the middle instead of pushing through the top.
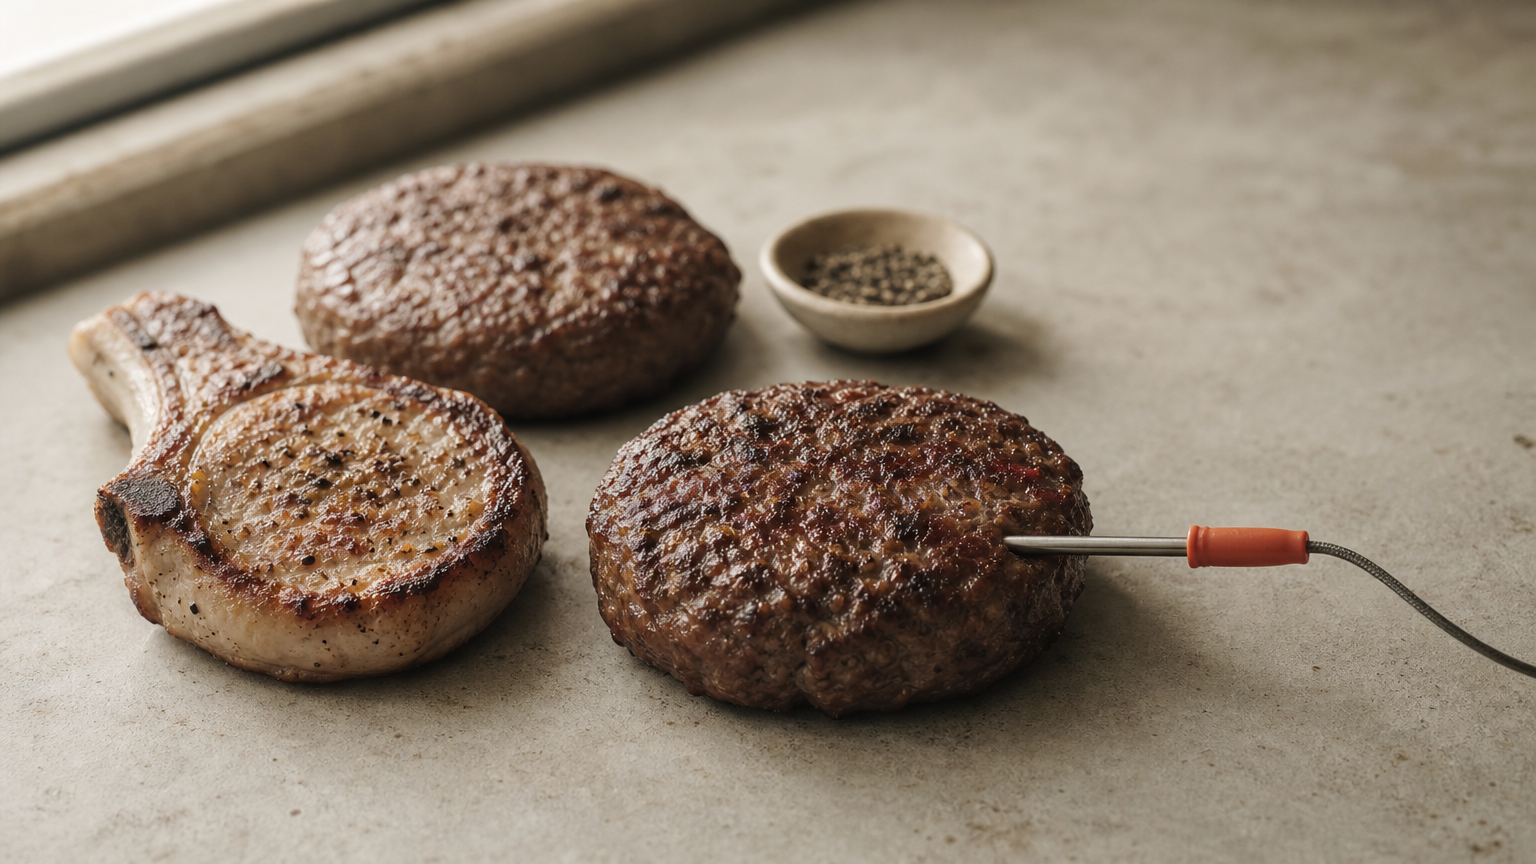
- Steaks and chops: side entry, tip in the center, clear of bone.
- Burgers: side entry into the middle of the patty.
- Roasts: thickest part, tip in the center.
- Whole poultry: inner thigh first, then thickest breast.
- Casseroles and egg dishes: center of the dish, then one more spot.
Wrong placement causes more bad readings than a bad thermometer does.
Step 3. Read it at the right time
Start checking before the food should be done, and read the number once it stops moving. Opening the oven constantly lets heat escape, so check only when you are close.
Time your checks
For an instant-read, insert the probe and wait a few seconds until the number settles, then pull it out. Check steaks and burgers a minute or two before you expect them to be done. Check roasts about 10 to 15 minutes early. Take readings in two or three spots, because the lowest one decides. With a leave-in probe, set the alarm 5 to 10°F below your target and then confirm with a second check.
Allow for carryover cooking
Meat keeps heating after you remove it from the heat. The rise is roughly 5°F for steaks and up to 10°F for large roasts. For whole cuts of beef, pork, lamb, and veal, the USDA minimum is 145°F with a three-minute rest, so let the rest do its work. Never pull poultry or ground meat early, because they must read their full temperature.
Pull the roast a few degrees early, but never poultry or ground meat.
Step 4. Compare the reading to safe temperatures
Compare your reading to the USDA safe minimums below, then clean the probe. The number on the screen means nothing until you match it to the food.
Safe minimum internal temperatures
| Food | Safe minimum |
|---|---|
| Steaks, chops, roasts (beef, pork, veal, lamb) | 145°F, then 3-minute rest |
| Ground beef, pork, veal, lamb | 160°F |
| All poultry, including ground | 165°F |
| Fish | 145°F |
| Egg dishes | 160°F |
| Leftovers and casseroles | 165°F |
Many cooks prefer steak below 145°F. That is a personal risk choice, and ground meat and poultry never get that exception. A bone-in whole chicken works as an example. Insert into the inner thigh and read 165°F, then check the breast and read 165°F. If the thigh reads 158°F, return it to the oven for 10 minutes and check again.
Clean the probe between checks
Wash the probe in hot, soapy water after each reading on raw food. Do not reuse a probe from raw meat on cooked food until it is clean, or you risk cross-contamination. Wipe the stem down after every use, and do not submerge a thermometer unless it is labeled waterproof.
Match the reading to the food, then wash the probe.
Cook with confidence
Cooking with a thermometer comes down to a repeatable routine. Test the probe in ice water, place it in the center of the thickest part, read it a little before you expect the food to be done, and compare the number to the safe minimum. Hit 165°F for poultry, 160°F for ground meat, and 145°F plus a rest for whole cuts, and you have both safety and juicy results.
Once the routine becomes habit, you stop cutting into meat to check it, and you stop overcooking dinner out of caution. If you want more practical help with the other tools in your kitchen, from scales to timers, you can browse the kitchen measurement guides at Measuring Expert.