

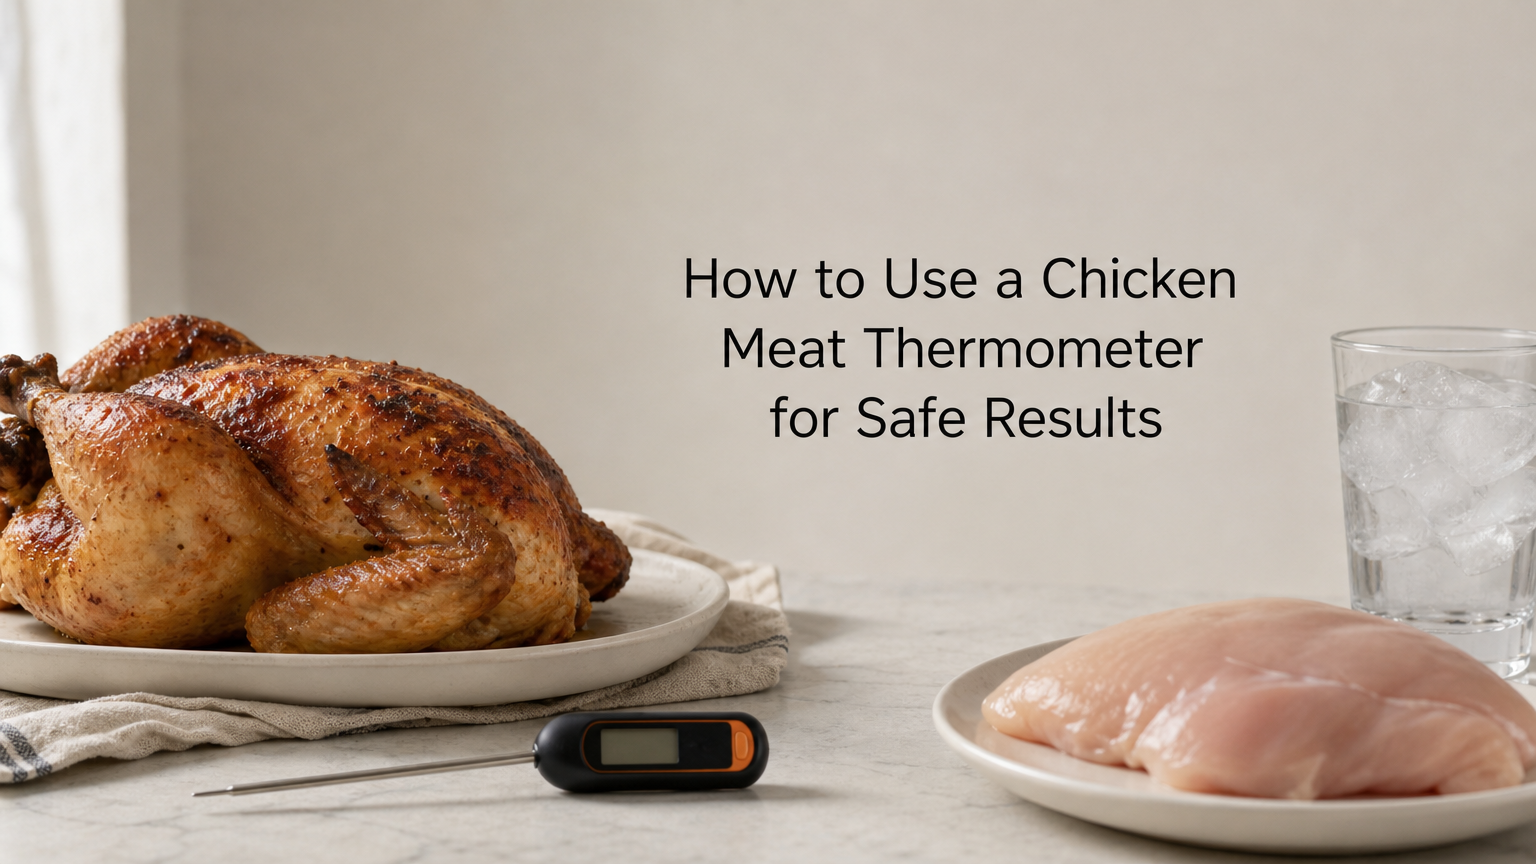
To use a chicken meat thermometer correctly, slide the probe into the thickest part of the meat, keep the tip away from bone, and cook until it reads 165°F (74°C). That is the USDA safe minimum for every cut of chicken. Color, juices, and cooking time do not replace that number.
Chicken punishes guessing in both directions. Cut into it too early and you find pink, undercooked meat. Cook it "to be safe" by eye and you get dry, stringy breasts. A thermometer solves both problems, but only if the tool is accurate and the probe sits in the right spot. A tip that touches bone or sits near a thin edge can mislead you by a wide margin.
This guide covers four steps: choosing a thermometer, testing its accuracy, placing the probe for each cut, and reading the result. First, a short look at why 165°F is the target and how the number applies to breasts, thighs, wings, and whole birds.
Add ad-free music to your kitchen or workshop
Why 165°F is the number to cook chicken to
Cook chicken until the thickest part reads 165°F (74°C). The USDA safe minimum internal temperature chart sets this figure for all poultry, including whole birds, breasts, legs, thighs, wings, ground chicken, and stuffing cooked inside the bird. At that temperature, harmful germs such as Salmonella are killed.
The safe minimum for each cut
Safety does not change by cut, but texture does. Dark meat has more connective tissue, which softens at higher temperatures, so many cooks take thighs and drumsticks past the minimum. Treat the right-hand column below as a taste preference, not a safety rule.
| Cut | Safe minimum | Common preference for texture |
|---|---|---|
| Breast, bone-in or boneless | 165°F (74°C) | 165°F (74°C) |
| Thigh | 165°F (74°C) | 170–175°F (77–79°C) |
| Drumstick | 165°F (74°C) | 170–175°F (77–79°C) |
| Wing | 165°F (74°C) | 165–175°F (74–79°C) |
| Whole bird | 165°F (74°C) in breast and thigh | Same |
| Ground chicken, leftovers | 165°F (74°C) | Same |
You may have heard that chicken is done at 180°F. That is older guidance for whole birds. Today 165°F is the safety standard. Going to 180°F will not make chicken safer, only drier. And 145°F, which is fine for pork chops or fish, is not enough for chicken.
Why color and juices fail
Cooked chicken can stay pink. Pigment from the muscle protein myoglobin, bone marrow in young birds, freezing, and smoking or grilling can all leave a pink tint in meat that is fully done. The reverse also happens: a pale center can still be under 165°F.
So judge by temperature, not by color. If the reading is 165°F or higher at the thickest point, slightly pink meat is safe. If it reads below 165°F, keep cooking, whatever it looks like.
Chicken is done when the thermometer says 165°F, not when it looks done.
Step 1. Pick the right thermometer
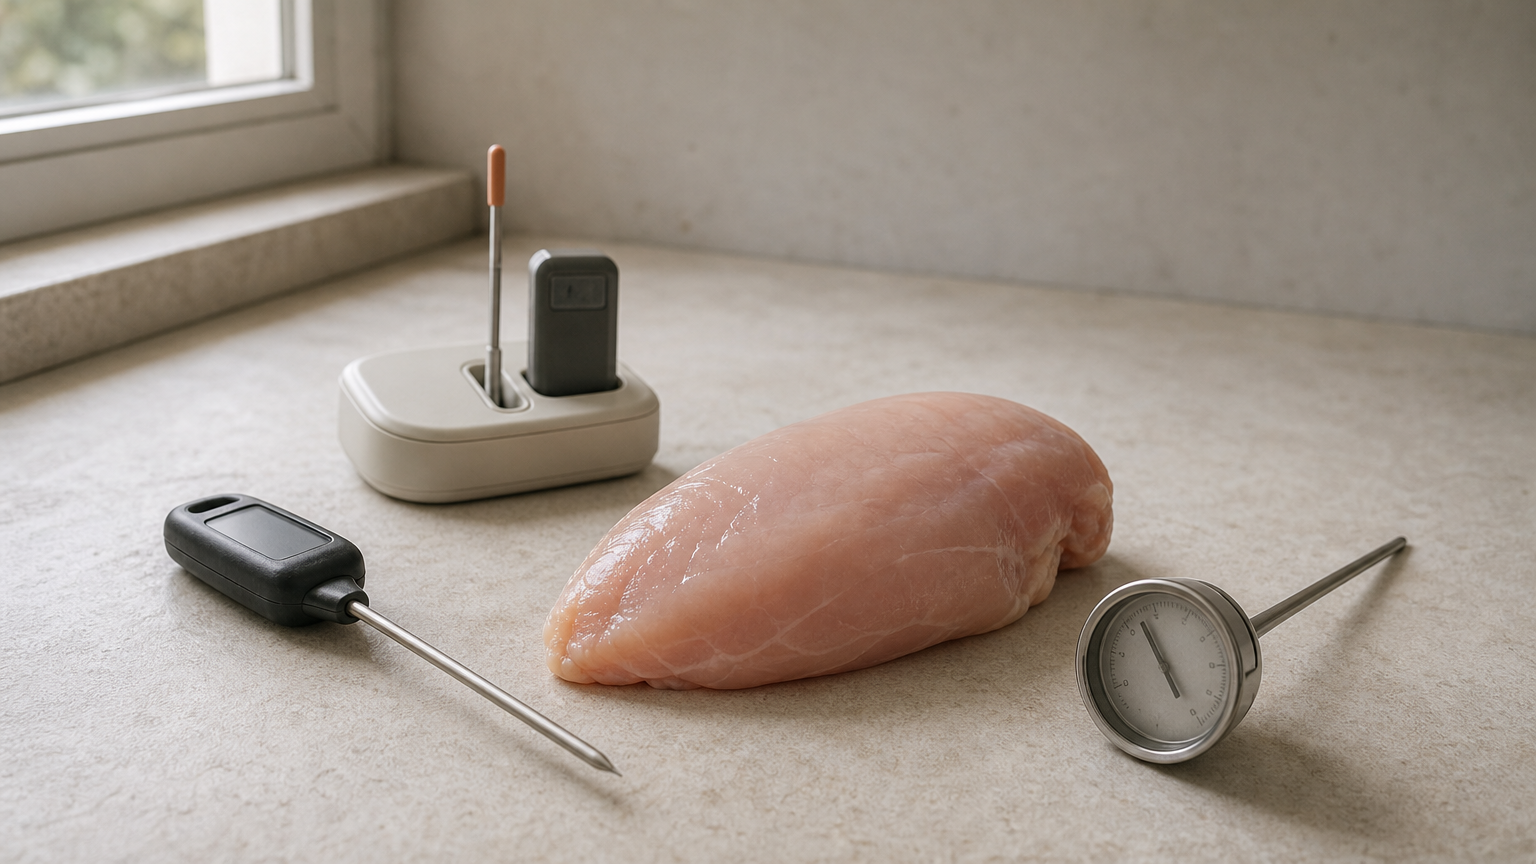
The best meat thermometer for chicken is a digital instant-read model with a thin tip, because chicken breasts and thighs are small targets that need a fast, precise reading. Leave-in probes suit whole birds, and dial models work only for large cuts.
Three types compared
| Type | How it works | Best for | Weak spot |
|---|---|---|---|
| Digital instant-read | Thin probe, reads in seconds, used for spot checks | Breasts, thighs, wings, pan-frying | Not meant to stay in the oven |
| Leave-in probe (wired or wireless) | Probe stays in the meat, alarm sounds at your target | Whole chicken, roasting, grilling | Placement is hard to adjust mid-cook |
| Dial, oven-safe | Stays in the meat, analog face | Whole birds, large roasts | Slow, and its sensing zone covers a long section of the stem |
What to look for in a digital model
If you cook mostly chicken breasts, a digital meat thermometer for chicken breast needs three things: a slim tip that does not leave a big hole, a reading that settles in a few seconds, and a display you can read in poor light. A stated accuracy of about ±2°F or better is a sensible target.
Also check for a Fahrenheit and Celsius switch, since many recipes list only one. A water-resistant body helps too, because you will wash the probe after every raw check.
For thin cuts like breasts and thighs, a fast digital probe beats a dial.
Step 2. Test accuracy before you cook
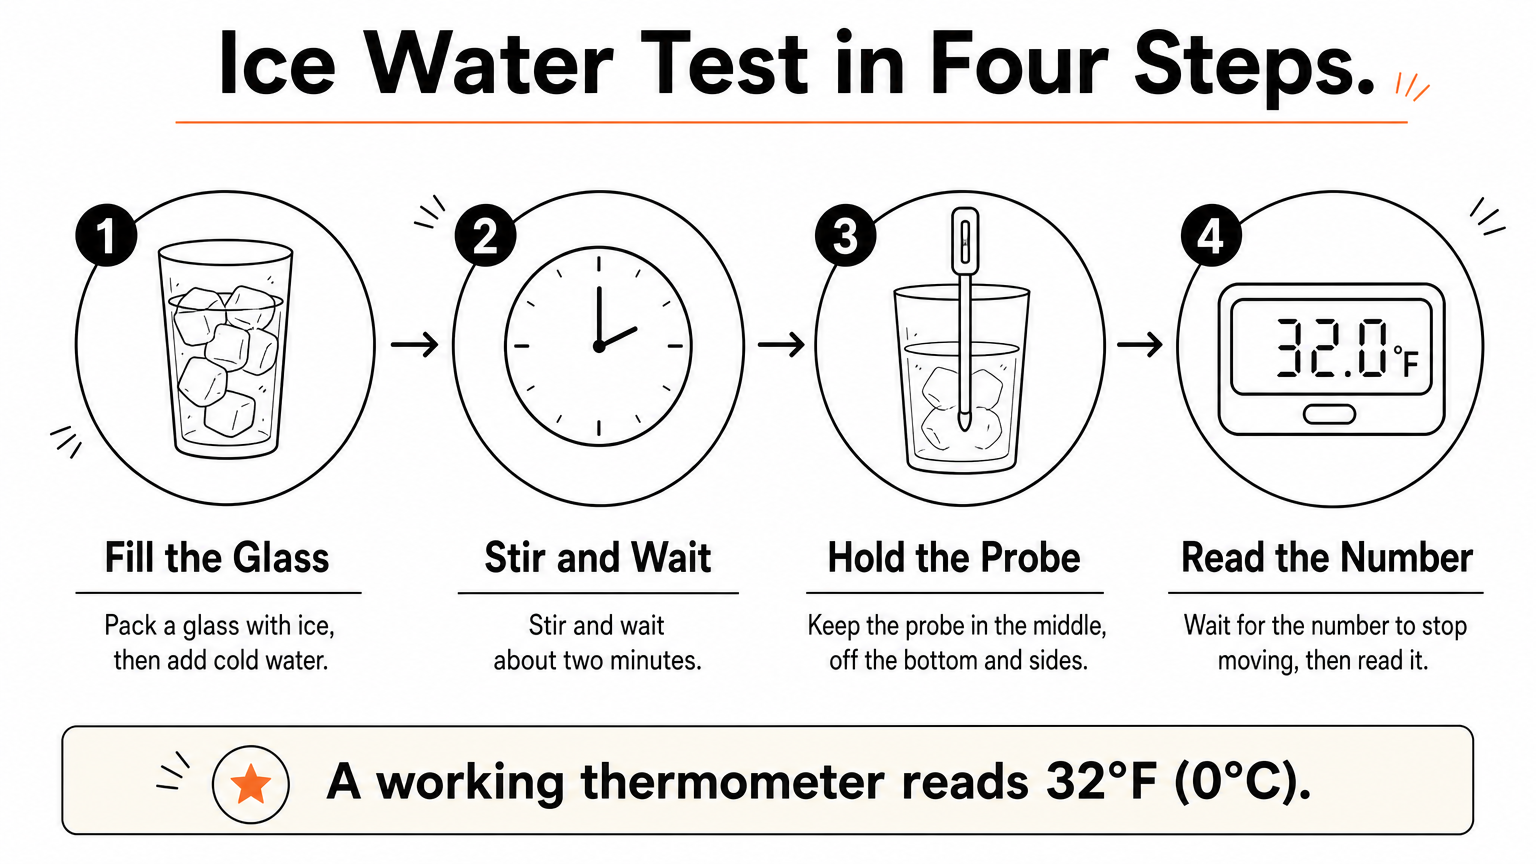
Test your cooking thermometer for chicken in ice water before relying on it. A properly working thermometer reads 32°F (0°C) in a well-mixed ice bath. Run the test every few months, and again after a drop.
The ice water test
- Fill a glass to the top with ice, then add cold water until it fills the gaps.
- Stir and wait about two minutes.
- Hold the probe in the middle of the glass, off the bottom and sides.
- Wait for the number to stop moving, then read it.
The boiling water check
Boiling water is a second reference point. Water boils at 212°F (100°C) at sea level, and the boiling point drops by roughly 1°F for every 500 feet of elevation. So at altitude, expect a lower reading and do not mistake it for an error.
If your thermometer is off by more than 2°F, use its calibration function if it has one. Otherwise, note the offset and adjust, or replace it. A thermometer that reads 5°F high will pass undercooked chicken without warning you.
A thermometer you have not tested is only a guess with a display.
Step 3. Place the probe in the right spot
Insert the meat thermometer in chicken at the center of the thickest part, aiming the tip at the middle of the meat. The tip, not the whole probe, does the sensing on a digital model, so that is the spot that matters.
Where to measure each cut
| Cut | Where to insert | Avoid |
|---|---|---|
| Breast | Thickest part, from the side or the top | Touching the pan or the rib bone |
| Thigh | Thickest part, near the bone but not touching it | Bone, which reads hotter than the meat |
| Drumstick | Meatiest part, near the bone | Hitting the bone or the thin tip |
| Wing | Meatiest section near the joint | The joint and bone |
| Whole chicken | Breast and inner thigh, two separate checks | The cavity, which skews the reading |
| Ground chicken patty | Center, inserted from the side | Pushing straight through into the pan |
Technique that gives true readings
Thin cuts need a sideways entry. Slide the probe in through the edge so the tip lands in the middle of the meat, not through the top and out the bottom. For a meat thermometer for chicken thighs, bone is the main trap. Bone conducts heat differently, so a probe resting on it gives a false number. If the reading jumps when you move the probe a quarter inch, you are touching bone.
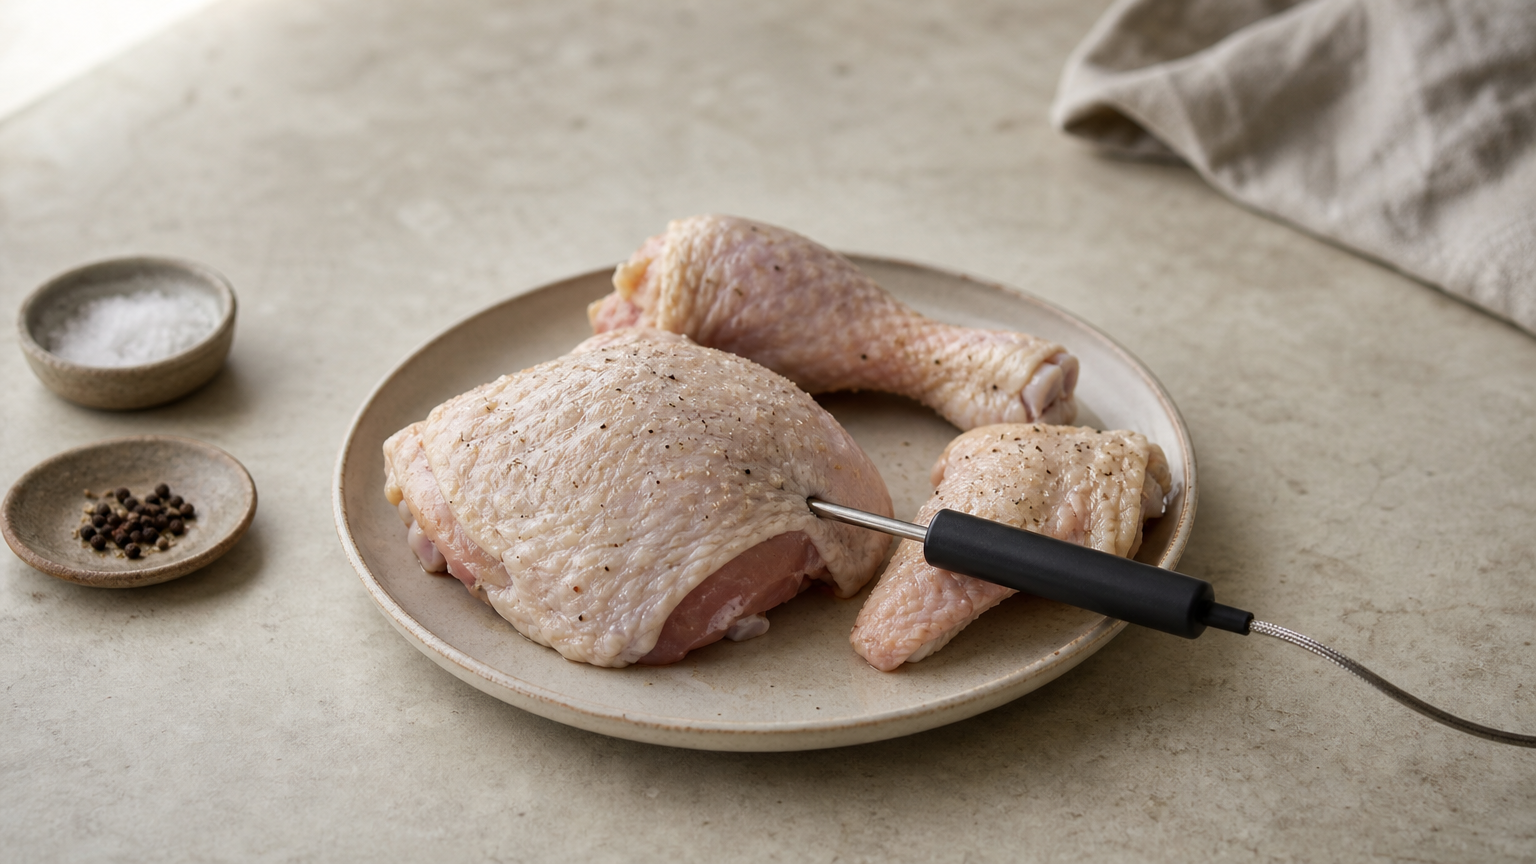
With a dial thermometer, push the stem in far enough that the full sensing section is buried in the meat. Check the instructions for the marked line or dimple. Always test in at least two spots, and trust the lowest one. Wash and dry the probe between raw and cooked checks so you do not carry raw juices back onto finished meat.
Measure where the chicken is thickest, because that spot finishes last.
Step 4. Read the result and fix problems
Hold the probe still until the number stops climbing, then act on the lowest reading. If it shows 165°F (74°C) or higher, the chicken is safe. If it shows less, return it to the heat and recheck in a few minutes.
What to do when it hits 165°F
Pull the chicken from the heat promptly, particularly breasts, which dry out quickly. Resting for five to ten minutes improves juiciness but is not required for safety once the chicken has reached 165°F. Carryover heat may raise the temperature a few degrees as it rests.
The oven setting does not change the target. Chicken baked at 375°F and at 475°F both need 165°F inside. A hotter oven only browns the skin faster and reaches that number sooner.
If the reading looks wrong
- The breast stays low while the surface browns. Your heat is too high. Lower it, flatten thick breasts to an even thickness, and cover the pan so the center catches up.
- The number jumps around. The tip is touching bone or sliding between muscle and fat. Reposition it.
- Two spots give different readings. Keep cooking until the lowest spot reaches 165°F.
- The reading drops after you pull the probe out. Heat escapes quickly, so reinsert it and recheck rather than trusting the first number.
- Reheating leftovers. Bring them back to 165°F as well.
When two readings disagree, believe the lower one.
Cook to 165°F and trust the probe
A chicken meat thermometer takes the guesswork out of poultry: pick a fast digital probe, test it in ice water, place the tip in the thickest part away from bone, and cook until the lowest reading hits 165°F (74°C). Anything beyond that is texture, not safety.
Do those four things each time and you will stop cutting open chicken to check it. If you want the same accuracy from the rest of your kitchen tools, you will find more kitchen measuring guides and tool comparisons at Measuring Expert.
Black Friday is coming: shop the deals with Prime