

Measuring ingredients correctly is crucial in gluten-free cooking. Even a small mistake can change a dish’s texture or taste.
Gluten-free cooking demands precision. Unlike regular recipes, gluten-free recipes need exact measurements to achieve the right consistency and flavor. This precision ensures your dish turns out perfect every time. Gluten-free flours and other ingredients behave differently than their gluten-filled counterparts.
Therefore, knowing how to measure these ingredients correctly is essential. In this guide, we will explore the best methods for measuring ingredients in gluten-free cooking. By following these tips, you will improve your gluten-free cooking skills and ensure your dishes are always delicious.
Credit: www.mamaknowsglutenfree.com
Importance Of Accurate Measurement
Hey friends, today I want to share why measuring ingredients accurately is crucial in gluten-free cooking. Cooking gluten-free can be tricky. And the key to success? Precision. When you measure ingredients correctly, you ensure your dishes come out just right. Let’s dive into why this is important, especially for gluten-free recipes.
Role In Gluten-free Cooking
In gluten-free cooking, measuring ingredients accurately is more important than ever. Why? Because gluten-free flours and other ingredients don’t behave like regular flour. They need precise amounts to work correctly. Here are a few points to consider:
- Texture: Too much or too little flour can change the texture of your dish.
- Taste: Incorrect measurements can affect the flavor.
- Binding: Gluten-free ingredients need exact ratios to bind properly.
Think of it like this: Imagine baking a cake. If you don’t measure the flour correctly, it might turn out dense and heavy. Or worse, it could crumble apart. The same goes for gluten-free cooking. Accuracy ensures your recipes turn out perfect every time.
Common Mistakes
Even experienced cooks can make mistakes when measuring. Here are some common errors and how to avoid them:
- Scooping directly from the bag: This can pack the flour, making it too dense. Instead, spoon the flour into your measuring cup and level it off.
- Using the wrong tools: Always use dry measuring cups for dry ingredients and liquid measuring cups for liquids. Mixing them up can lead to inaccurate measurements.
- Not leveling off: When measuring dry ingredients, be sure to level them off with a knife or spatula. This ensures you get the correct amount.
I remember when I first started gluten-free cooking. I often ended up with dry, crumbly cookies. Why? Because I wasn’t measuring my flour properly. Once I started using the spoon-and-level method, my cookies turned out much better. It made a big difference!
So, remember, friends, accurate measurement is key. It’s like following a map. If you miss a turn, you might not reach your destination. But with the right measurements, your gluten-free dishes will be delicious and just right every time.
Essential Measuring Tools
Measuring ingredients accurately is crucial for gluten-free cooking. Use dry measuring cups for flours and wet measuring cups for liquids. Invest in a digital kitchen scale for precision.
Hey friends, today I want to talk about something super important for gluten-free cooking: measuring ingredients! Getting the measurements right can make or break your recipe. So, let’s dive into the essential measuring tools you’ll need.Digital Scales
One of the most important tools in gluten-free cooking is a digital scale. Why? Because gluten-free flours can vary a lot in weight. Even a slight difference can change your recipe. Imagine you’re making a cake. You measure the flour with a cup. You scoop too much, and your cake turns out dense. Not what you want, right? A digital scale solves this problem. It’s accurate. It’s easy to use. – Why use a digital scale? Precision: Measures exact weight. Consistency: Every recipe turns out the same. Simplicity: Just put the bowl on the scale and add your ingredients. I recently asked my friend who’s a chef about digital scales. She said it’s like having a secret weapon in the kitchen. So, if you don’t have one yet, consider getting one.Measuring Cups And Spoons
Now, let’s talk about measuring cups and spoons. These are classic tools. Everyone has them. But are you using them right? First, dry ingredients. Use a dry measuring cup. Scoop the ingredient. Level it off with a knife. Simple. Liquid ingredients? Different story. Use a liquid measuring cup. Fill it to the line. Check at eye level. Easy. Measuring spoons are for small amounts. Think baking soda, salt, vanilla. Use them for both dry and liquid ingredients. – Tips for using measuring cups and spoons: Dry vs. Liquid: Use the right type of cup. Level off: Make sure you’re using the right amount. Don’t pack: For dry ingredients like flour, don’t press it down. Here’s a quick table to help:| Ingredient | Type of Cup |
|---|---|
| Flour | Dry |
| Milk | Liquid |
| Sugar | Dry |
| Oil | Liquid |
Dry Ingredients Measurement
Hey friends, today I’ll share some tips on how to measure ingredients for gluten-free cooking. Accurate measurements are crucial for gluten-free recipes. They ensure your dishes turn out just right. Let’s dive into the details of measuring dry ingredients. It’s simpler than you think!
Flours And Starches
When it comes to gluten-free flours and starches, precision is key. These ingredients can make or break your recipe. I learned this the hard way when my first attempt at gluten-free bread fell flat—literally! Here’s what you need to know:
- Always use a scale: Measuring by weight is more accurate than volume. A cup of almond flour can weigh differently each time you scoop.
- Fluff, spoon, and level: If you don’t have a scale, fluff the flour with a fork. Then, spoon it into your measuring cup and level it off with a knife.
- Avoid packing: Don’t pack the flour into the cup. This can lead to too much flour and a dry, dense baked good.
Sugars And Leaveners
Sugars and leaveners (like baking soda and baking powder) are also important in gluten-free cooking. They help with the texture and rise of your baked goods. Here’s how to measure them correctly:
- Brown sugar: Pack it tightly into the measuring cup. Level off with a knife. Think of building a sandcastle.
- Granulated sugar: Scoop and level. It’s that simple.
- Baking soda and baking powder: Use the scoop and level method. Ensure your spoons are dry. Moisture can cause clumps.
Remember, accuracy is your friend in gluten-free cooking. It’s like following a map. Stray too far, and you might not reach your destination. Happy cooking!
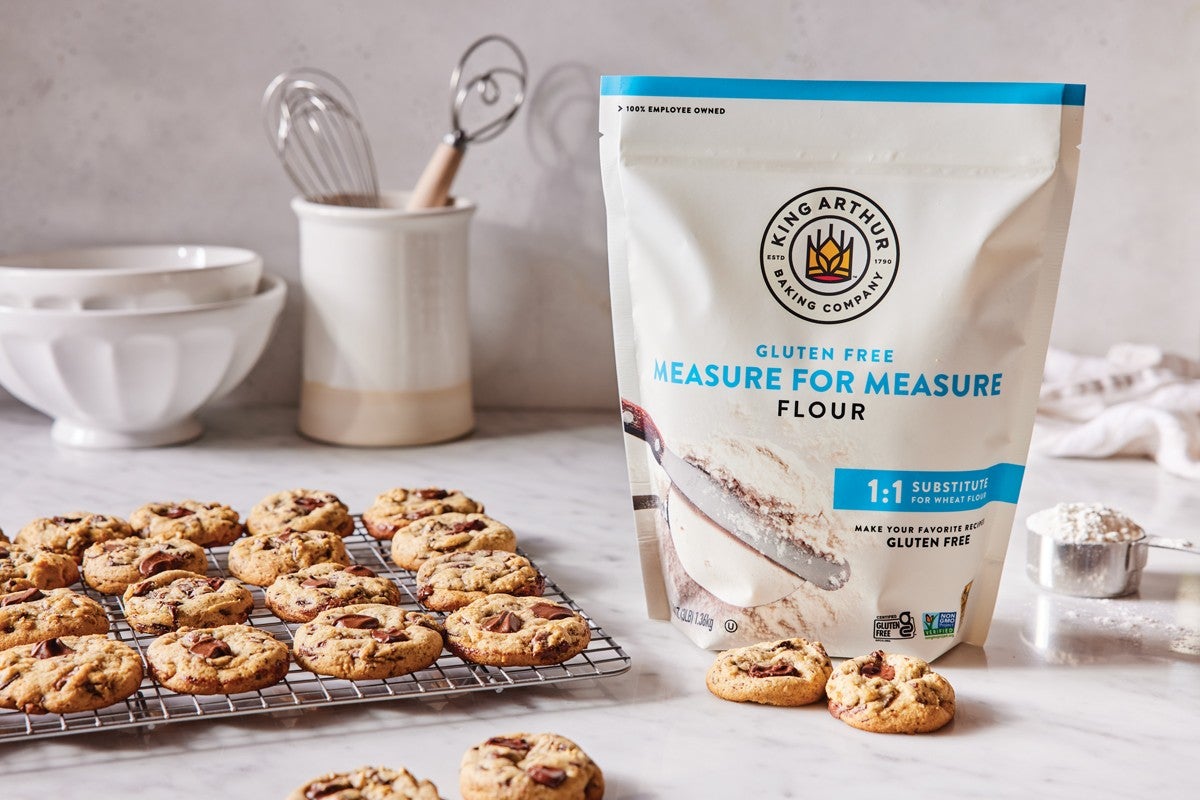
Credit: www.kingarthurbaking.com
Liquid Ingredients Measurement
Hey friends, today we’re diving into the world of liquid ingredients for gluten-free cooking. Measuring liquids accurately is crucial, especially in gluten-free recipes where the balance of ingredients can make or break your dish. Let’s explore how to get it right every time.
Using Liquid Measuring Cups
First things first, always use liquid measuring cups for liquids. These cups are typically clear and have a spout for easy pouring. They also have measurement lines on the side. Here’s how to use them:
- Place the cup on a flat surface.
- Bend down to eye level with the measurement line.
- Pour the liquid slowly until you reach the desired measurement.
It’s important to be at eye level to ensure accuracy. If you look from above or below, you might not get the right amount.
Accuracy Tips
Getting the exact measurement can be tricky, but I’ve got some tips to help you out:
- Use the right cup: Always use a liquid measuring cup, not a dry one. They are designed differently for a reason.
- Check for meniscus: The liquid should form a curve. Measure from the bottom of the curve for accuracy.
- Measure at room temperature: Some liquids expand or contract with temperature. Measure them when they are at room temp for the best results.
Let me share a quick story. I once measured a cup of milk for a gluten-free cake using a dry measuring cup. The cake turned out dense and not very tasty. I learned my lesson the hard way. Always use the right tools!
So, remember these tips next time you’re whipping up a gluten-free meal. Accurate liquid measurements can make your recipes turn out just right. Happy cooking!
Weighing Vs. Measuring By Volume
Hey friends, today we are diving into the world of gluten-free cooking. One common challenge is measuring ingredients. Should you weigh them or measure by volume? Let’s explore this topic together!
Pros And Cons
Both weighing and measuring by volume have their pros and cons. It’s like choosing between a car and a bike. Each has its own perks depending on the situation.
| Method | Pros | Cons |
|---|---|---|
| Weighing |
|
|
| Measuring by Volume |
|
|
When To Use Each Method
So, when should you use each method? It depends on what you are cooking or baking.
- Baking: Weighing is best. You need precision. Like when you make a cake, a little mistake can ruin it.
- Cooking: Measuring by volume works fine. A soup or stew doesn’t need to be exact.
Here’s a quick example. When I bake gluten-free bread, I always weigh my flour. It makes the bread turn out perfect every time. But when I make a gluten-free pasta dish, I just measure my ingredients by volume. It’s faster and still tastes great!
In short, choose the method that fits your needs. Weighing for precision, measuring by volume for ease. Happy gluten-free cooking!
Converting Recipes
Converting traditional recipes to gluten-free can seem daunting at first. With a few tips, this task becomes easier. Switching flours and ingredients means adjusting the measurements. This ensures the dish tastes right and has the correct texture.
Standard To Gluten-free
Standard recipes often use all-purpose flour. To convert to gluten-free, use a blend of gluten-free flours. Each type of flour has unique properties. Mix flours like rice flour, tapioca starch, and potato starch. This creates a balanced blend.
Adjusting Measurements
Gluten-free flours are lighter than all-purpose flour. You might need to add more. For example, one cup of all-purpose flour equals about 1 1/4 cups of gluten-free flour. Adjustments depend on the recipe and the type of gluten-free flour.
Other ingredients may need tweaking too. Xanthan gum or guar gum helps bind the ingredients. Add 1/2 teaspoon per cup of gluten-free flour. This helps maintain structure and texture.
Liquids also need adjusting. Gluten-free flours absorb more liquid. Add extra liquid to keep the batter moist. This prevents dryness and improves the final product.
Expert Tips For Precision
Hey friends, today we’ll dive into something super important for those of you who love gluten-free cooking – measuring ingredients with precision. Getting the right measurements can make or break your recipe. Trust me, I’ve been there! So, let’s get into some expert tips to help you nail it every time.
Leveling Techniques
First things first, let’s talk about leveling techniques. Imagine you’re making your favorite gluten-free brownies. You measure the flour, but you don’t level it off. What happens? Your brownies might turn out dense and dry. Not fun!
Here’s how to do it right:
- Use a knife or a straight edge: After you scoop your flour, take a knife and slide it across the top of the measuring cup to level it. Easy peasy!
- Don’t pack the flour: Gently spoon the flour into the cup, then level it. Packing can give you more flour than needed.
Remember, precision is key. It’s like building a house – you wouldn’t want crooked walls, right?
Avoiding Cross-contamination
Next up, avoiding cross-contamination. This is crucial for those with gluten sensitivities or celiac disease. You don’t want to accidentally mix in a gluten ingredient. It’s like dropping a piece of bread into your gluten-free soup. Yikes!
Here are some tips:
- Use separate utensils: Have dedicated measuring cups and spoons for your gluten-free ingredients.
- Clean surfaces: Always clean your kitchen surfaces before you start cooking. Even a tiny crumb can cause issues.
- Store ingredients separately: Keep your gluten-free flours and other ingredients in separate containers.
Trust me, these simple steps can save you a lot of trouble and keep your gluten-free dishes safe and tasty.
So, there you have it! A few expert tips to help you measure ingredients like a pro in your gluten-free kitchen. Happy cooking!
Credit: thereislifeafterwheat.com
Common Ingredient Substitutes
Hey there! If you’re new to gluten-free cooking, you might feel a bit lost with all the different ingredients out there. But don’t worry, I’ve got your back. In this section, we’ll talk about common ingredient substitutes that will help you make delicious gluten-free meals. Trust me, it’s not as hard as it seems. Let’s dive in!
Gluten-free Alternatives
When cooking gluten-free, you’ll often need to replace wheat flour and other gluten-containing ingredients. Here are some common substitutes:
- Almond Flour: Great for baking cookies and cakes.
- Coconut Flour: Perfect for pancakes and muffins.
- Rice Flour: Works well in bread and pastries.
- Oat Flour: Ideal for making bread and biscuits.
- Potato Starch: Good for thickening soups and sauces.
How To Measure Substitutes
Measuring gluten-free ingredients can be a bit tricky. But with a few tips, you’ll get the hang of it in no time:
- Use a Kitchen Scale: Weighing ingredients ensures accuracy. For example, 1 cup of almond flour might not weigh the same as 1 cup of rice flour.
- Spoon and Level: When using measuring cups, spoon the ingredient into the cup and level it off with a knife. This avoids packing the flour and getting too much.
- Adjust Liquids: Some gluten-free flours absorb more liquid. If your batter seems too thick, add a bit more liquid until you reach the right consistency.
A quick story: I once made brownies with coconut flour. They turned out super dry because I didn’t adjust the liquids. Lesson learned! Always check your batter’s texture.
So, there you have it. With these substitutes and measuring tips, you’re well on your way to mastering gluten-free cooking. Happy cooking!
Frequently Asked Questions
How To Read Ingredients For Gluten-free?
Check for “gluten-free” labels. Avoid wheat, barley, rye, malt, and their derivatives. Look for certified gluten-free products.
How To Properly Measure Gluten Free Flour?
Use a spoon to transfer gluten-free flour into a measuring cup. Level it with a knife. Avoid packing.
How Do You Adjust For Gluten Free Baking?
Use gluten-free flour blends. Add xanthan gum for structure. Increase leavening agents. Adjust liquid content. Ensure thorough mixing.
Is Gluten Free Flour Measured The Same As Regular Flour?
No, gluten-free flour is not measured the same as regular flour. It often requires different quantities and adjustments in recipes.
Conclusion
Mastering gluten-free cooking starts with accurate measurements. Follow these tips closely. Use the right tools for each ingredient. Always level off measurements for consistency. Remember, practice makes perfect. Keep experimenting with recipes. Adjust as needed for taste and texture. Enjoy your gluten-free dishes.
Cooking can be fun and rewarding. Happy cooking!